
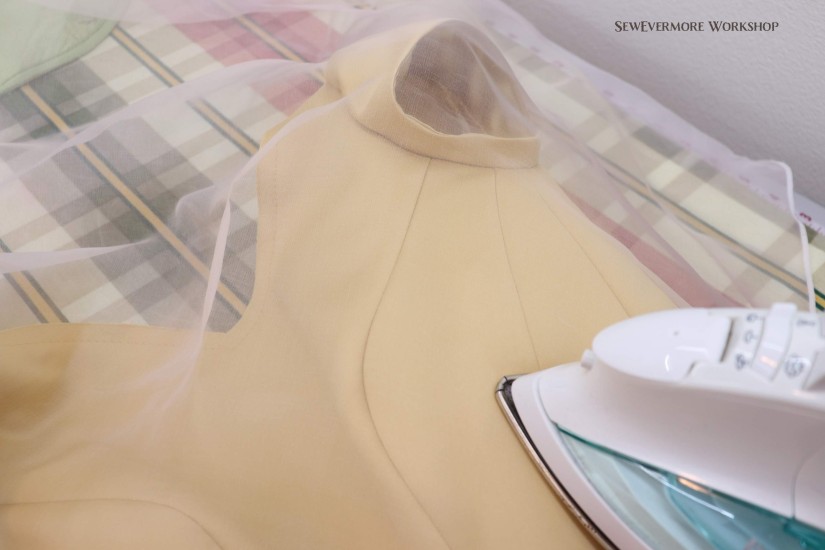
With the sleeves attached the bodice is close to finished. Up next, adding binding to conceal the raw edges. Before starting I gave the bodice a good press using a press cloth.
Since I want the binding to be hidden on the inside of the garment, I will be using single fold bias strips. If you want to see the binding, you could use double fold.
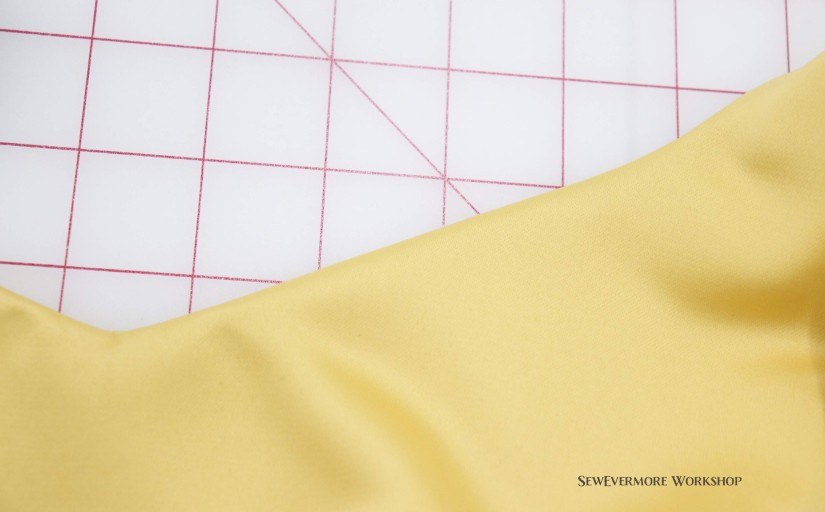
I used a fat quarter of the satin fabric and drew lines along the bias 1 5/8 inches apart to make a continuous binding strip.

This yielded a few yards of binding which was just enough.

I placed the binding right side down on the right side of the bodice along all of the edges. This includes neck, hem, and back. You would also do the armholes if you have a sleeveless bodice. (Speaking of the sleeves. If you like you can bind the seam allowances on the sleeves, but this does add extra bulk. You can also trim them and finish with a zigzag stitch. I think this will by my choice on this project.)

I folded it at the corners. I don’t think I would do that again. Instead I would use two strips for the back edges and one for the top and one for the bottom. I think it would be easier.

After stitching the binding in place with a little less than a 1/2 inch seam, I folded it toward the lining side of the bodice, folding the raw edge of the binding over the raw edge of the seam. I whip stitched it in place.

This process is a bit time consuming. It’s a good time to catch up on your Netflix viewing. I clipped the curves and trimmed most of the seams by about 1/8 inch as I did this.

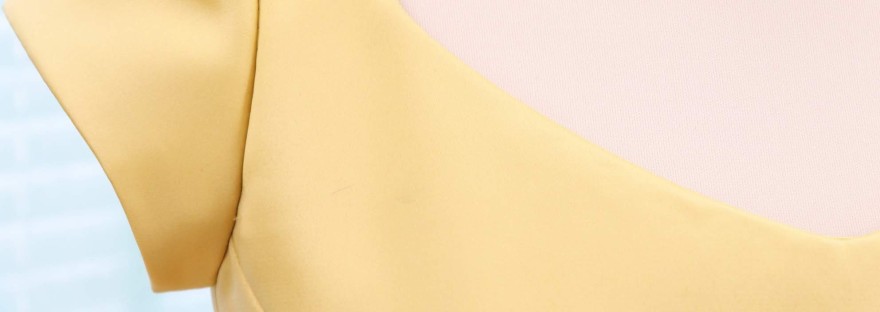
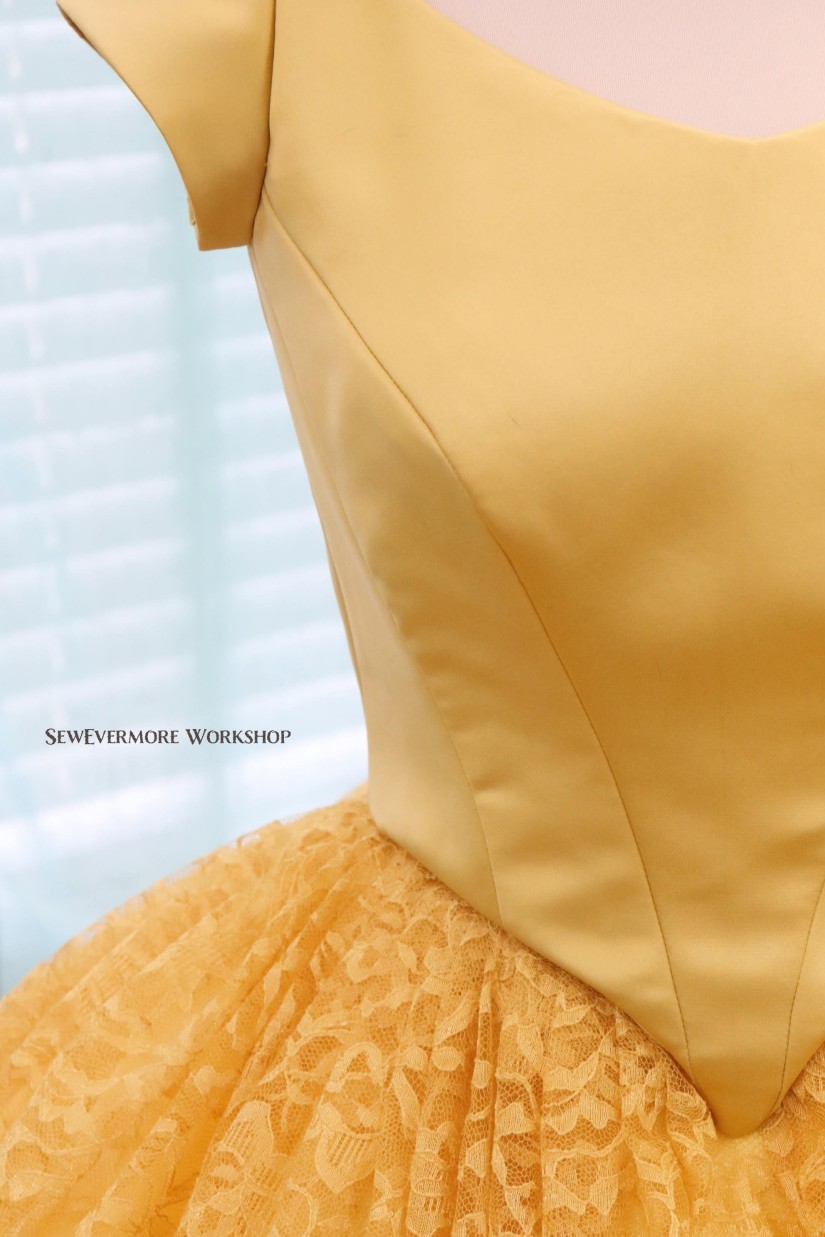
Binding creates a beautiful smooth edge on the right side of the finished bodice. I have found that binding creates a much better result than sewing the lining to the main fabric and flipping it, which I have done with poor results in the past.
Binding really does make a difference in the look of the finished edges.
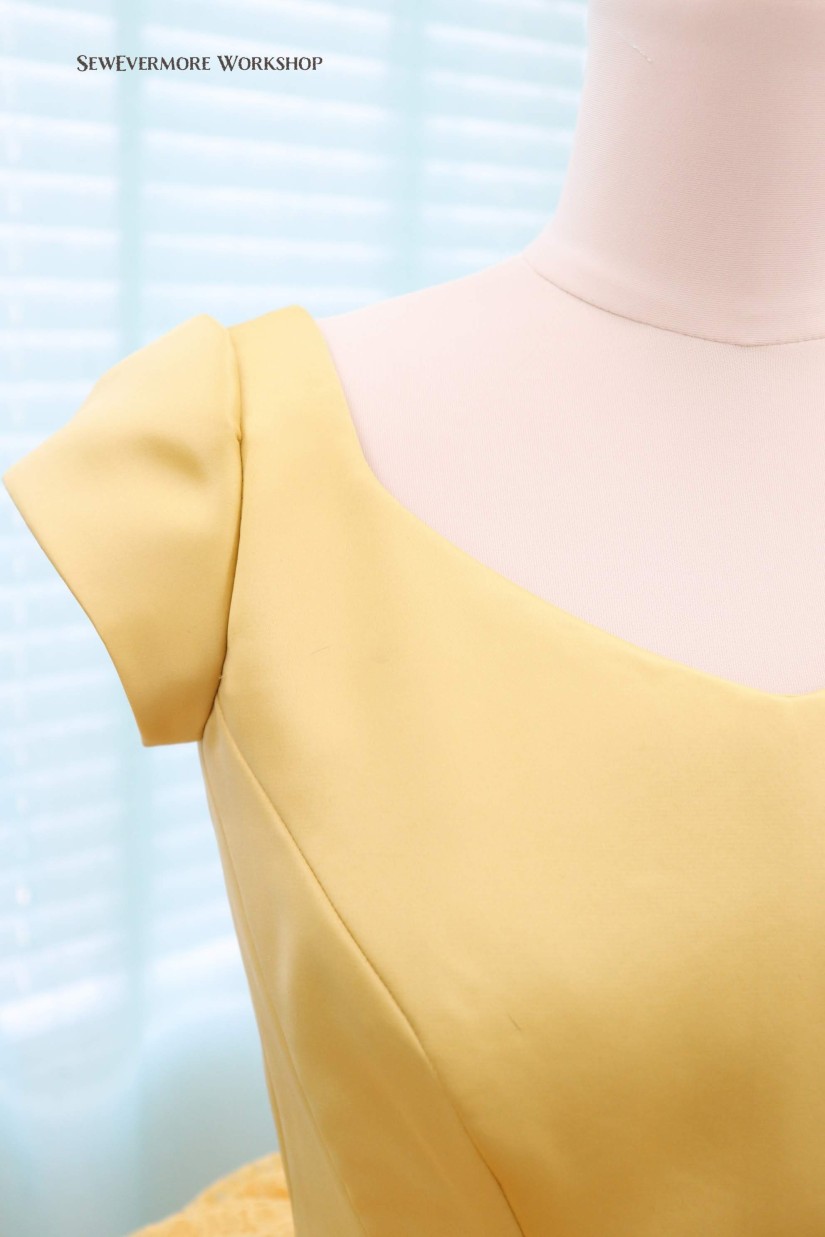
There are a few wrinkles on the bodice. If I was to make it again I would shorten the side front pieces a bit to help compensate for that. I am hoping that the majority will go away once the grommets have been inserted and the back is laced tightly.

You may notice at this point that the bodice is smaller than expected. This is most likely due to the thickness of the fabric. There are a few simple ways to compensate for this. Plan to add a bit of extra length to the bottom and back, or use a smaller seam allowance. You just have to get to know your fabric and your dress form so you can plan ahead. Making a muslin mock up first is also a good idea if you are using expensive fabric or need an exact fit.
In the end, a gap of 1 – 2 inches in the back usually works just fine for a corset bodice. This allows for a more snug fit if that is what you are going for. It won’t be comfortable, but it will look nice!
What’s next? The majority of the construction is complete we still need to add grommets for lacing, and modesty panels. We also need to complete the waistband, neckline, hem and decoration. It’s coming together quickly now!

Any updates on this? I’m dying to see the finished product!!
LikeLike
Thank you so much for your interest! I hope to get back to this project soon. Work has caught up with me the last few months and I have sadly not had as much time to sew as I had hoped, but I am still planning to finish this dress!
LikeLike