
I love making corsets. When I started making corsets I used plastic boning, so I wouldn’t have to bother with the tools. It worked for some projects, but I definitely prefer the steel boning.
I use two types of boning, flat steel and spiral boning. I will talk about the tools I use for each. I purchase my boning by the yard at Dragon Town Corset Supply.
You can purchase your boning pre-cut and tipped, but I never seem know in advance what lengths I will need, and don’t have the patience to wait for shipping. So, I started cutting it myself. If you have the right tools, it’s a breeze.
Flat Boning
I have been able to find flat steel boning in two widths, 1/4 inch and 1/2 inch. These tools work for both.
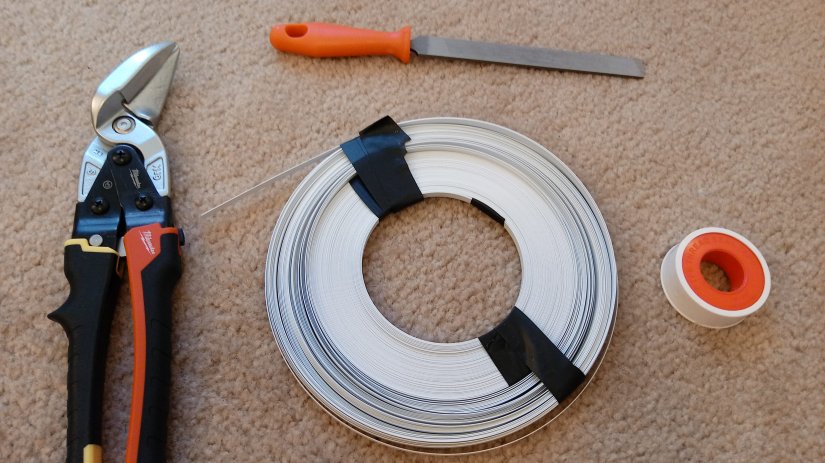
First, you need GOOD snips. I emphasize the word good. The snips I bought first were a little cheaper, but oh my gosh, I wanted to throw them out the window. The snips I use now are FABULOUS! I love them. They cut through my steel boning like butter and don’t bend the ends.
I use Milwaukee Straight Snips that I purchased at Home Depot.
Once you cut the boning to the desired length the ends are sharp. You need a metal file to sand it down. I use a file I purchased in set by Husky.
Once the ends are cut and filed, the steel inside is exposed. Since you don’t want your corset to rust, you need to tip the ends. You can do so with Plastidip or with PTFE tape. The PTFE tape is cheaper and you don’t have to worry about dangerous fumes.
I just started using Plastidip, to see if I liked that option better. I like the results for tipping ends, but the fumes are horrid and you do need a respirator and a well ventilated area when using it. It is available in white, which is great for the flat white boning, but the white is more expensive than the black version. Since the boning in my corsets rarely shows, I purchased black.
Spiral Boning
Spiral boning is fabulous when you are placing the boning in a curved channel. It is very versatile and flexible while being extremely supportive at the same time.
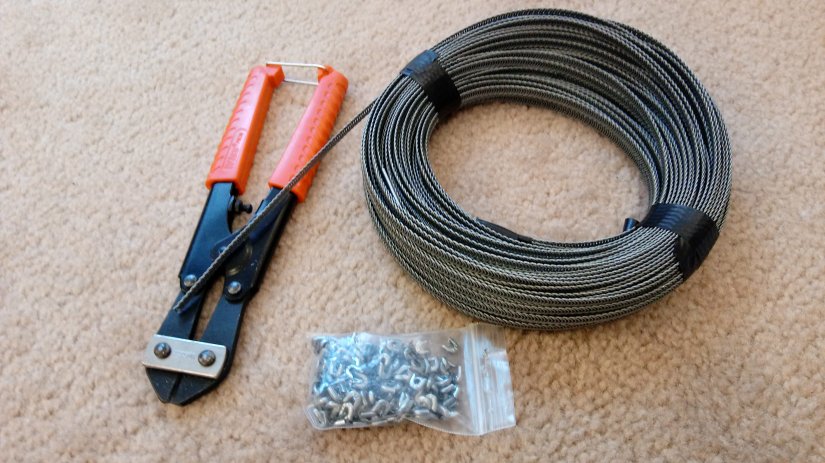
To clip the spiral boning I don’t cut all of the way across, but just trim one (or two if needed) of the little wires until it comes apart. As a result, I don’t like using the same snips that I use for the flat boning. I prefer these Wiss Cutters, but you could probably use smaller cutting tools.
Use also need two pairs of pliers to secure the tips to the end after cutting. I use one pair of needle nose pliers to pinch the top flat and a pair of pliers with a wider grip to hold it in place while I do. My pliers are nothing special, just the basic pliers you could probably pick up at Wal-Mart.
General Tools
This next tool might surprise you. A skewer. Why would you need one? Well, they work just perfect to make sure the boning is all of the way to the top of the channel I trimmed off the point and sanded the ends first.


Once you have your tools you are ready to go! You can start cutting your own boning!
