Now that everyone is settling into the new school year I feel like I finally have time to sew. Hooray!
Today I worked on draping the bodice. Draping is a process used to create your own garment pattern. This is one of my favorite steps in the dressmaking process.
I have had good experiences with many store bought patterns, and still use them when I try new styles or techniques. I have definitely learned a lot from them. That said, I greatly prefer making my own patterns. Overall, I feel like I get a better fit, with fewer adjustments being necessary. If you are not comfortable making your own pattern or if you don’t have a dress form, store bought patterns can work just great! With cosplay so popular nowadays, there are many wonderful store bought patterns that could be used to make a corset bodice. Just note that if you do use a store bought pattern it may require additional adjustment to create a good fit for you.
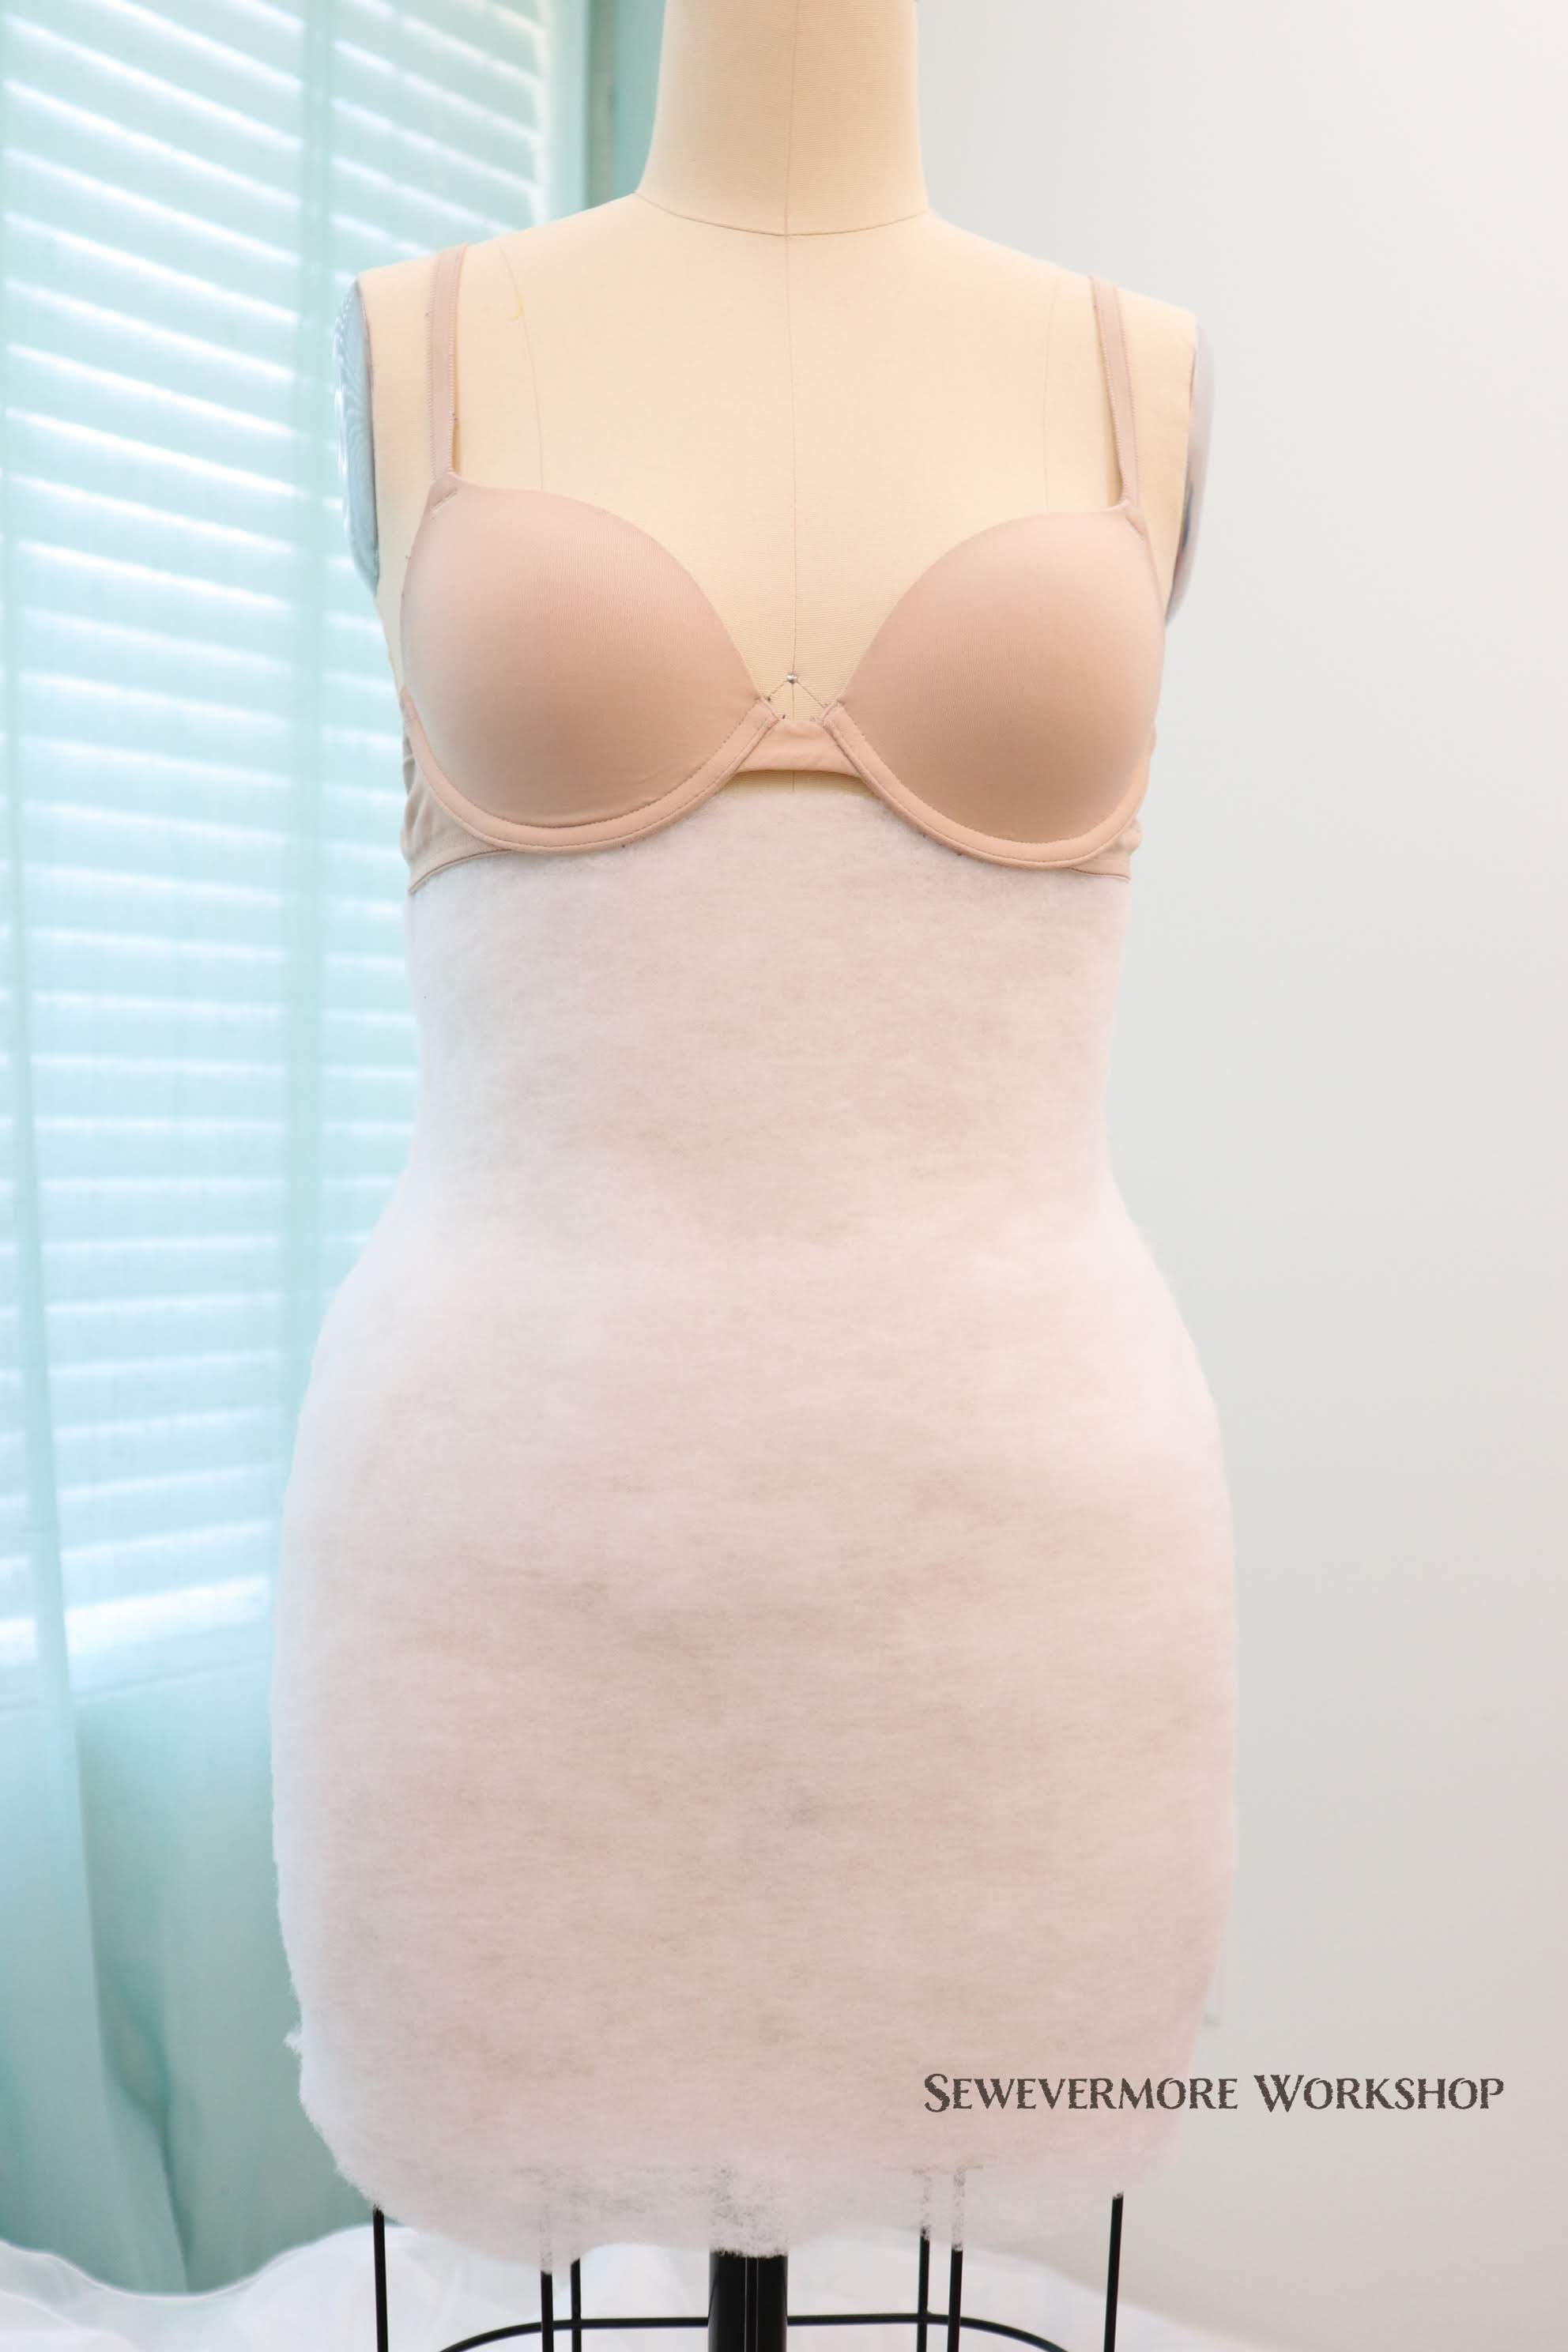
Since I am making my own pattern I hope my newly fitted dress form will help me with this process! (See my previous post.) It is good to note, that a bodice has a left and right side that are mirror images in most cases. As a result, you only need to drape half the bodice to create the pattern.
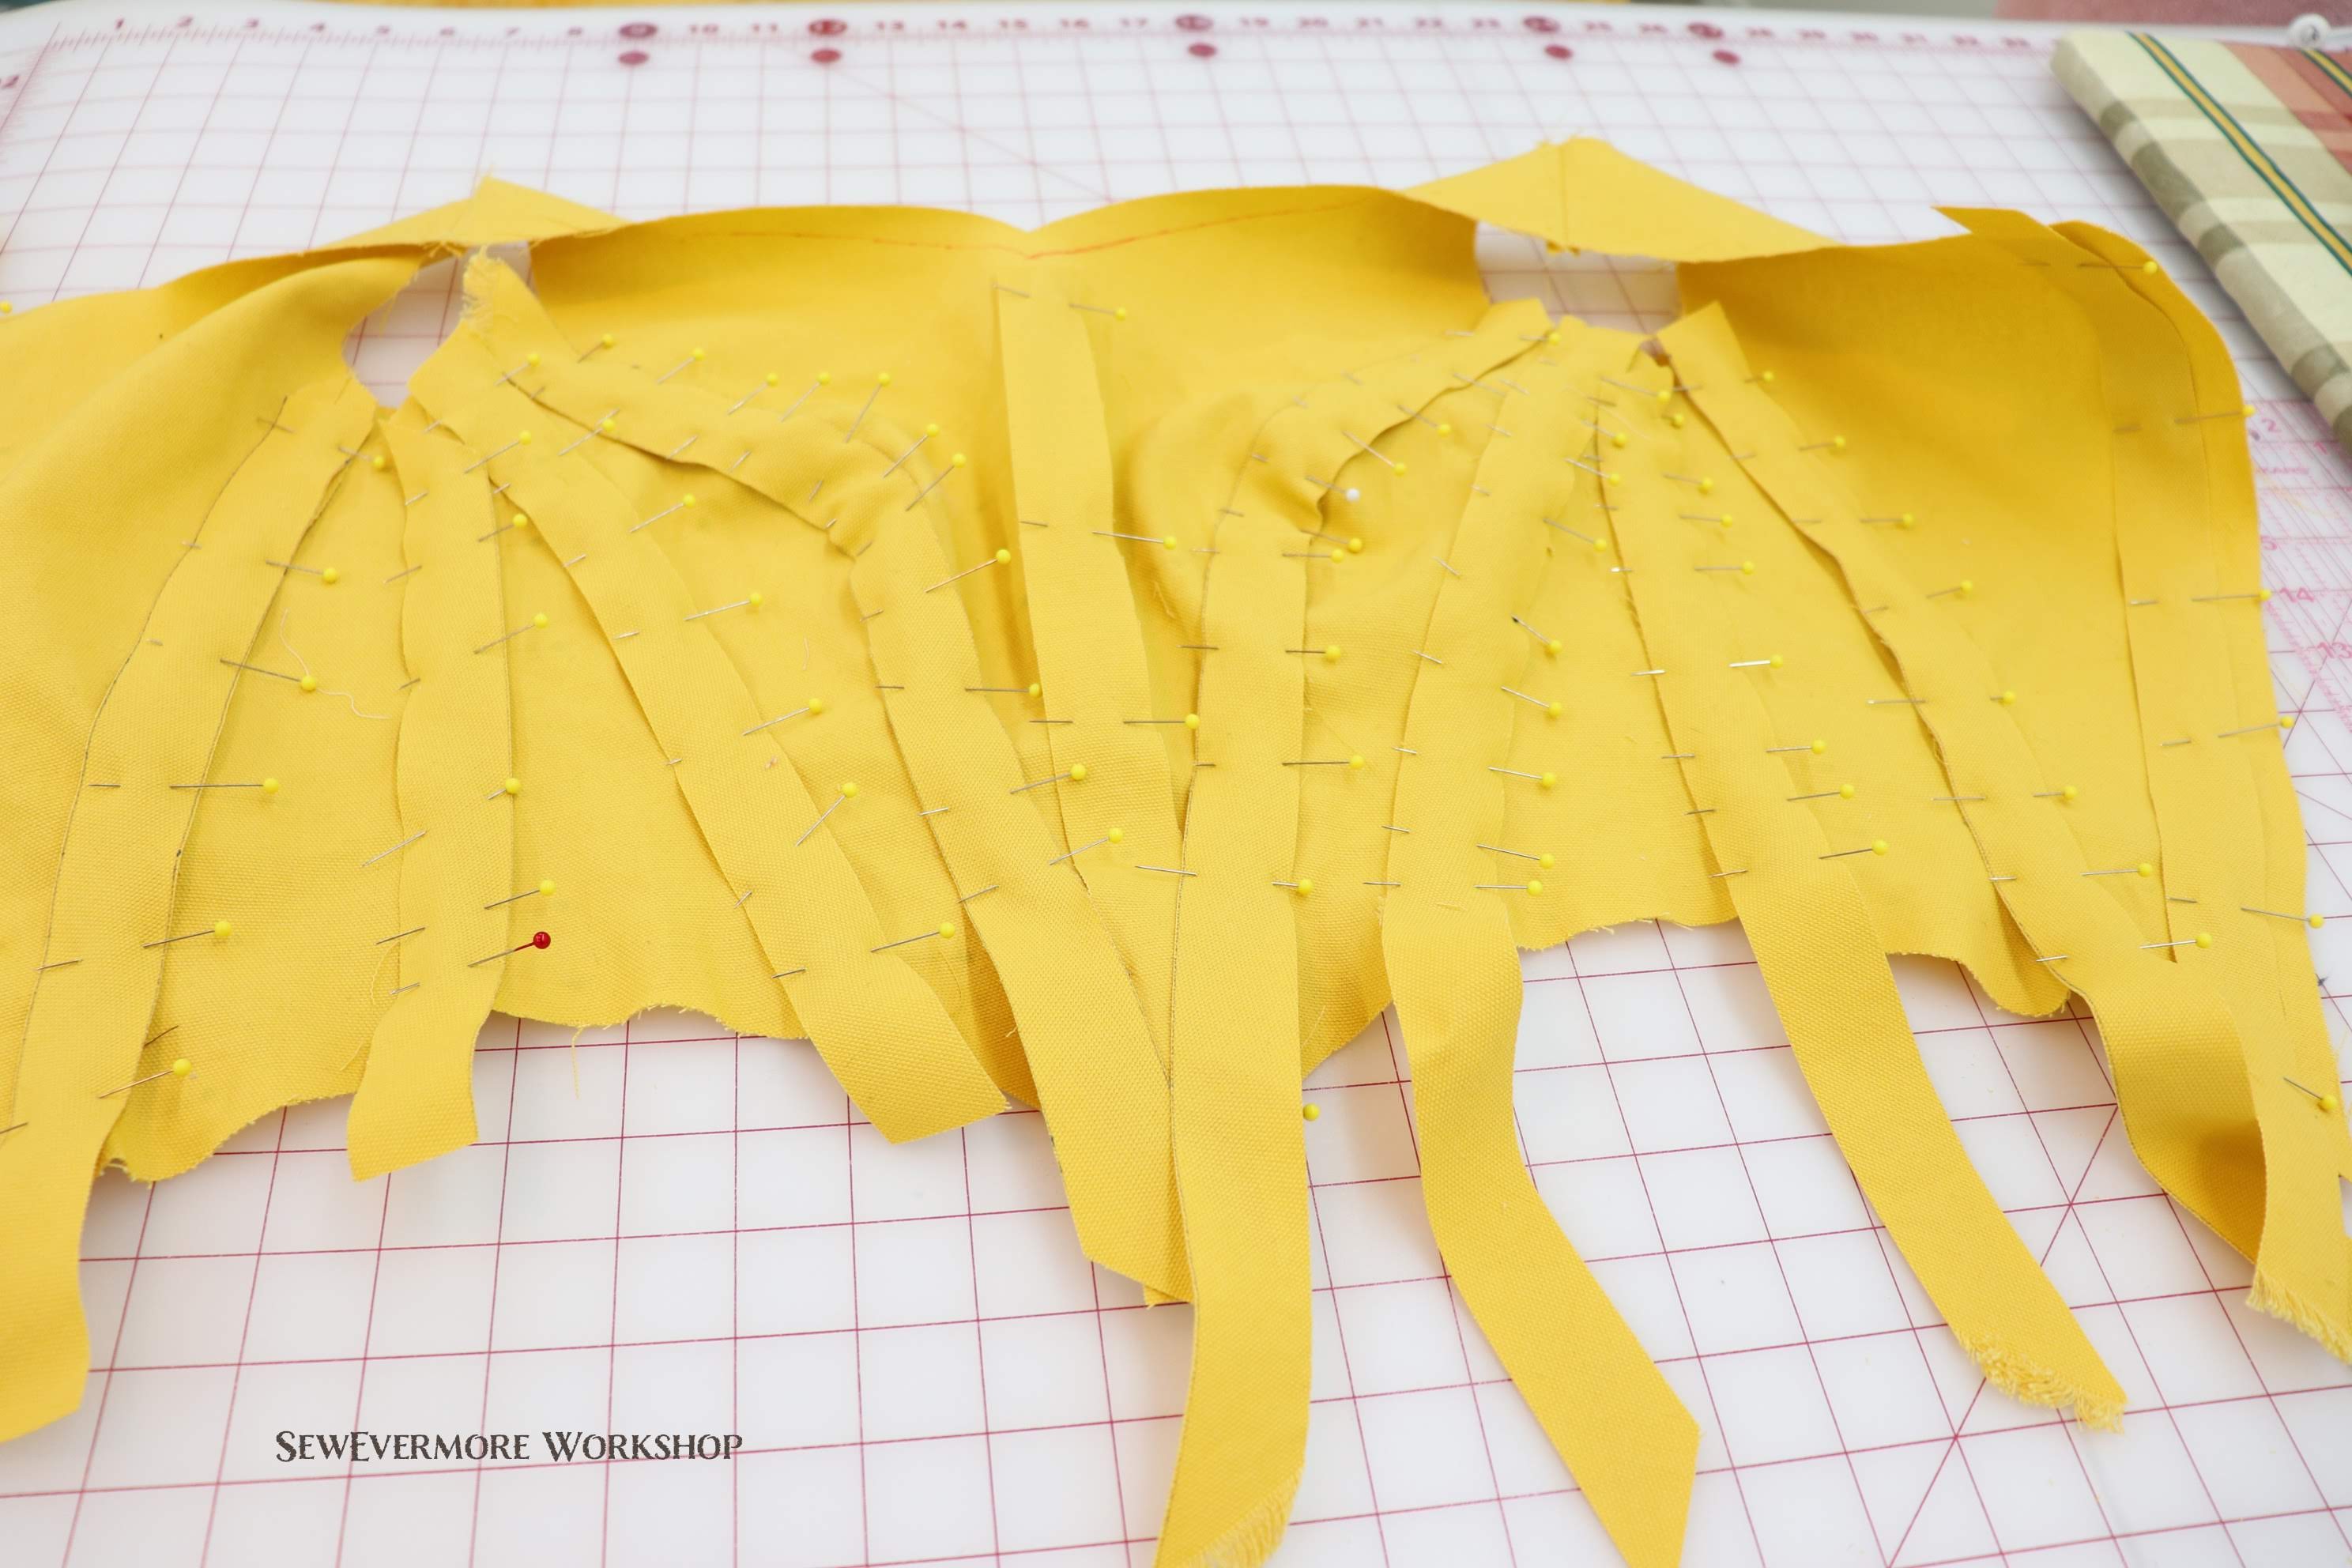
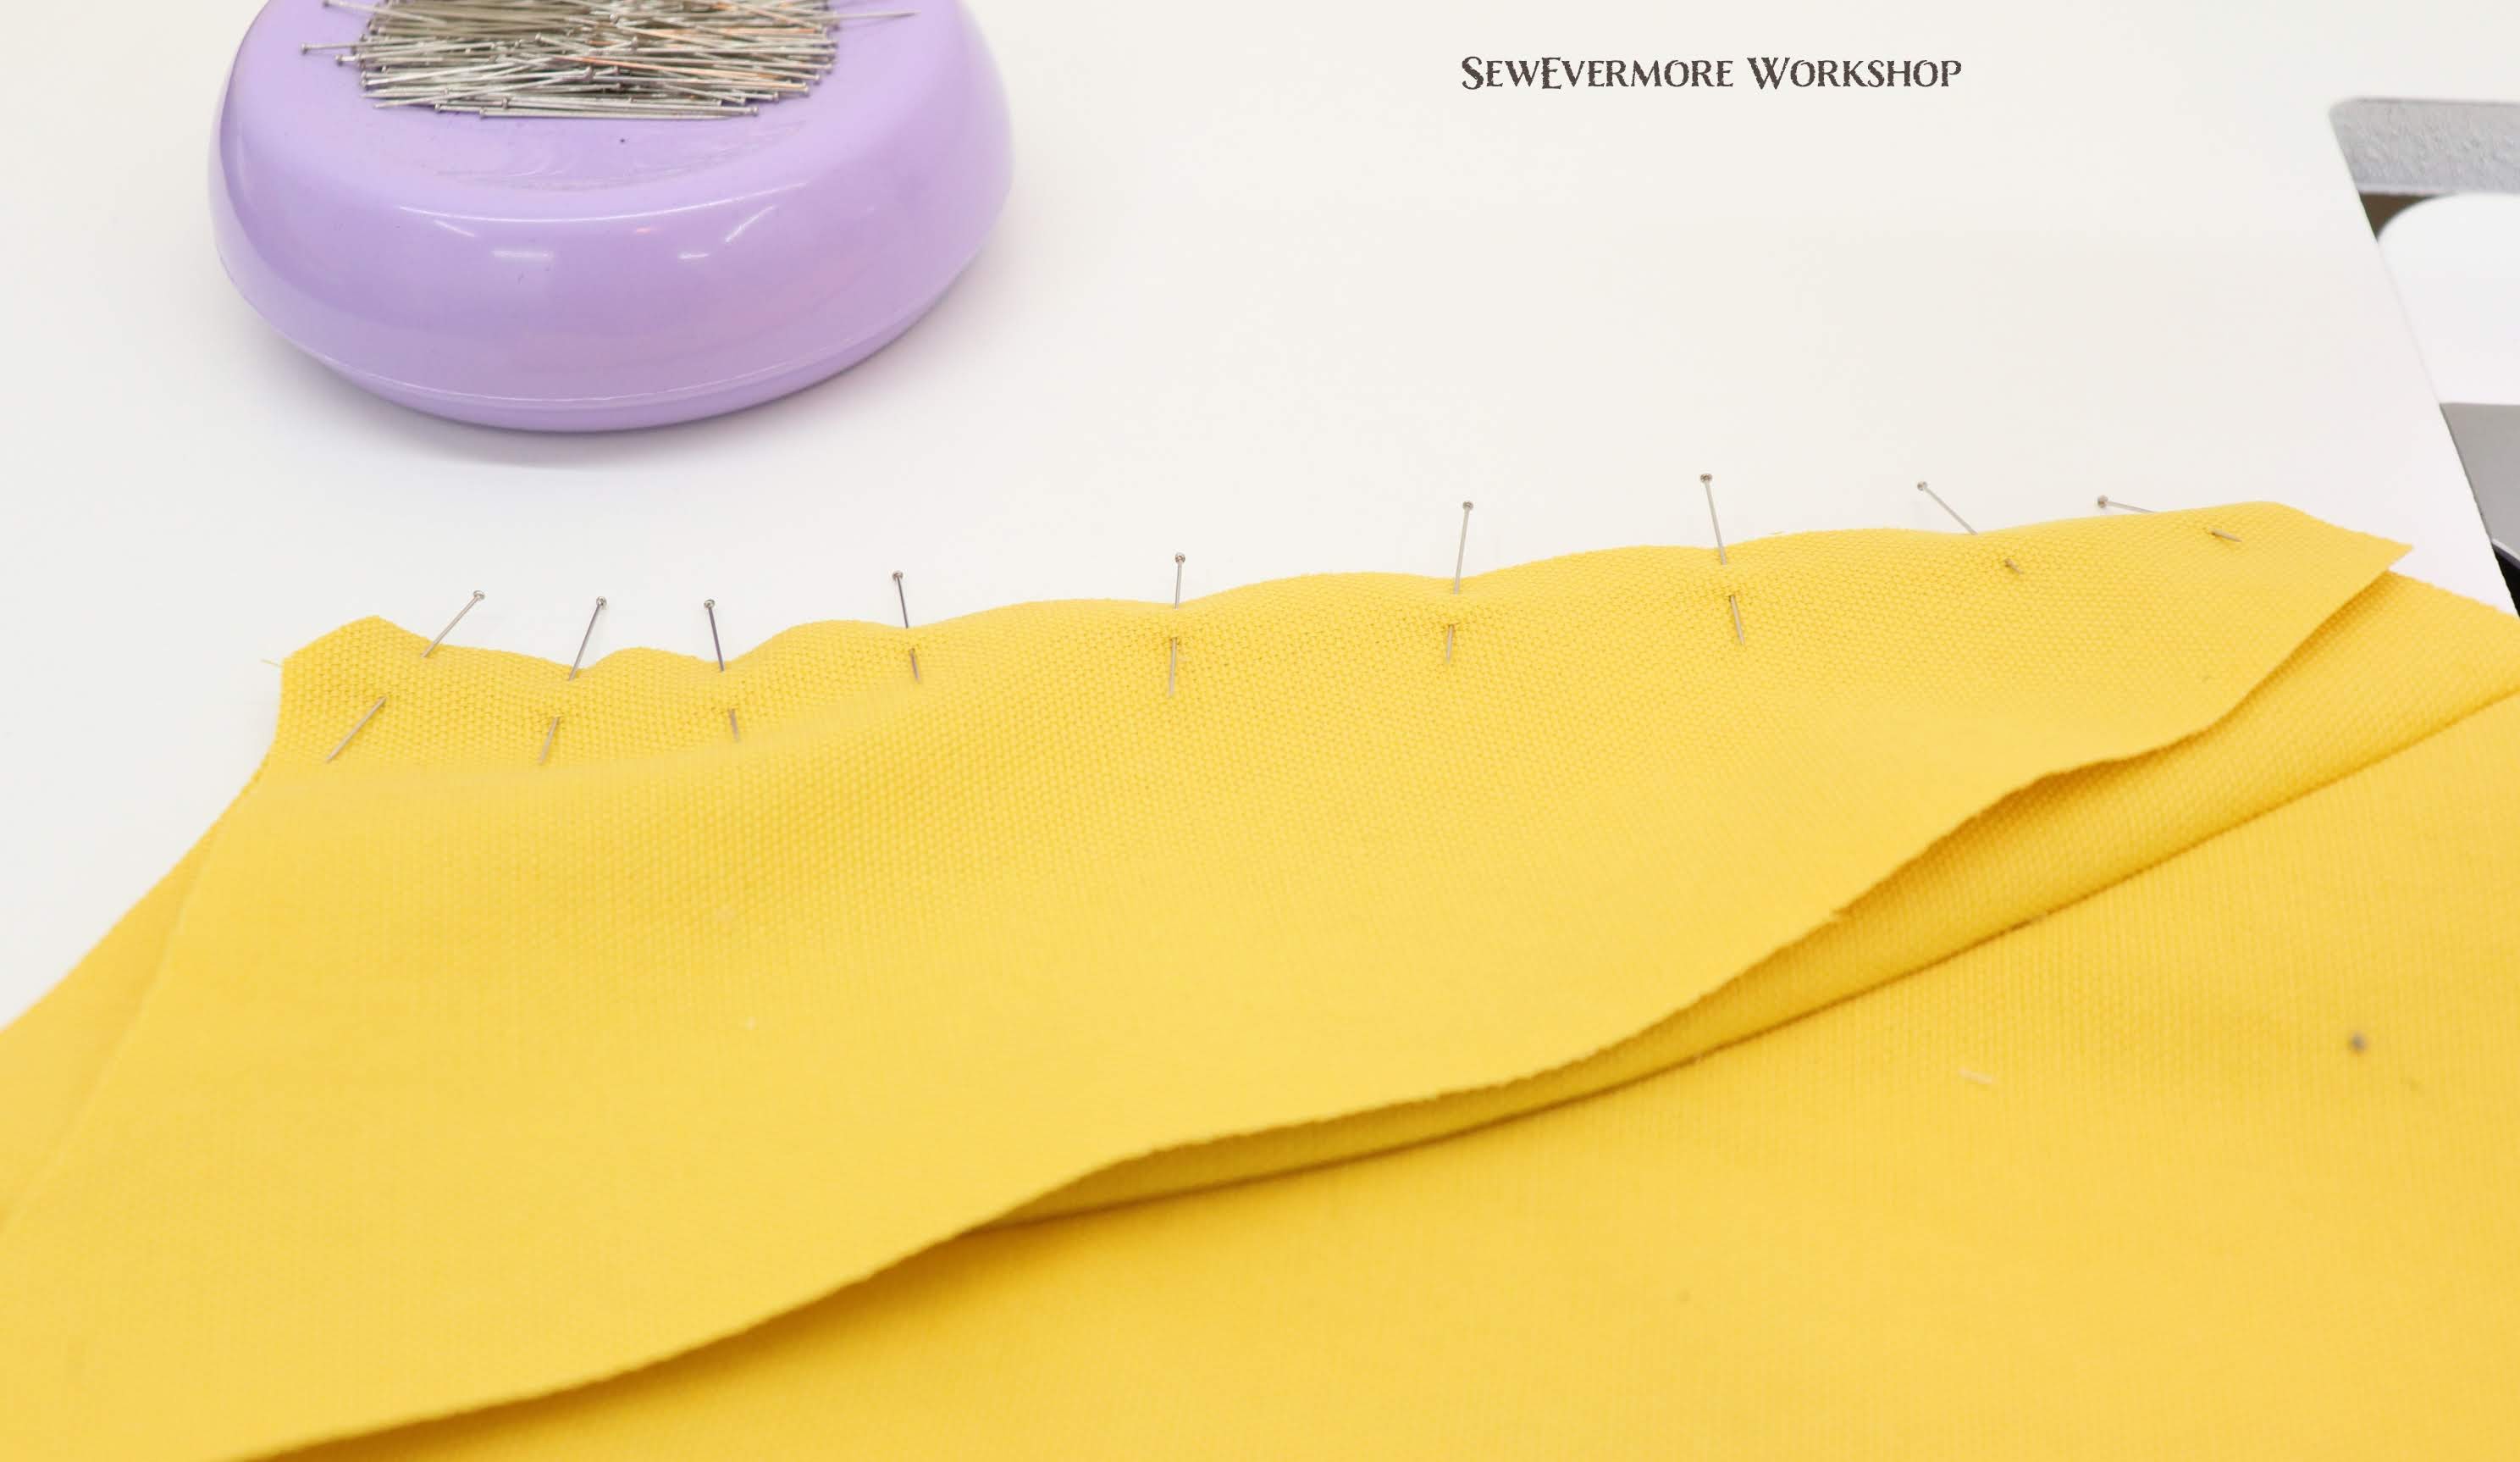
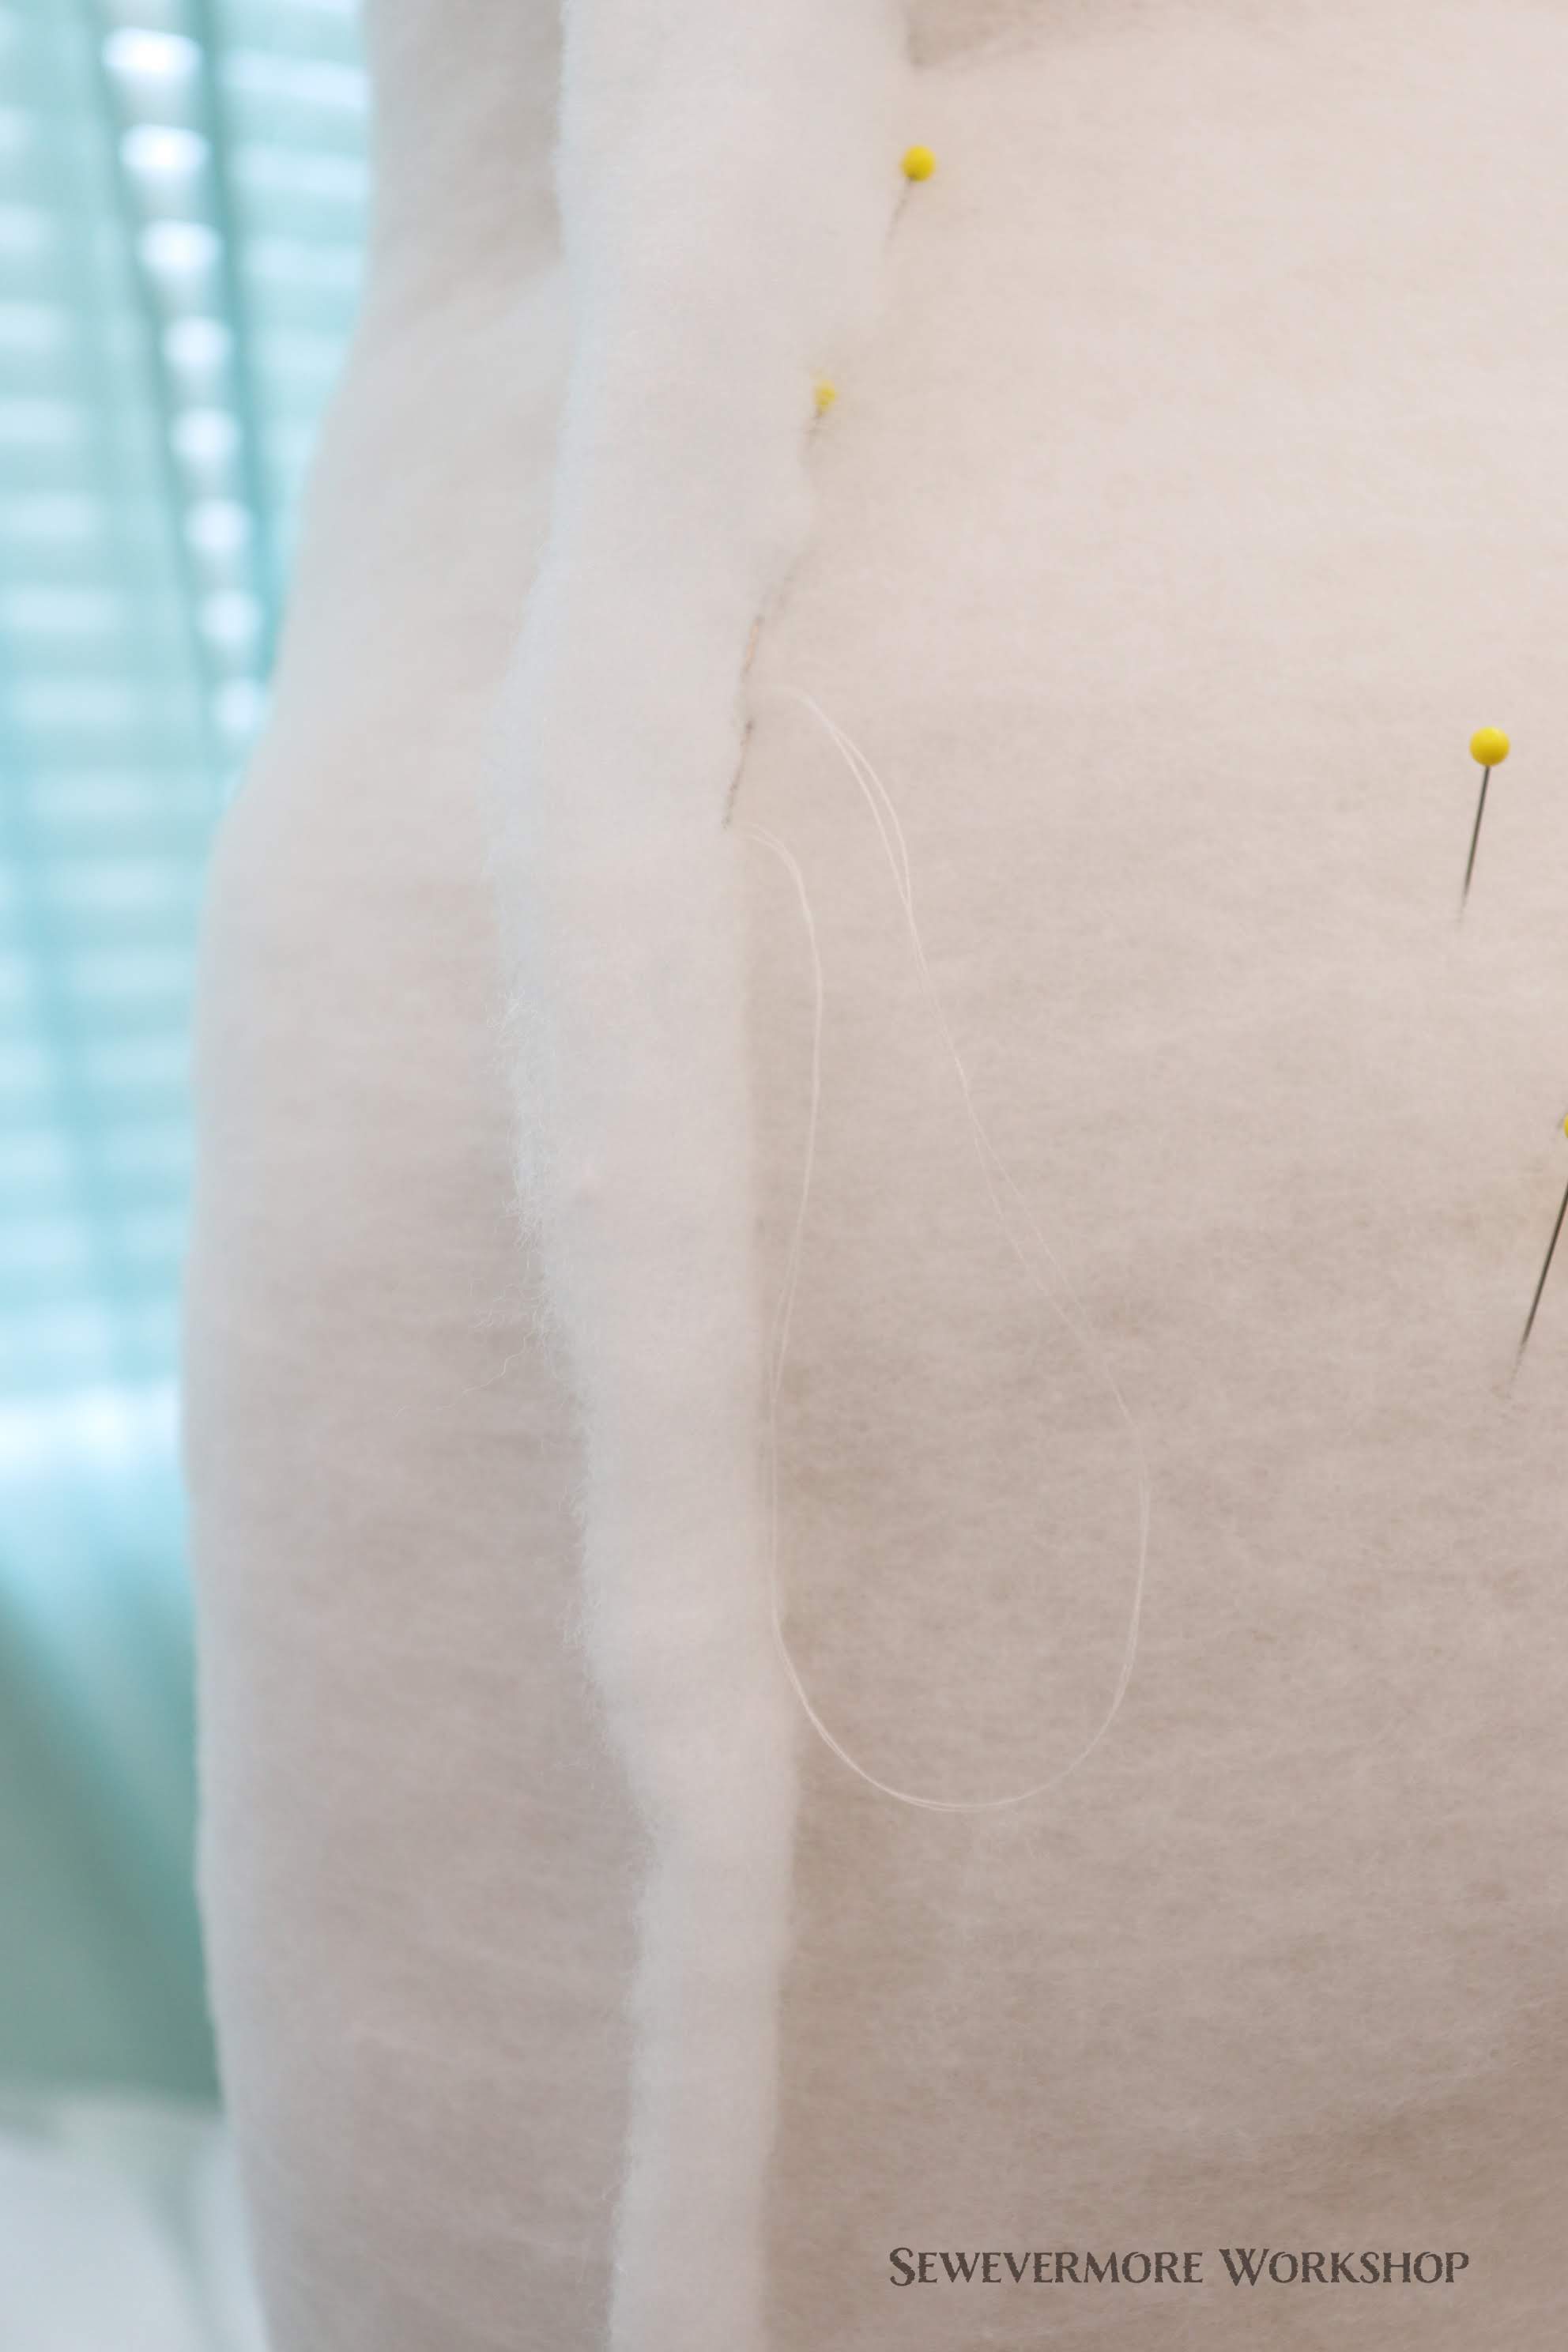
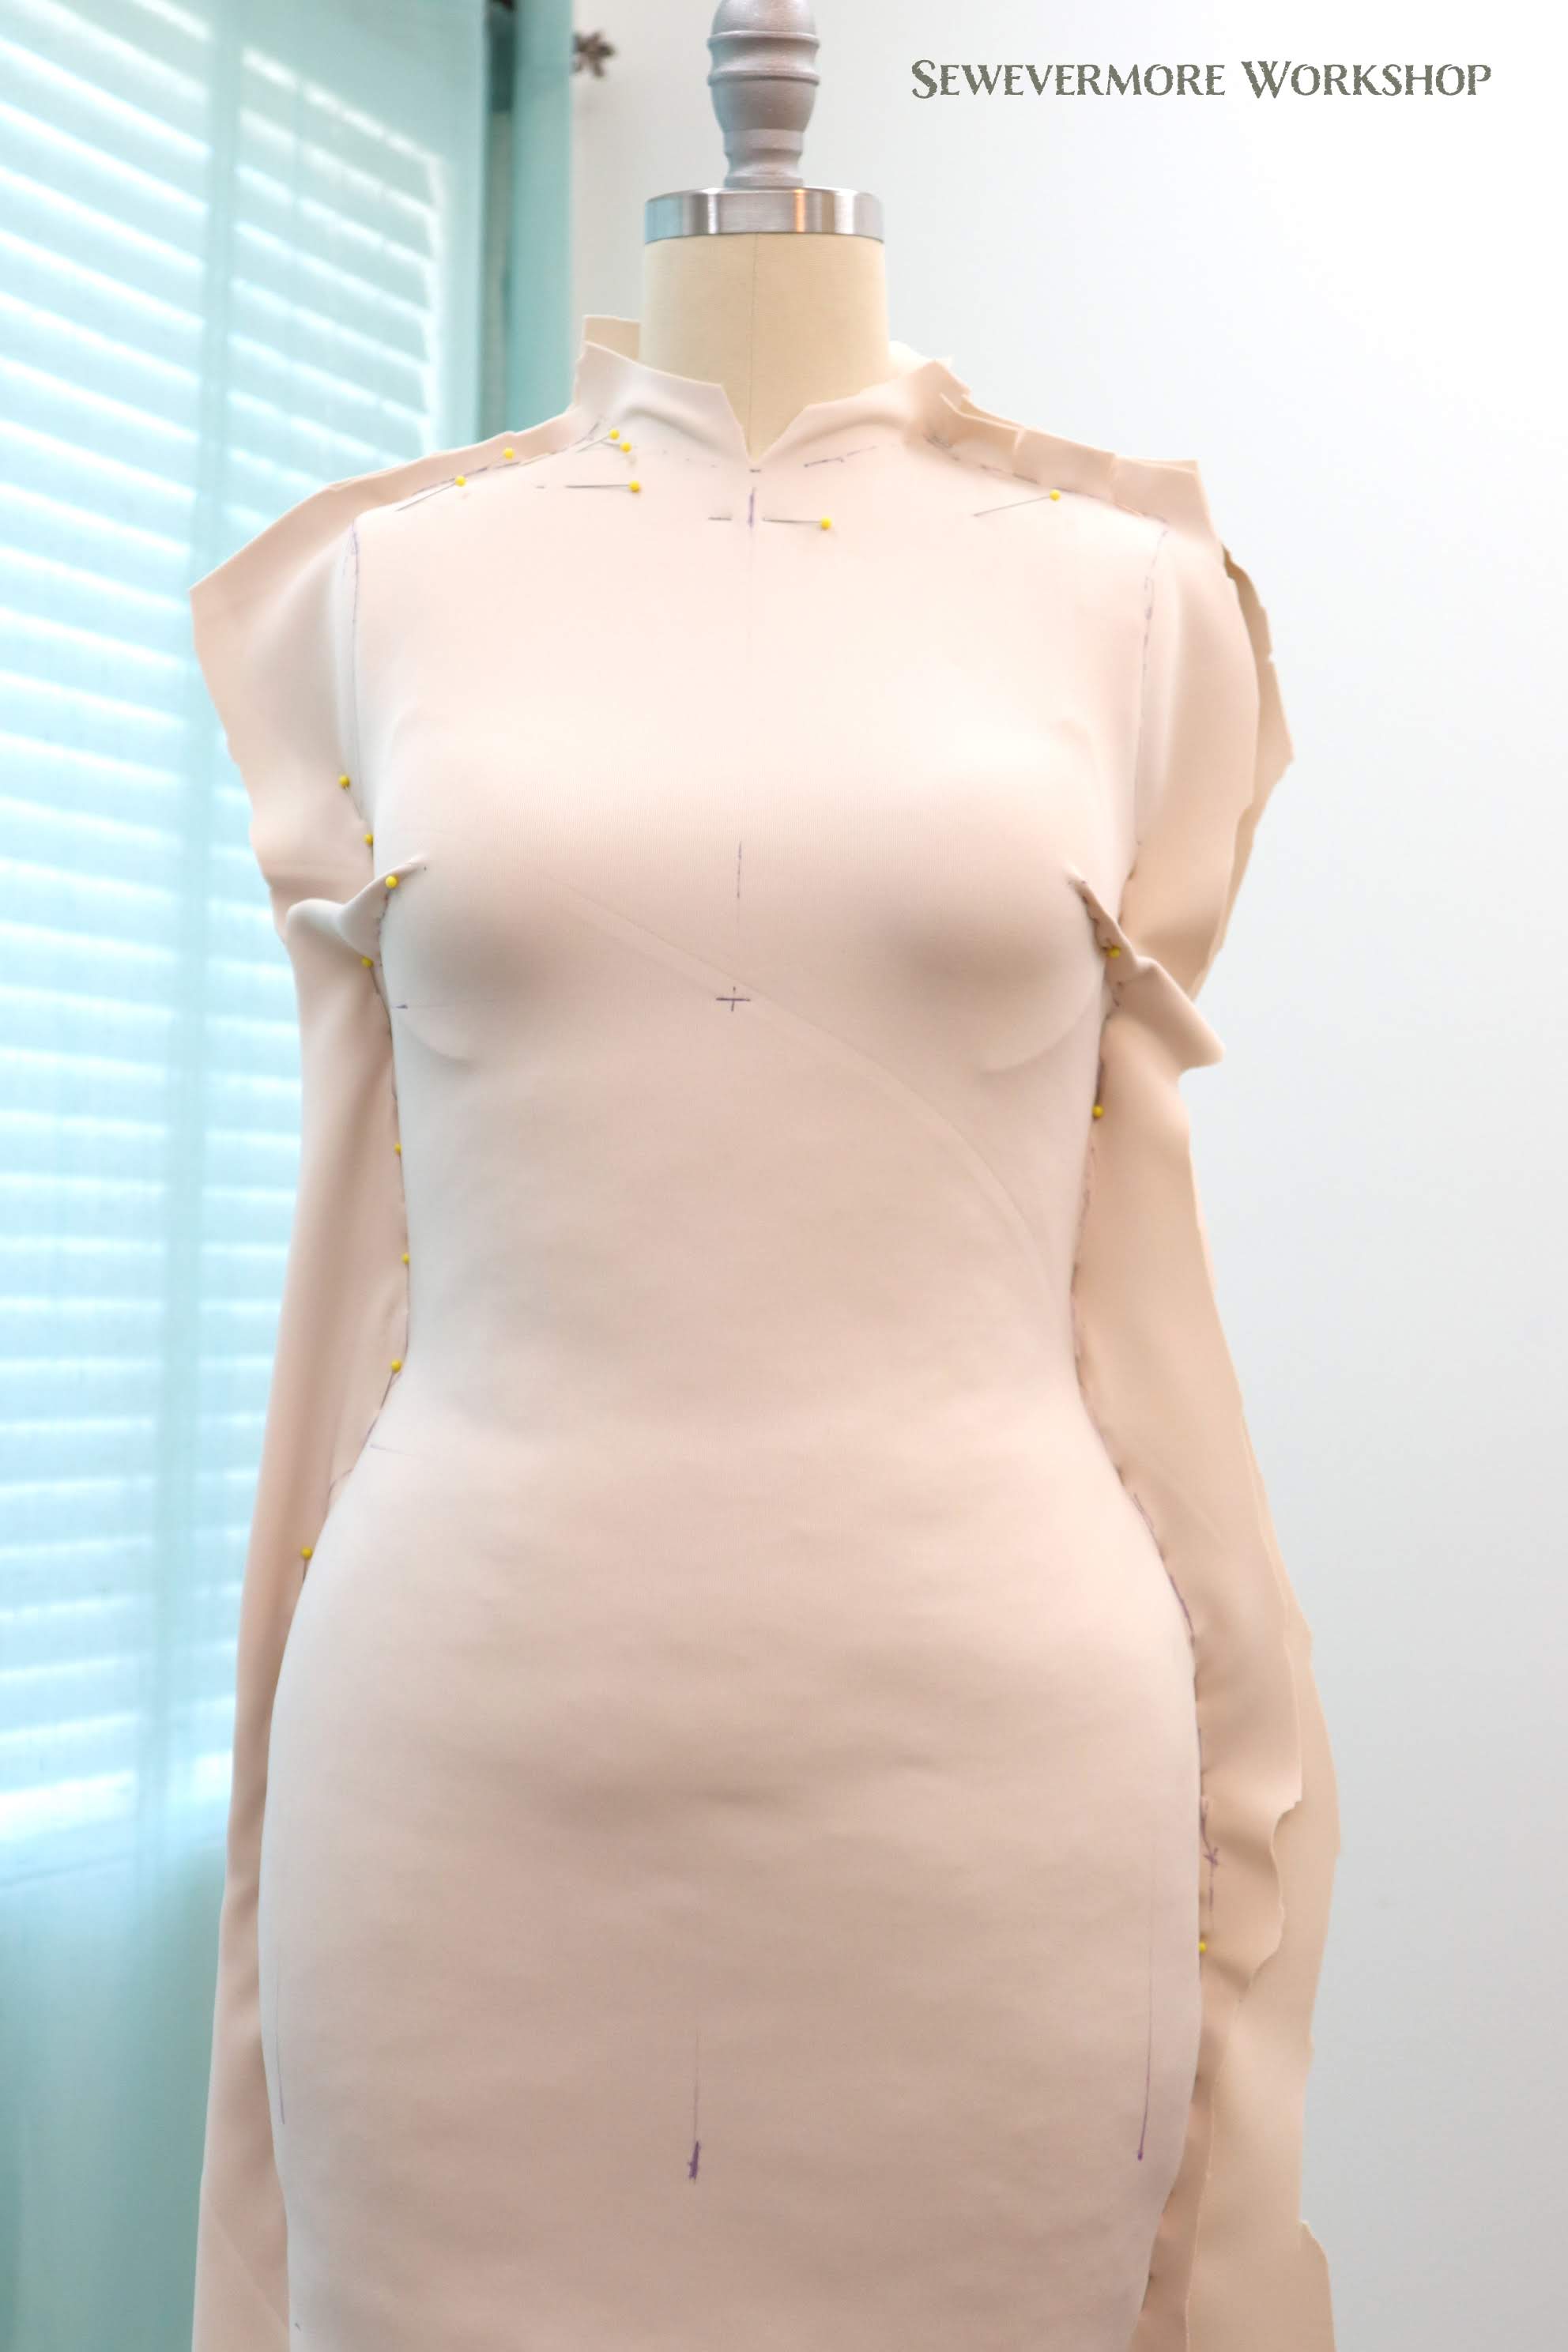
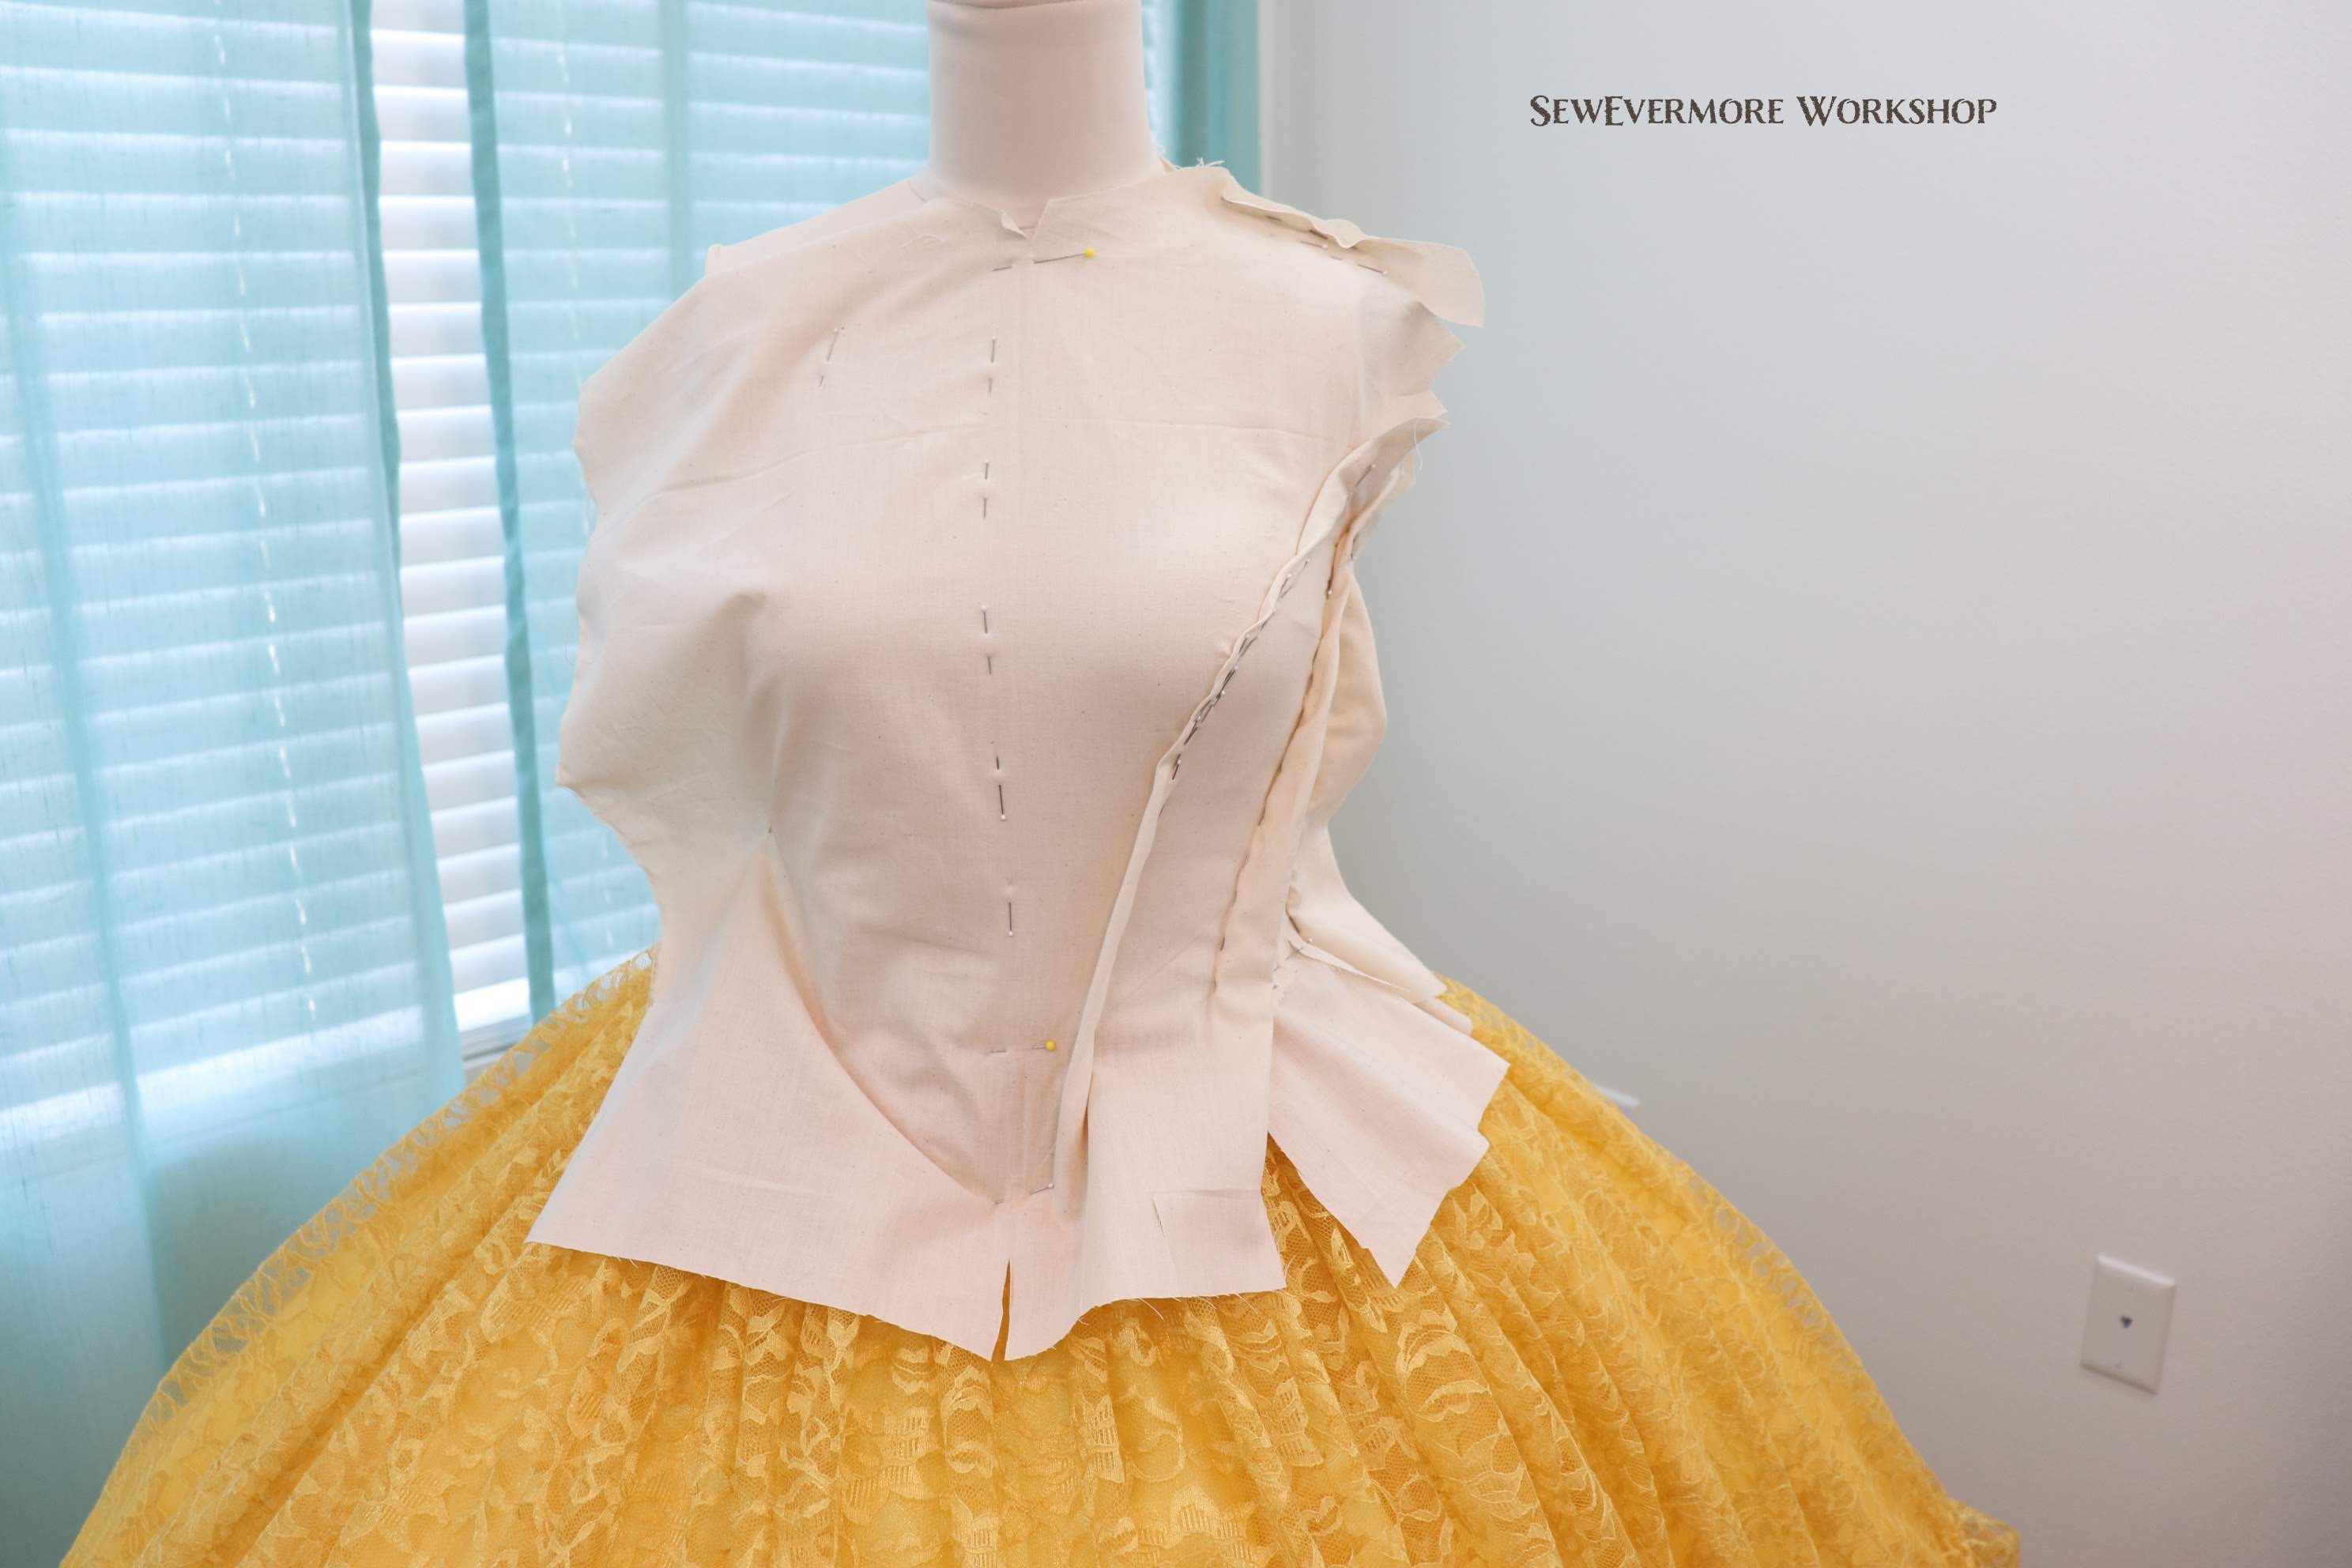
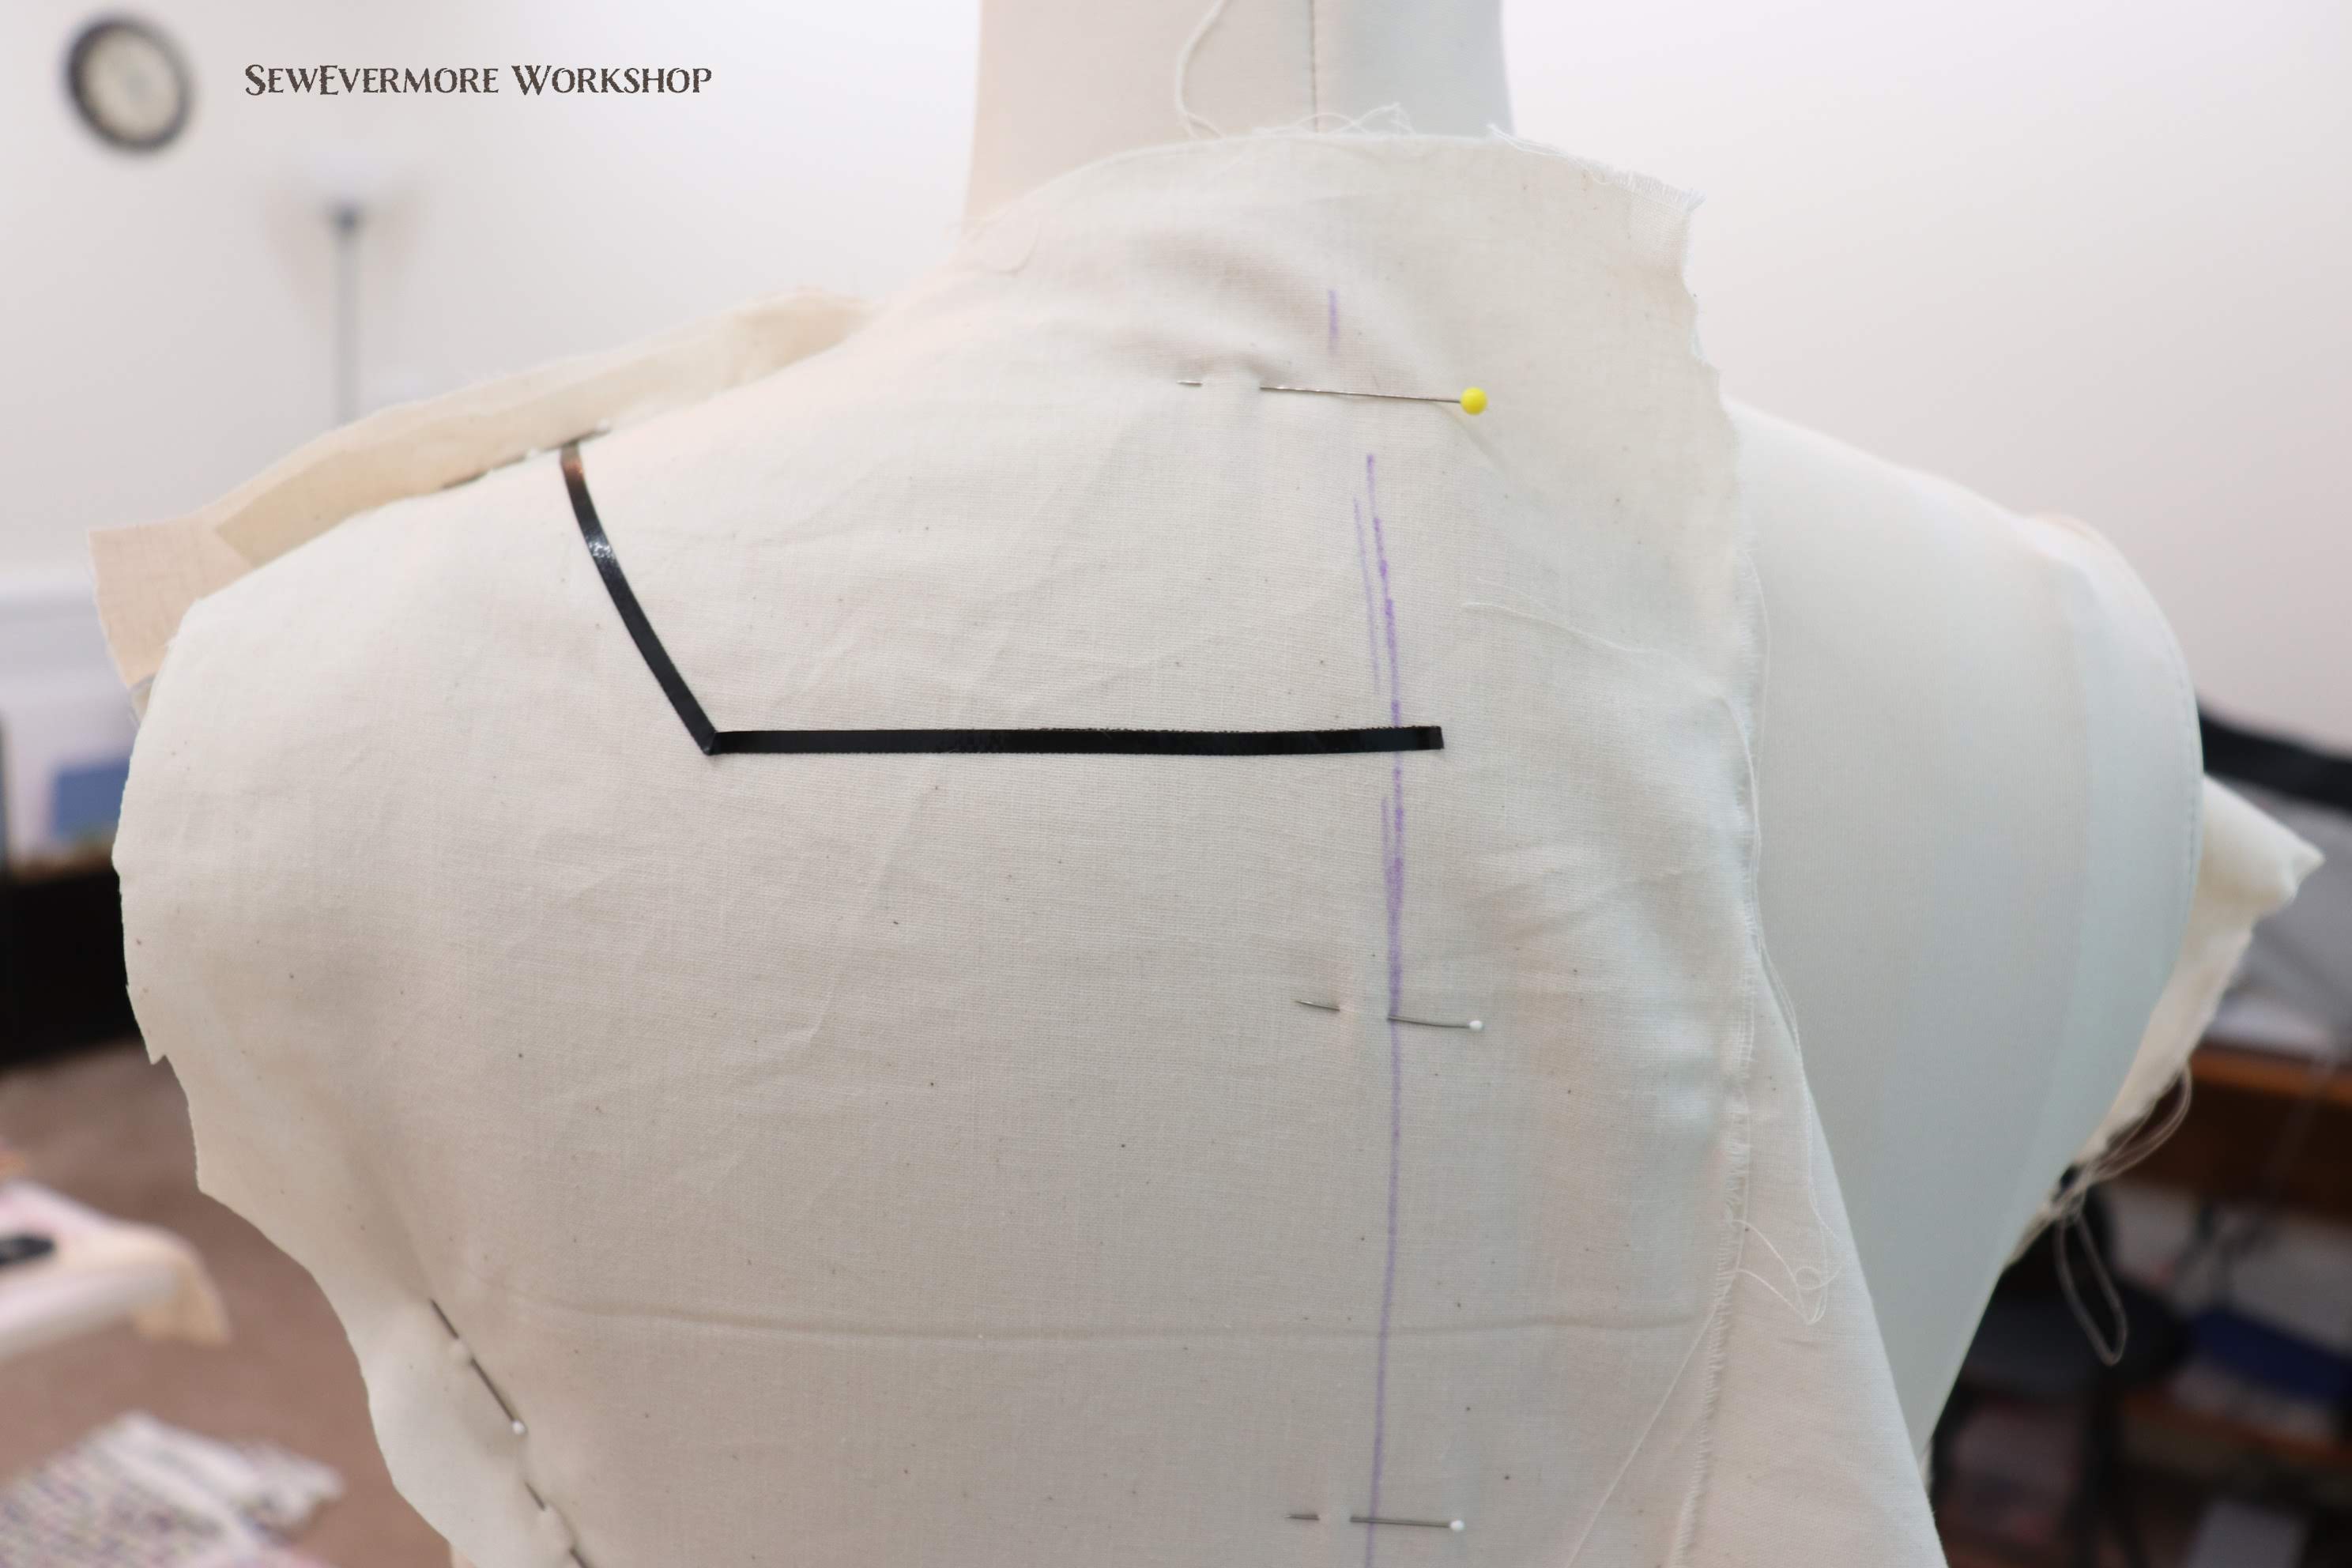
I began by draping a piece of muslin over the dress form. Be sure to make note of the grainline of the muslin and keep it vertical on the dress form. I like to secure the fabric at the center front first. Then I begin to pin the muslin into the desired shape, taking care to make sure the seams are as smooth as possible, and placed in flattering and easily maneuverable areas.
This can take practice, and is sometimes filled with trial and error. There were several seams that I had to re-pin a few times to create the look I was going for.
I find it helpful to be careful regarding the intersection of seams. It can be difficult to work with them if they are too close together or join in awkward places. I find this is particularly important in places such as under the arms, where you don’t want a lot of unnecessary bulk.

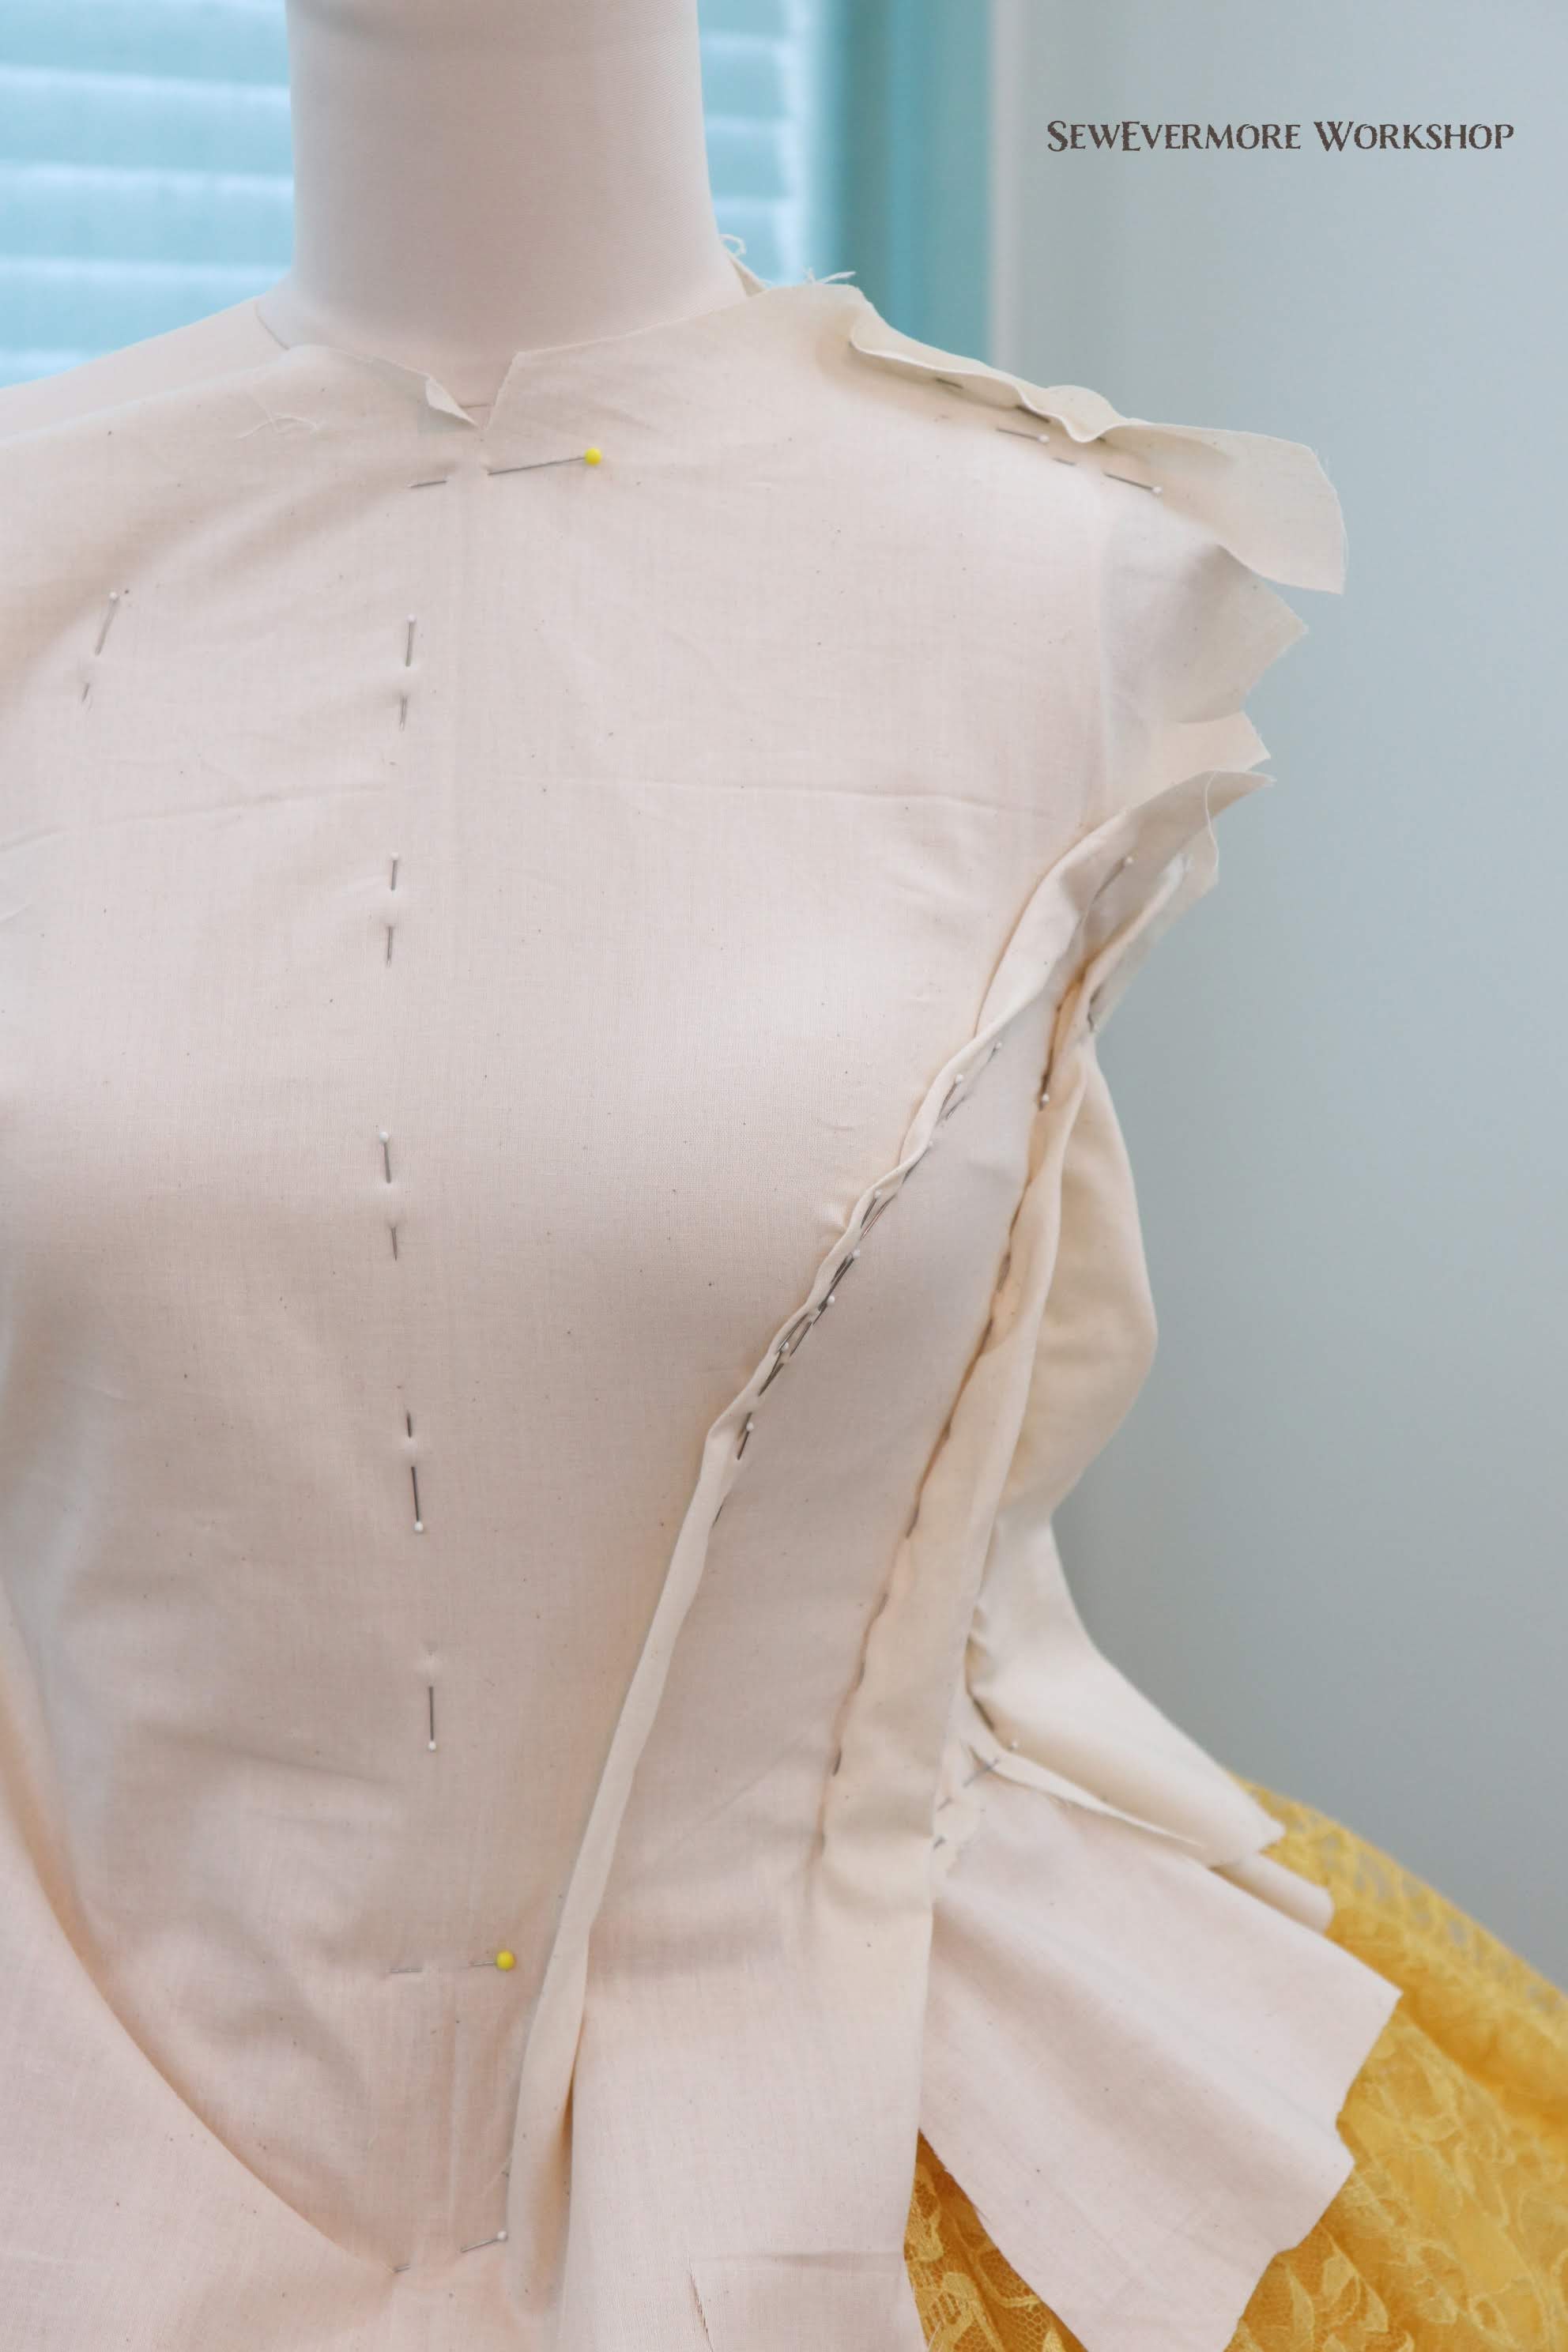
Once I have the seams pinned the way I like, I start to play with the edges. I began by using 1/8 inch draping tape to create possible necklines. I purchased the tape, and a lot of my draping and pattern making supplies, from pgm. My dress will be worn at a school with strict modesty guidelines, so the dress can’t be sleeveless. So, my dress will have cap sleeves which will be hidden under the “collar”, hence the necklines shown.
That said, the beauty of draping your own bodies is that you can make it whatever shape works best for you! The sky is the limit! Most of these methods will work regardless of your particular shape, unless it is drastically different.
 I have only recently started using the draping tape, but I find that I like it. It is bold, which gives great lines, and it is easy to move until you decide on a final position. I decided to go with the blue line.
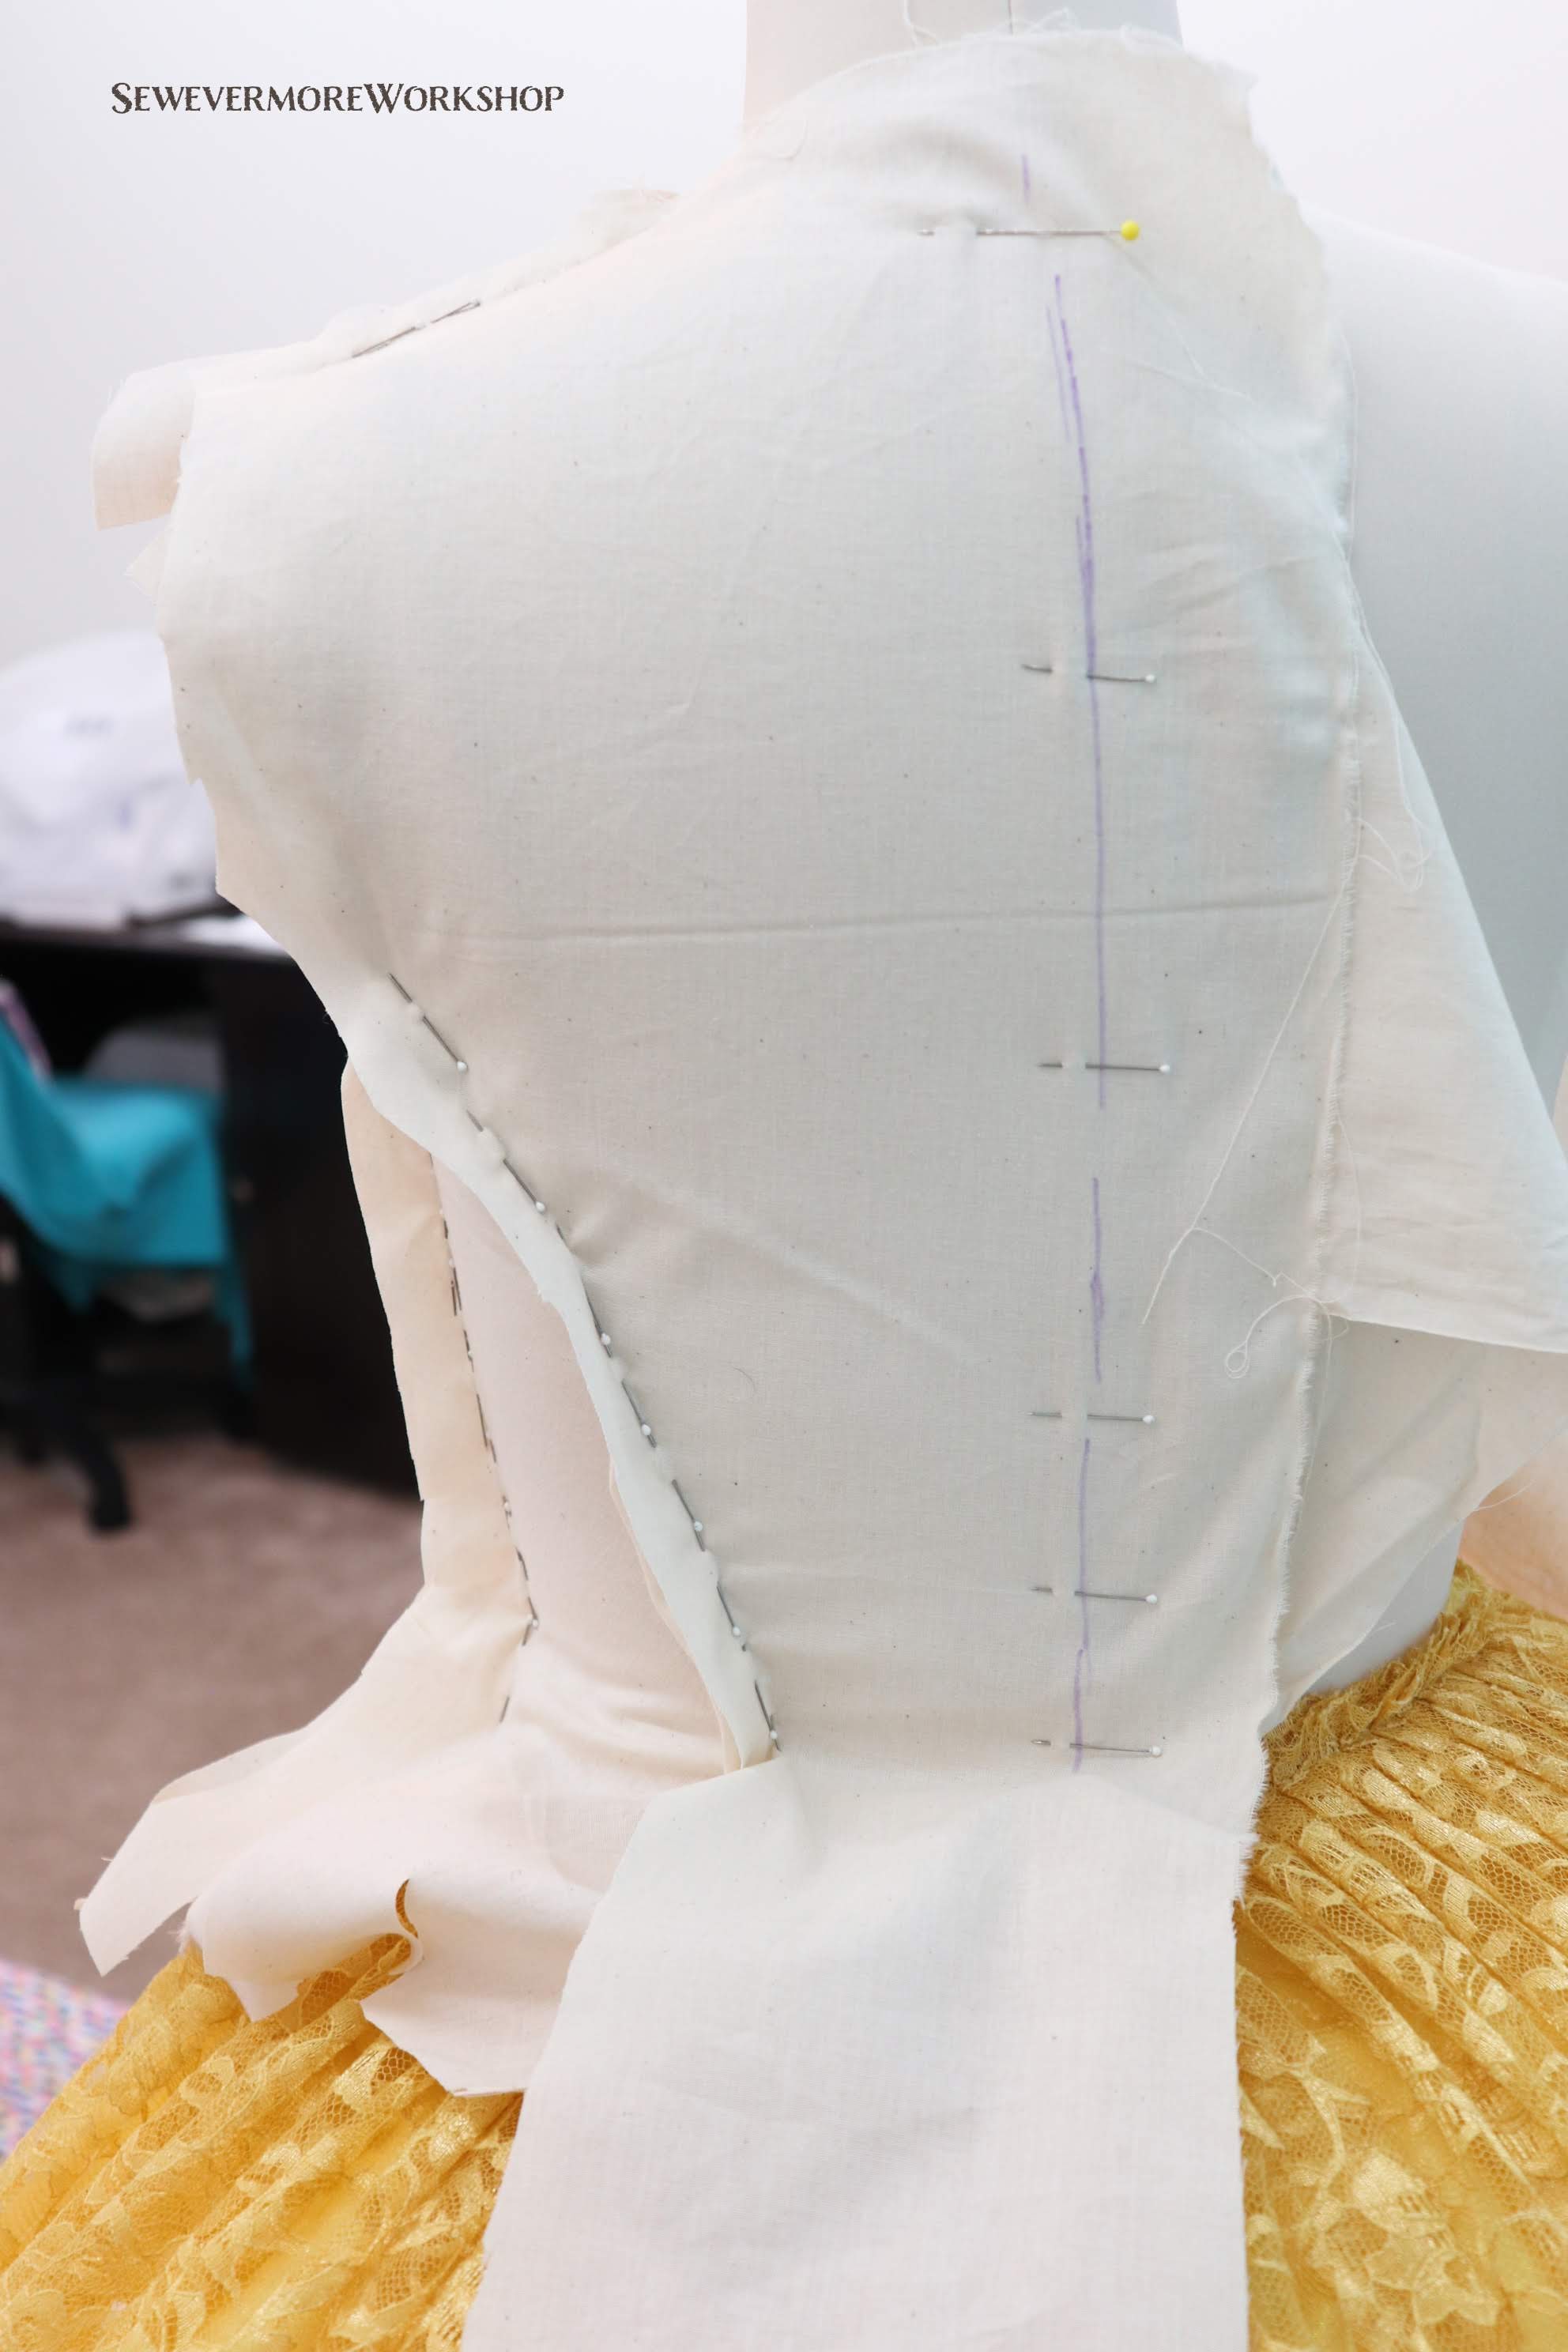
Next up was the back neckline. I started by making sure the shoulder lines matched up.

From the shoulder line I continued on to shape the back neck line.
I then used tape to mark the sleeve holes.

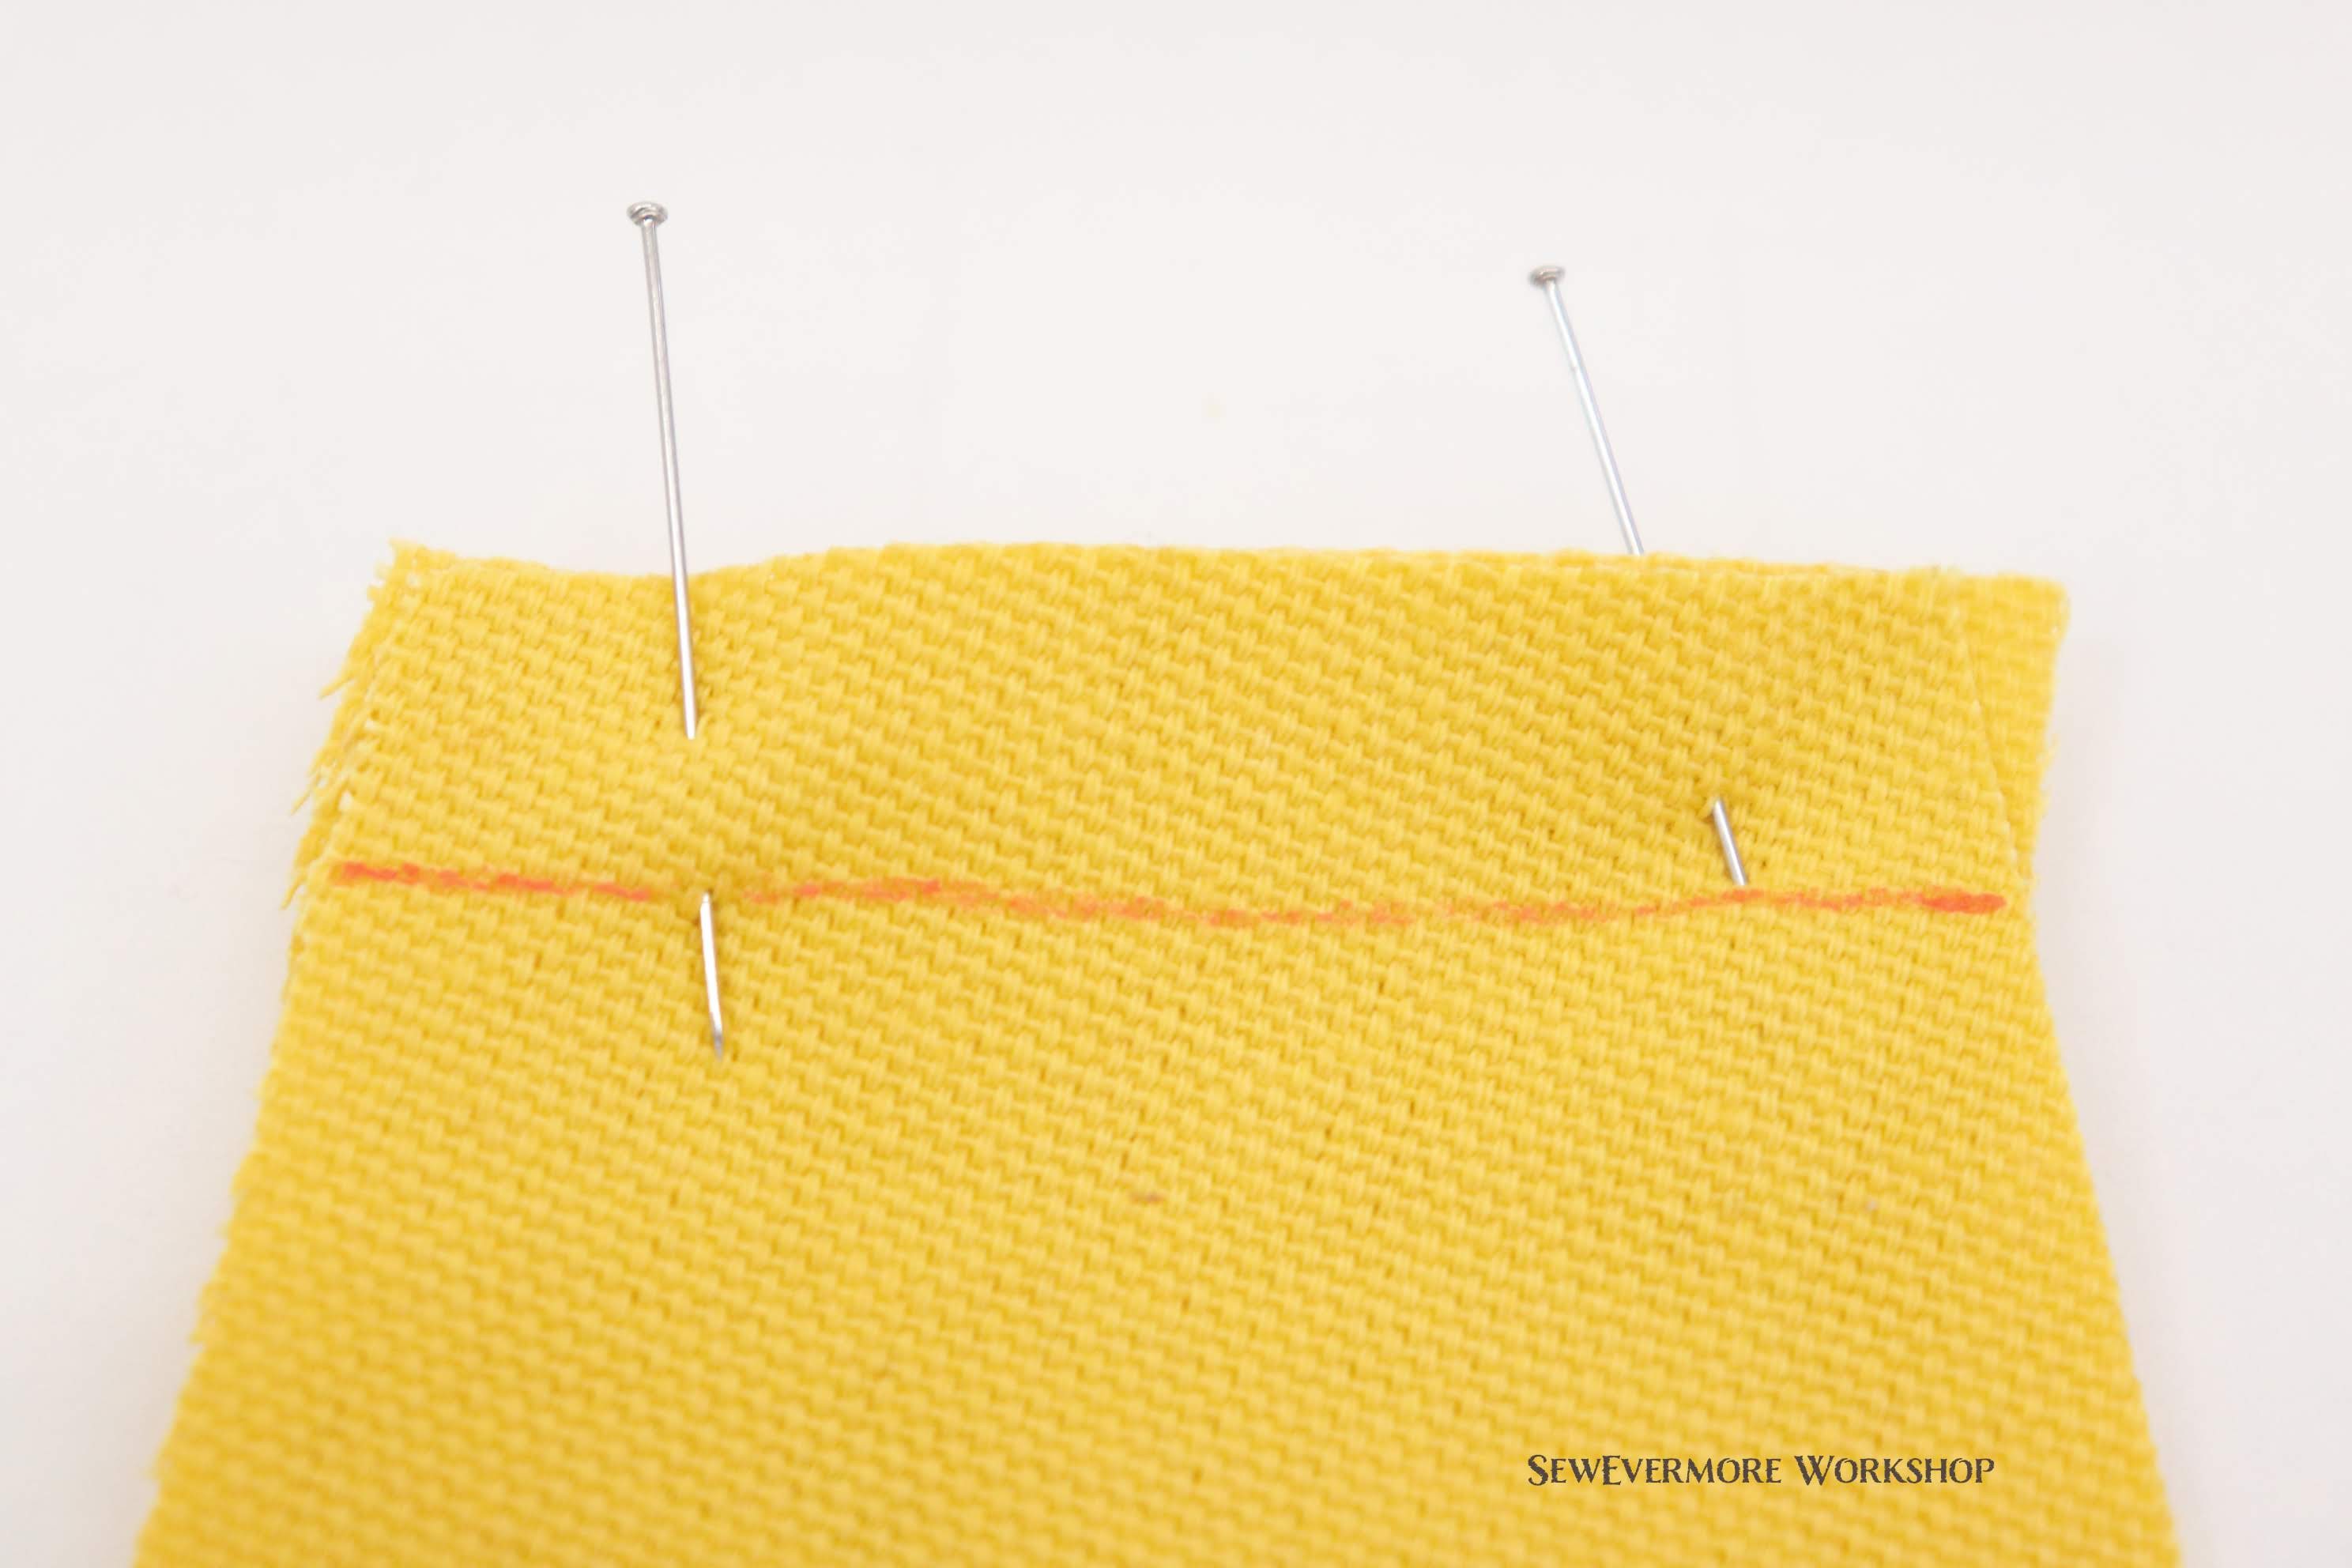
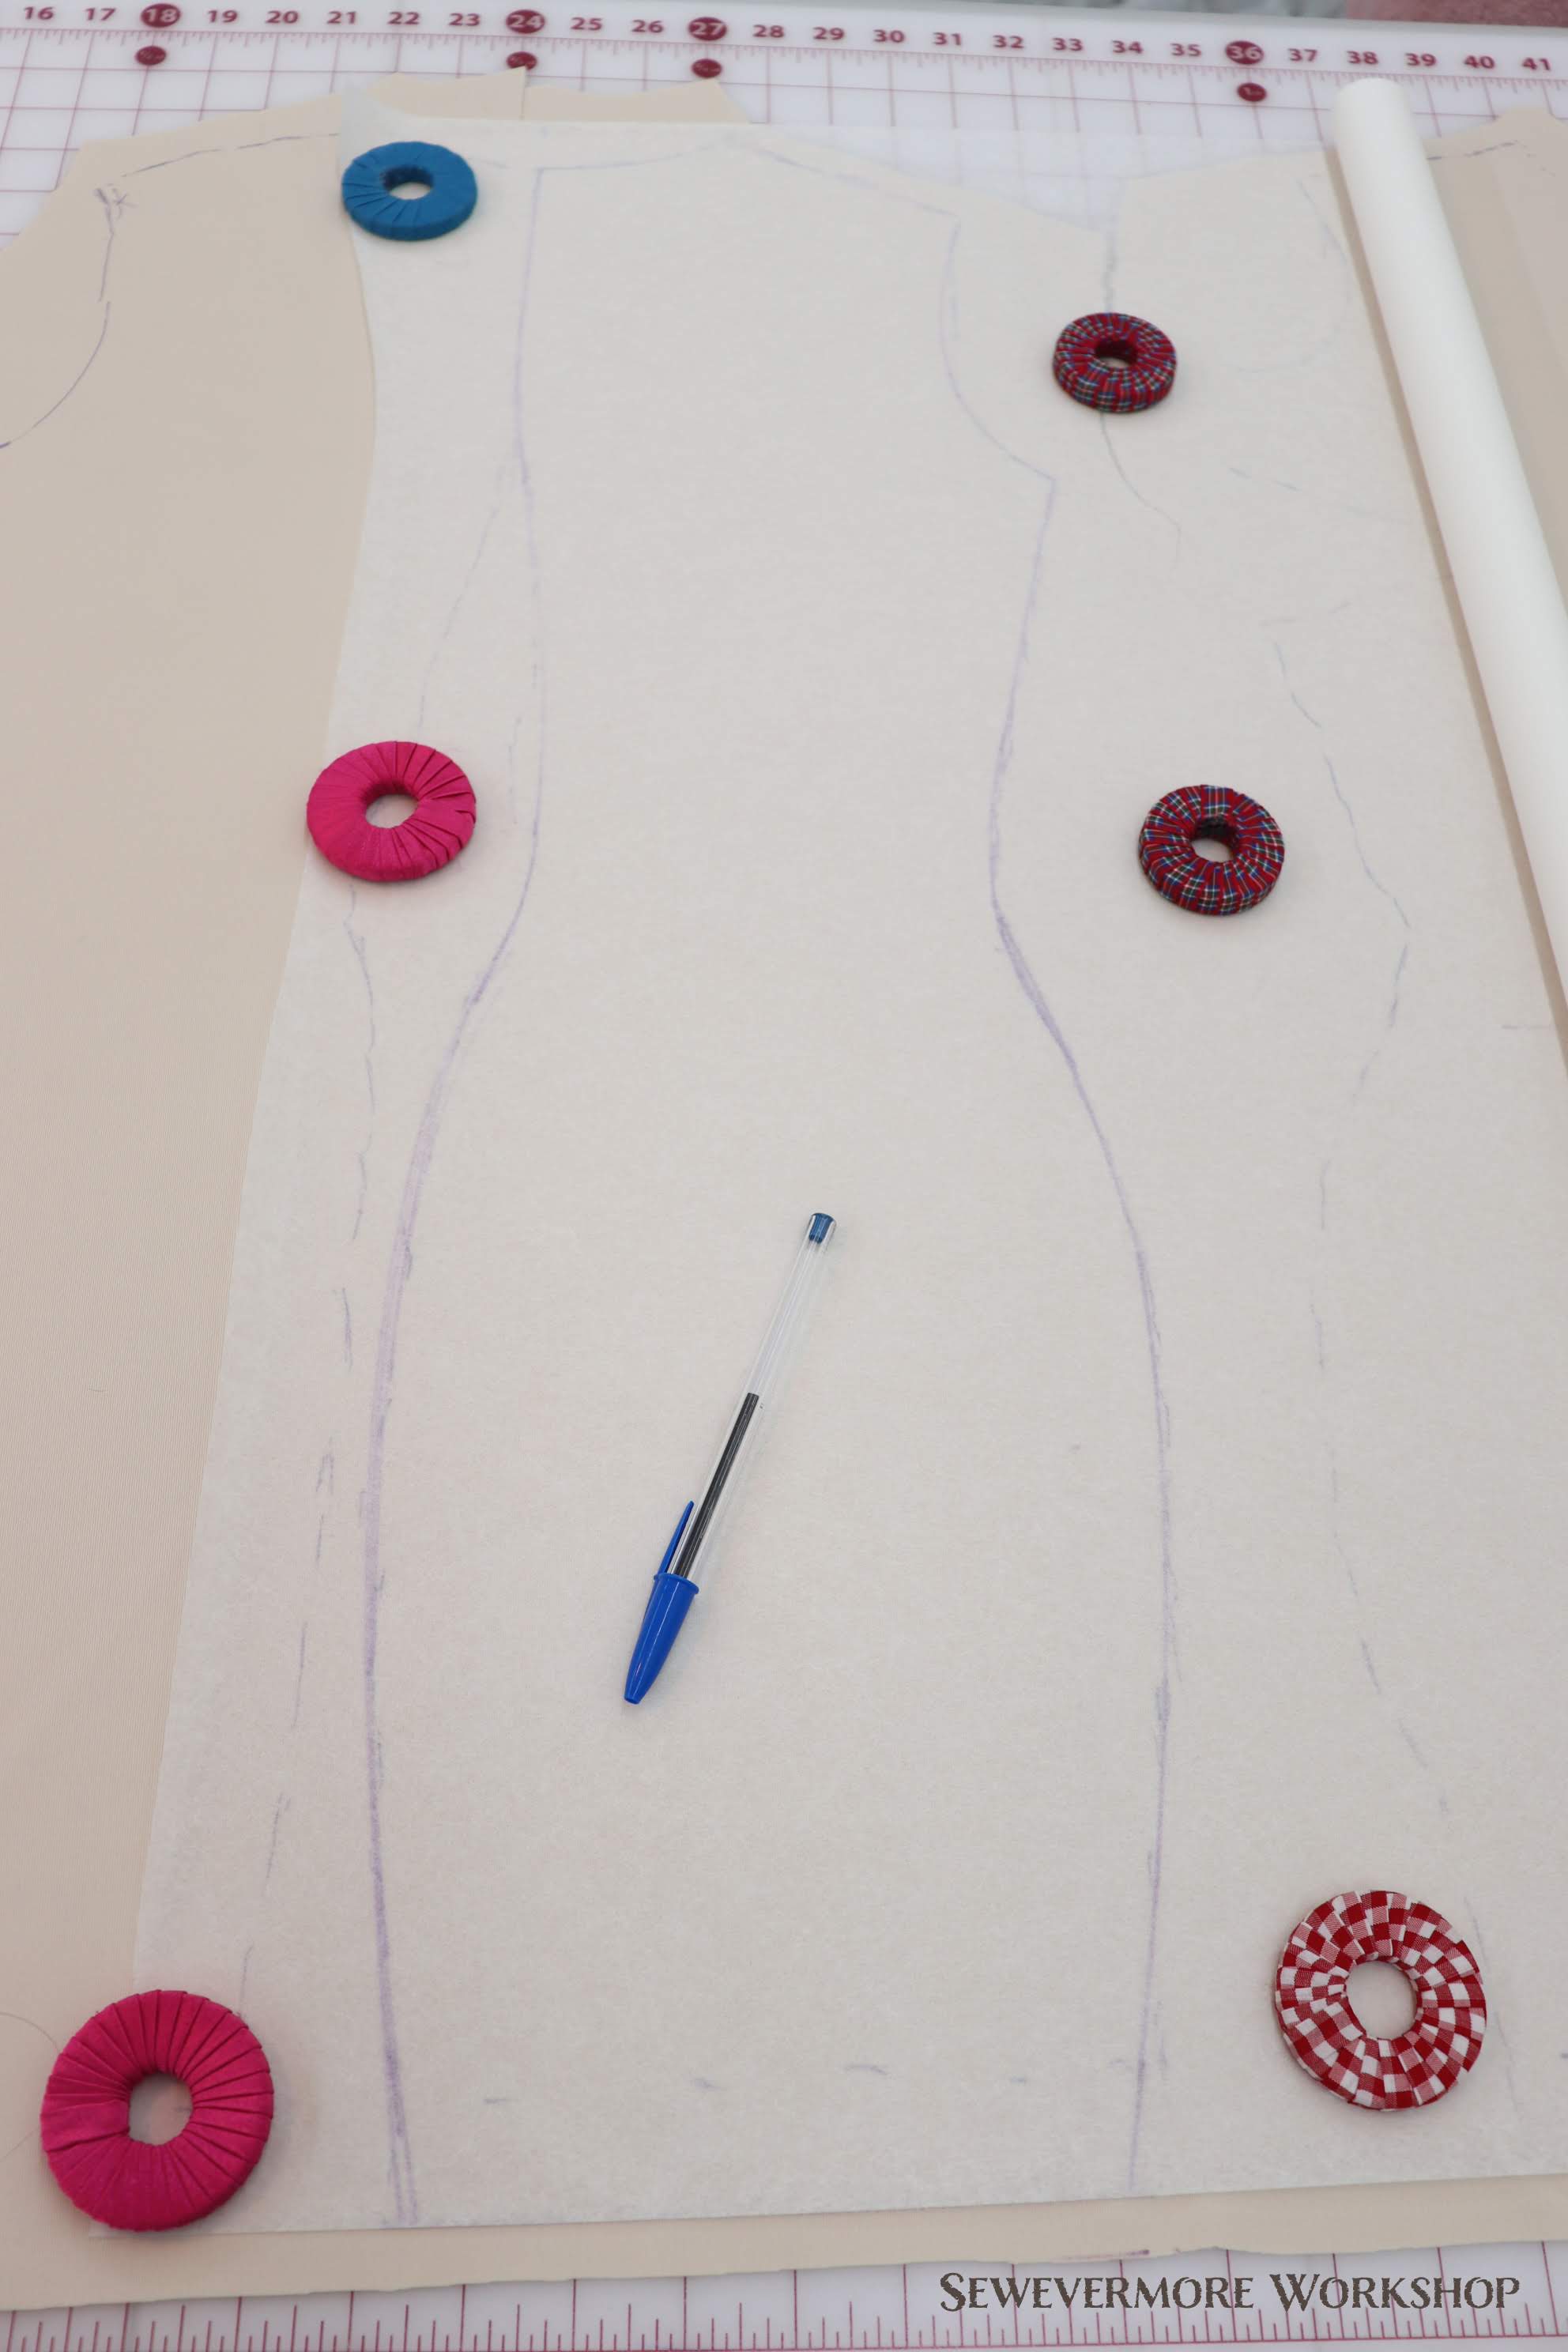
It is important to mark key locations such as the center front, waistline, joining points, etc. I like to simply use a ballpoint pen for this, but others prefer pencils or other marking tools. I would not use anything that smudges or could bleed through.

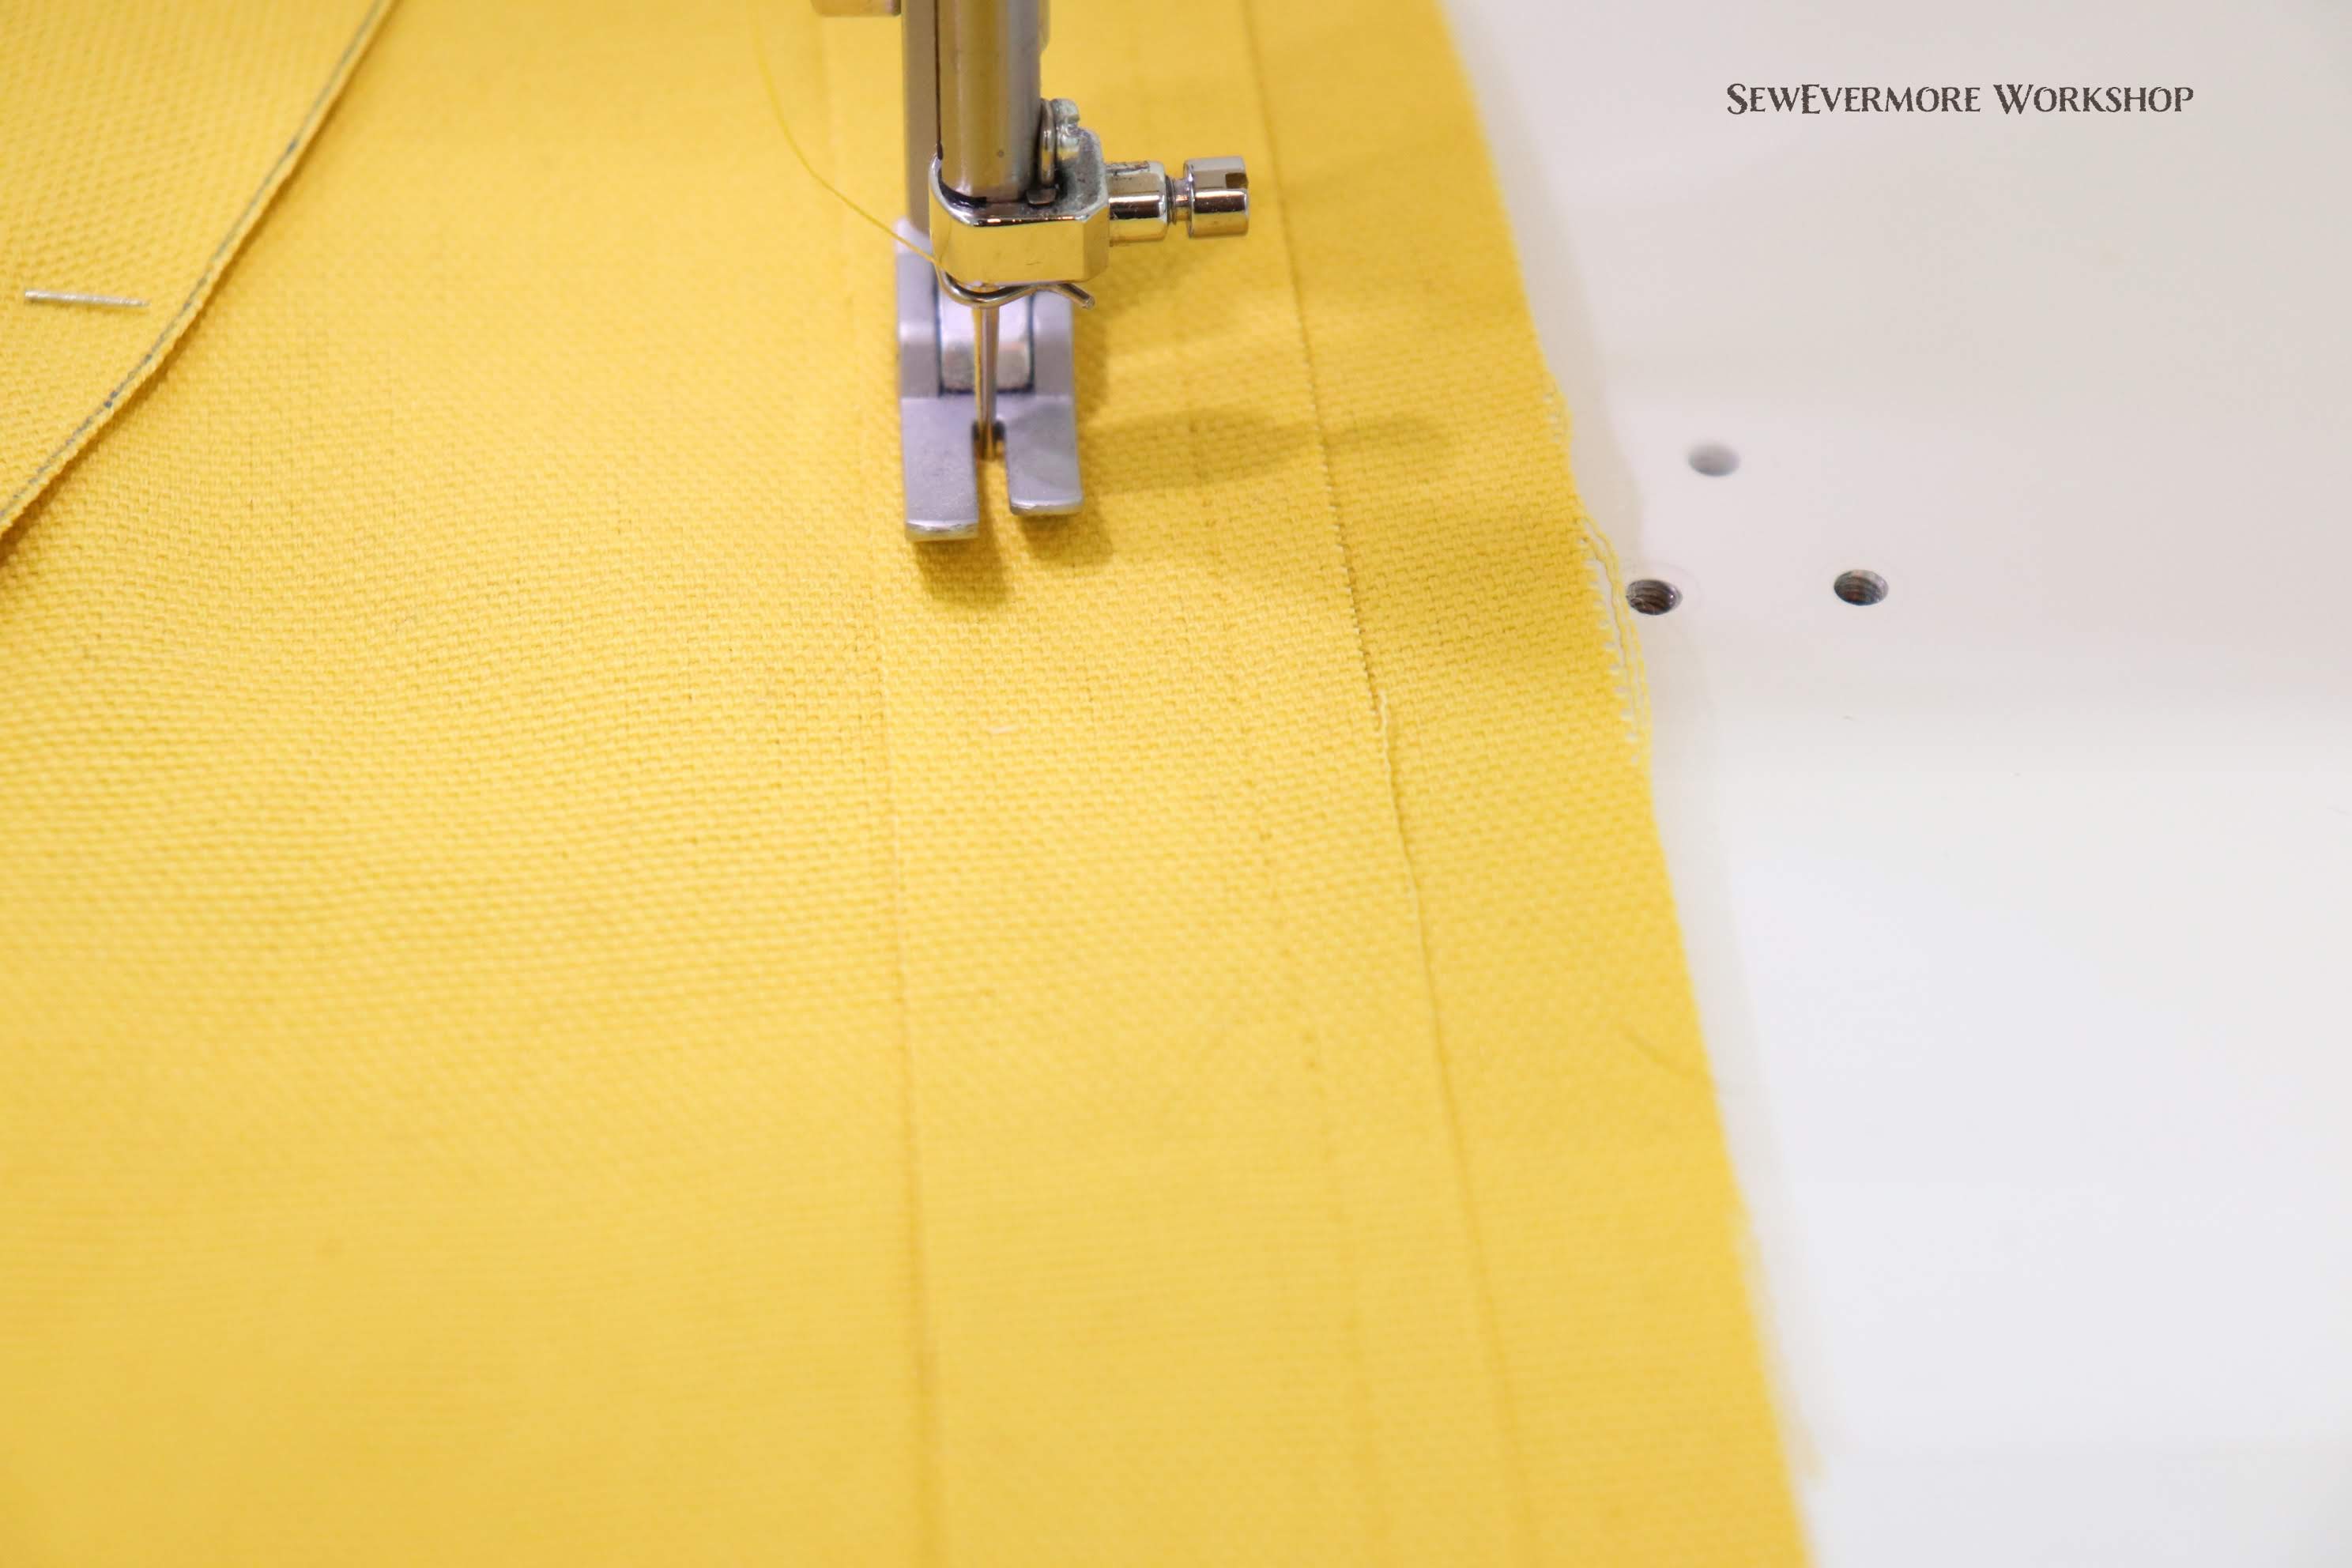
At this point I was pretty content with the progress of my pattern, so it was time to mark the seams. I did this by marking along the pin lines. Be sure to do this on both sides of the seam, along the front and back of the pins, so each pattern piece or section is defined.
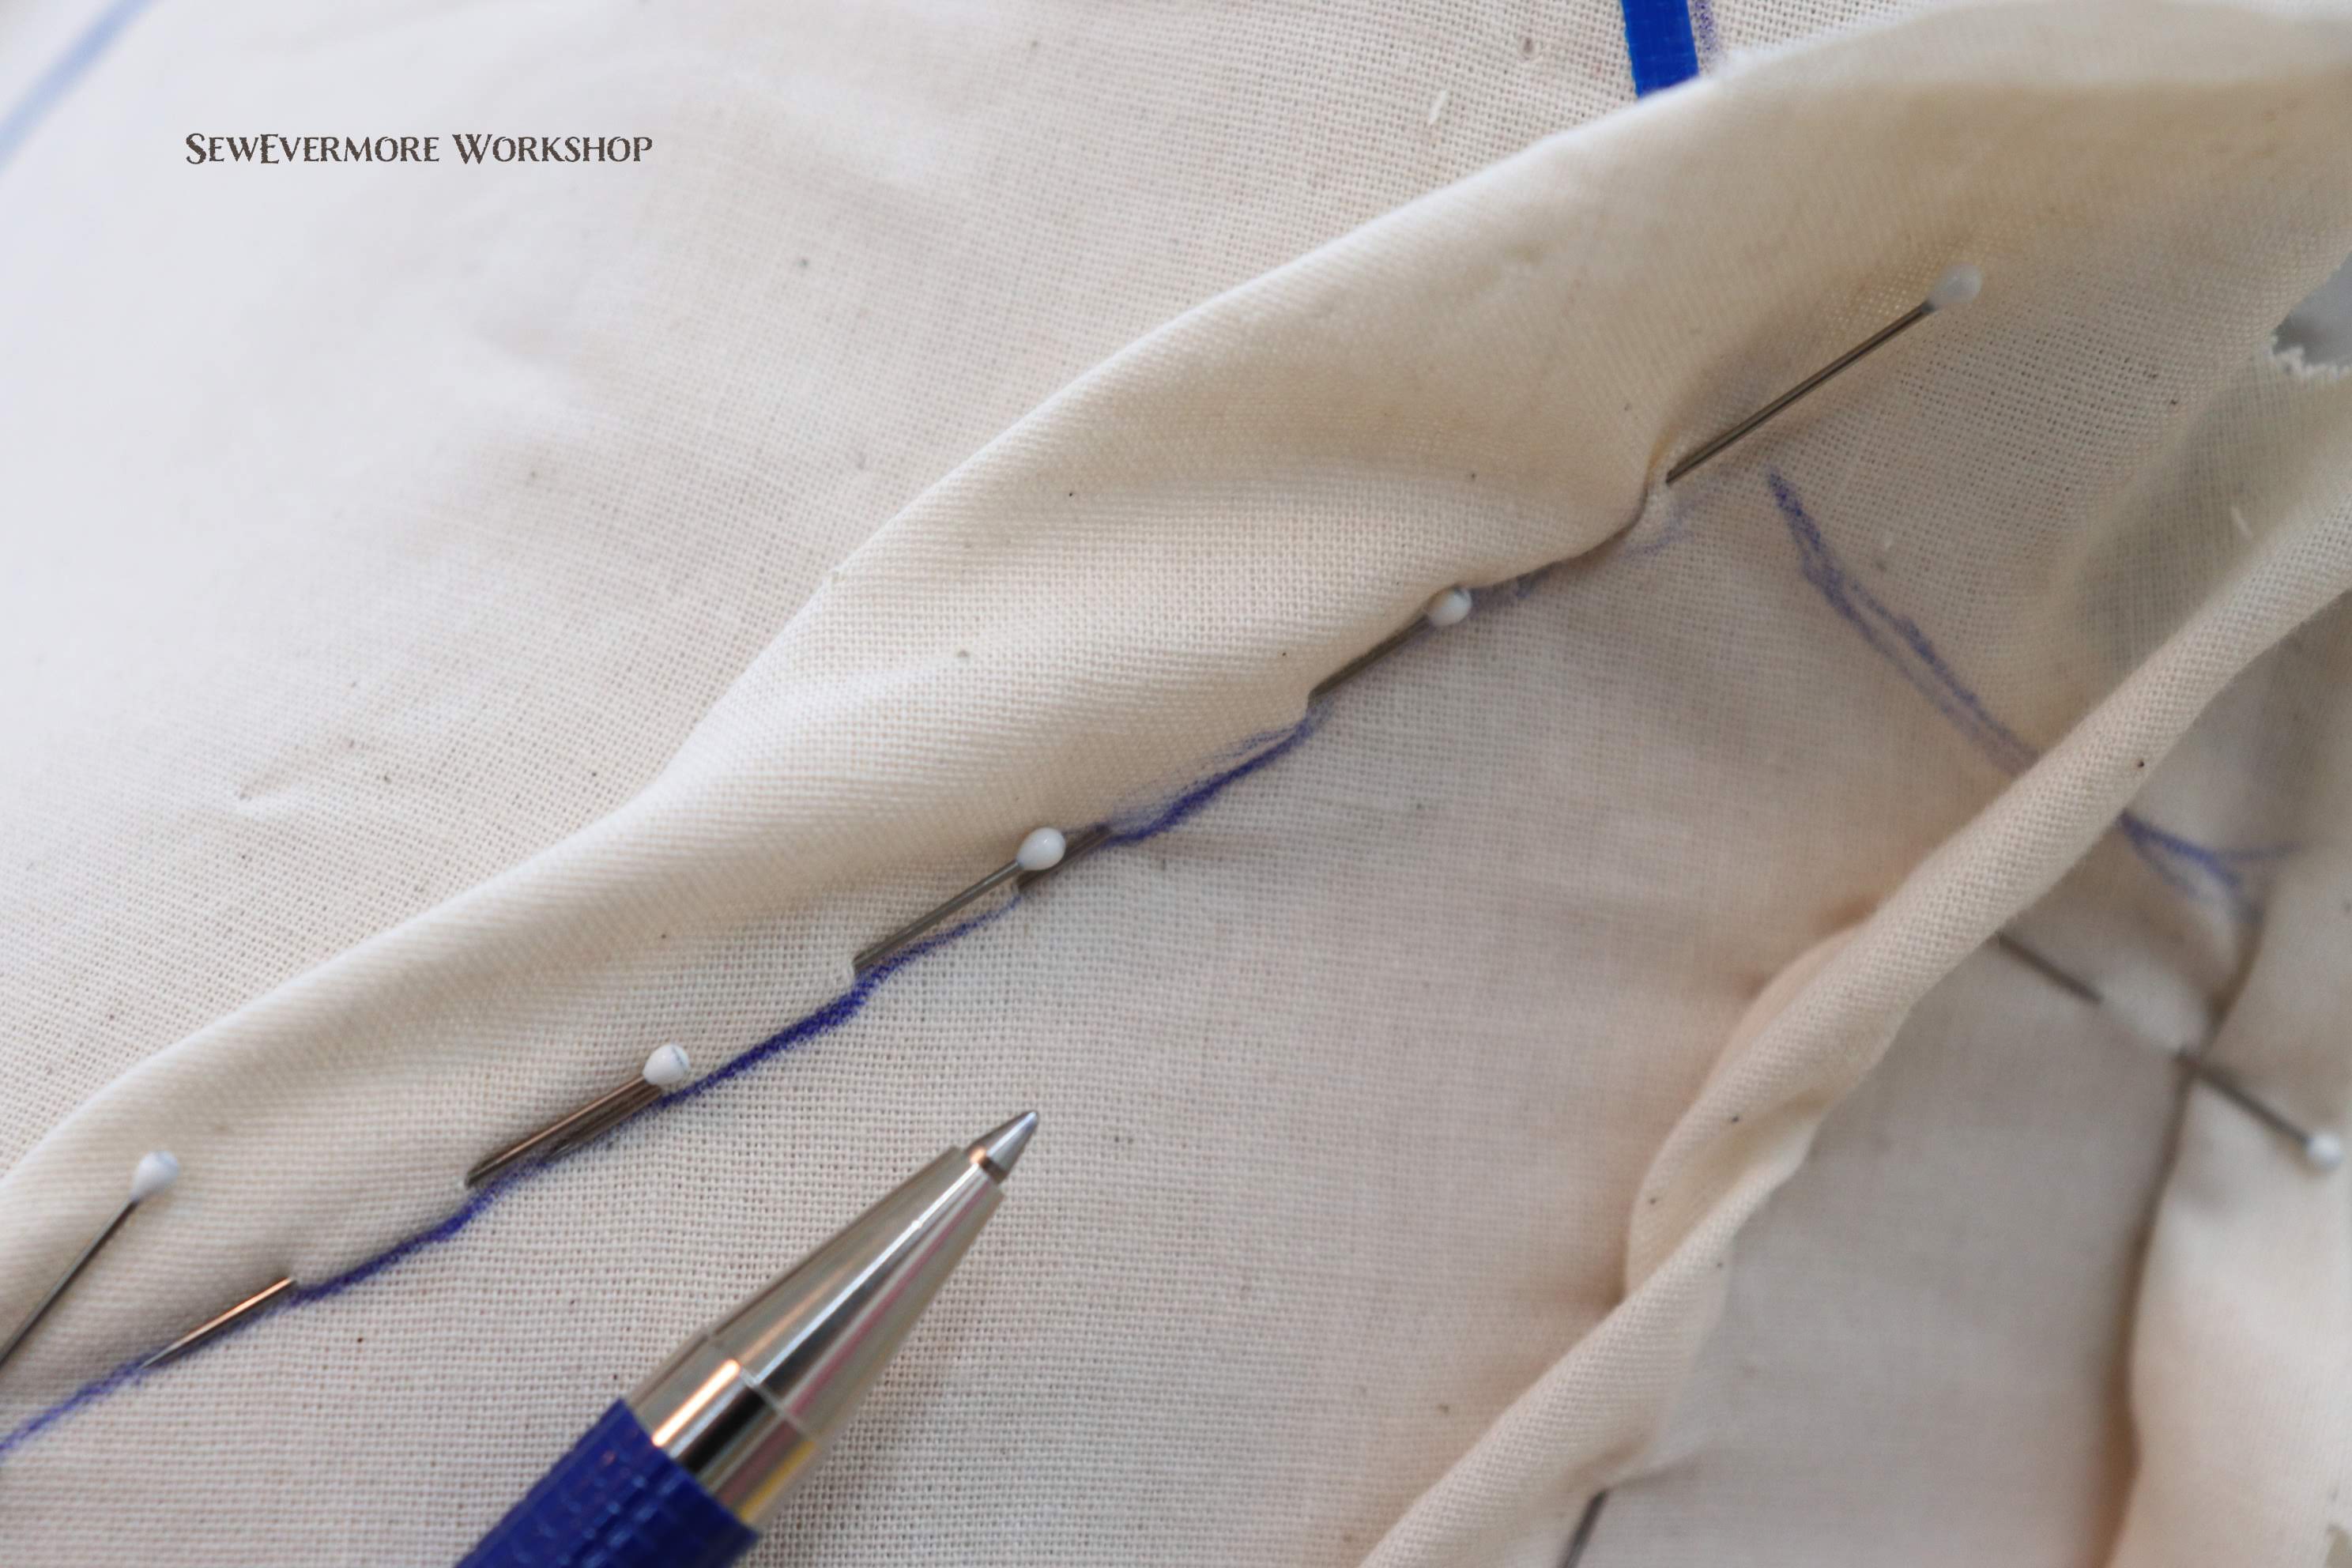
Do this for all seams. Mark the center back and along the taped edges as well. Once my seams were marked I began drawing a line for the bottom of the bodice.

When in doubt I prefer to make the bodice a little longer rather than shorter. You can always shorten a pattern later, I find it is much more difficult to lengthen it. If I have multiple lines for an edge, I will grab a different colored pen to draw my final line so the correct line is obvious when I remove the muslin from the dress form.

Before I remove the muslin I like to label each piece: front, side front, side, etc. Sometimes I will also label them numerically 1, 2, 3, etc. starting with the center front and working to the center back.

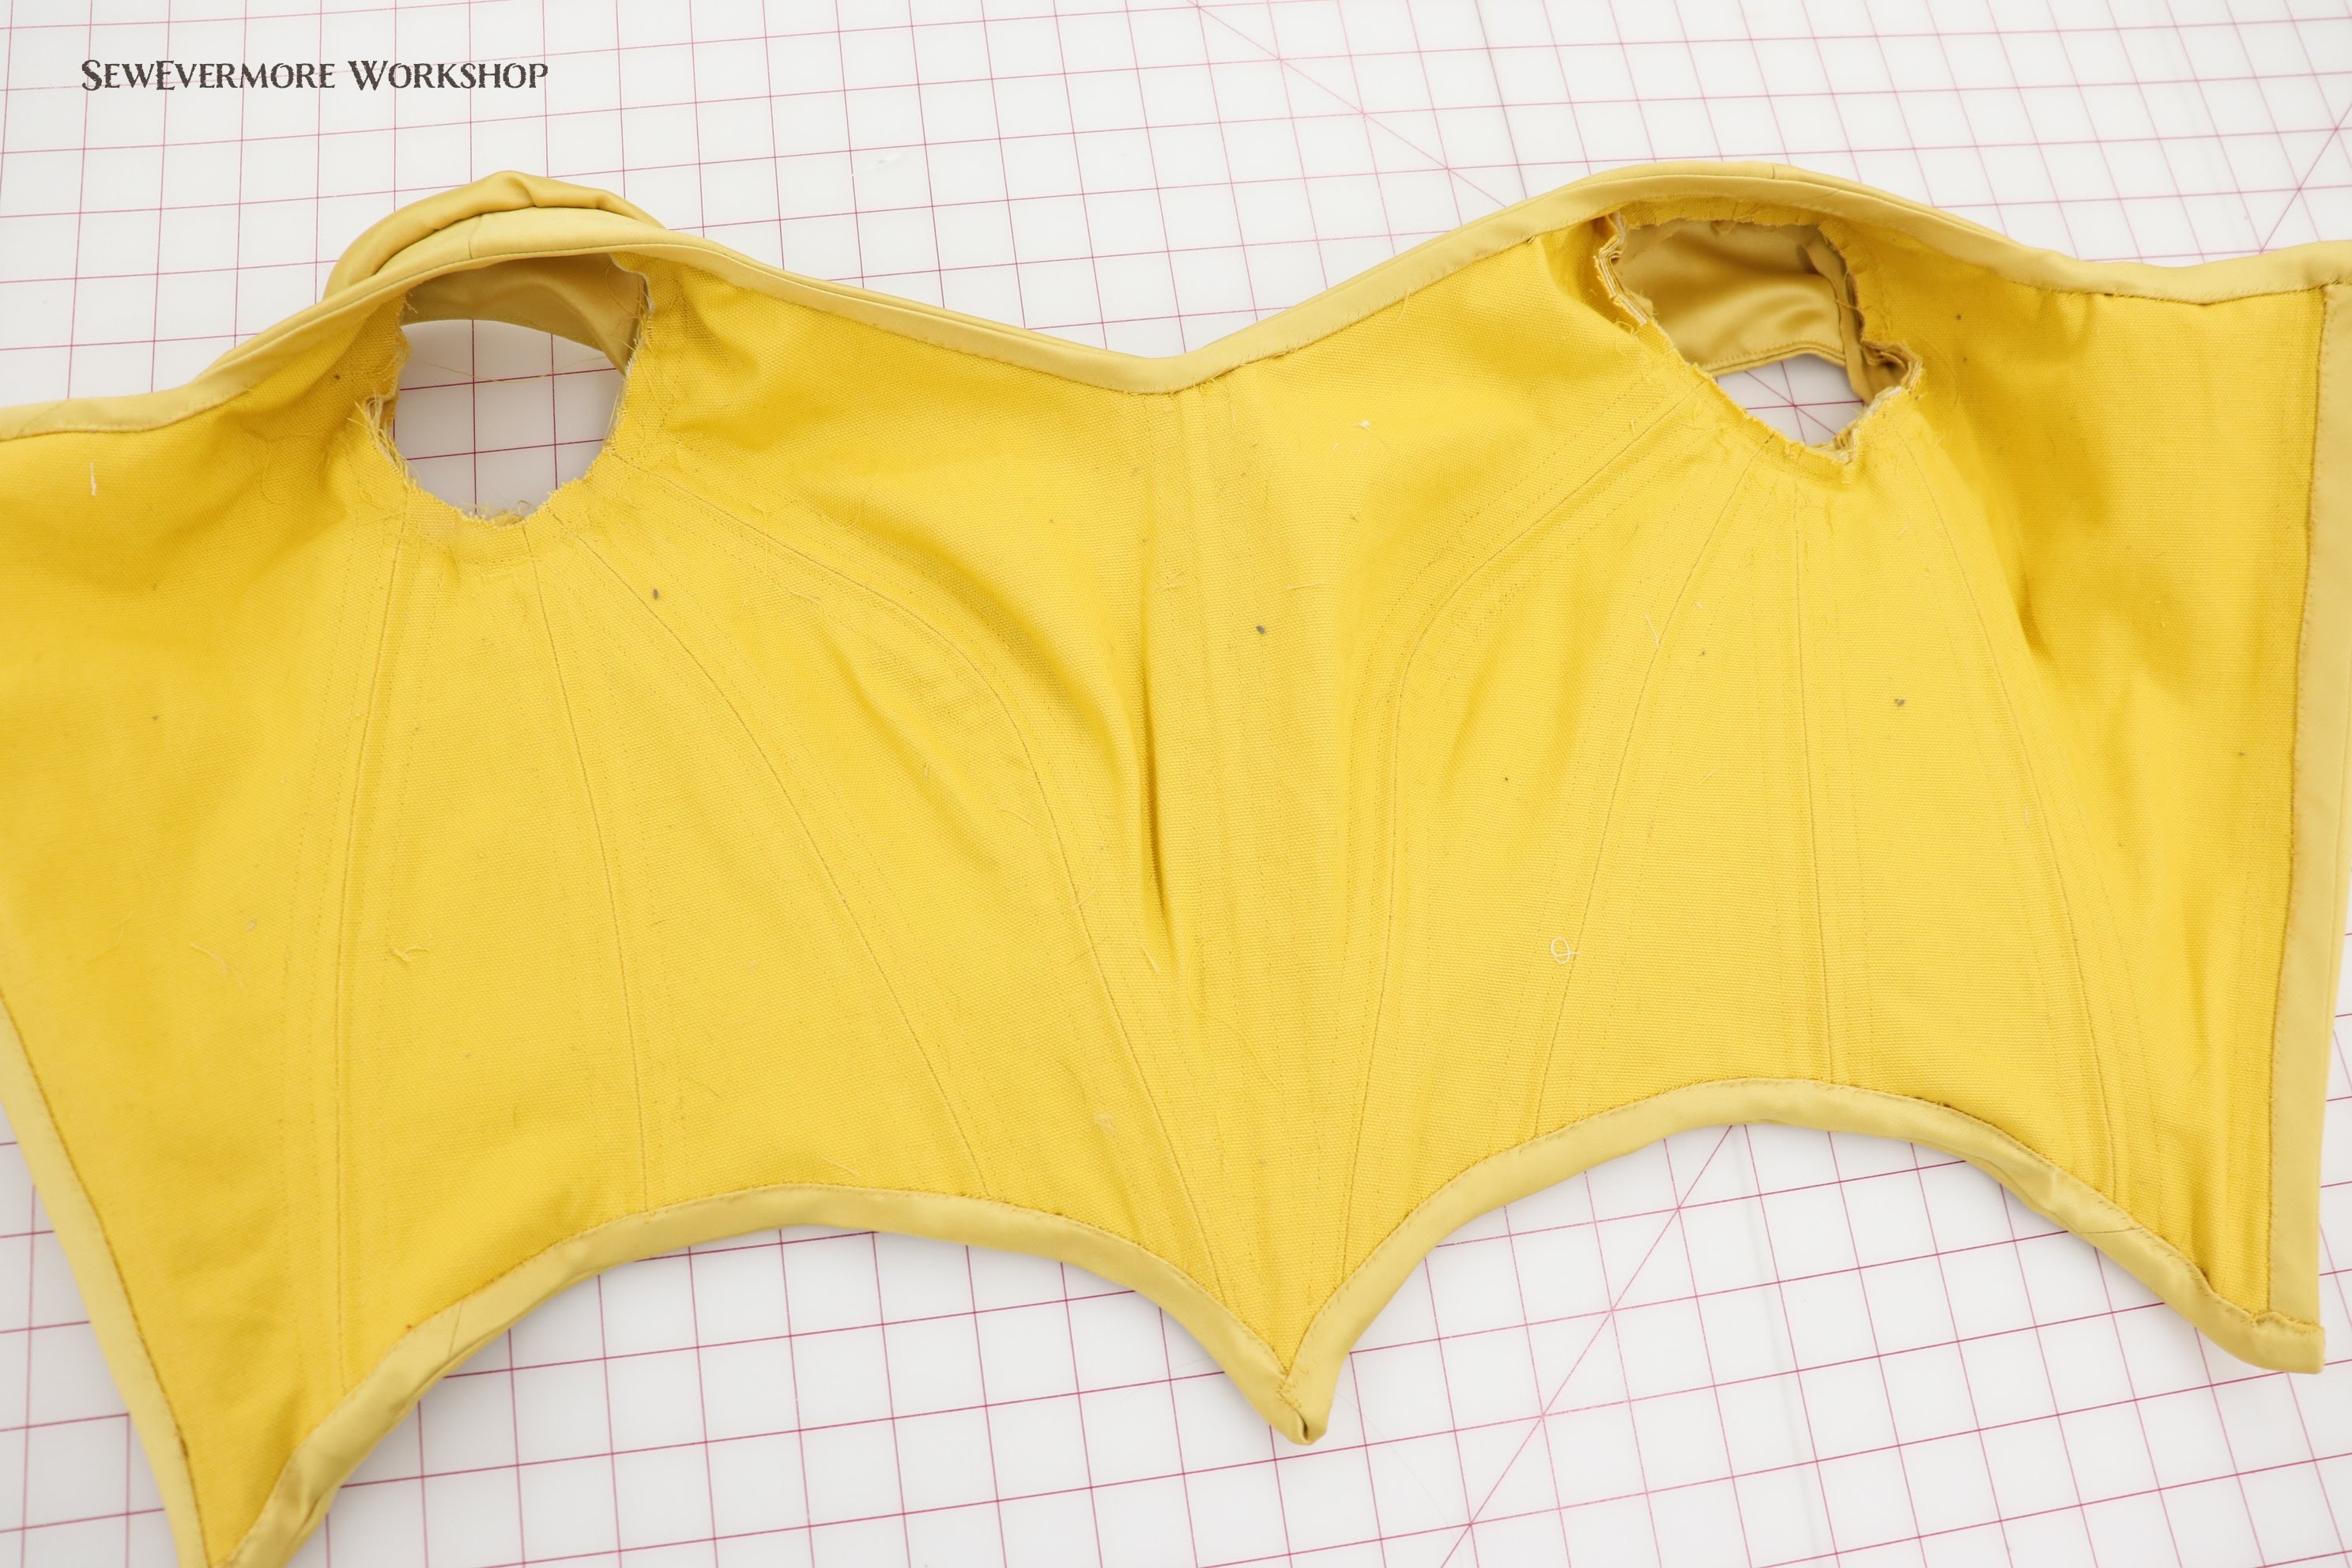
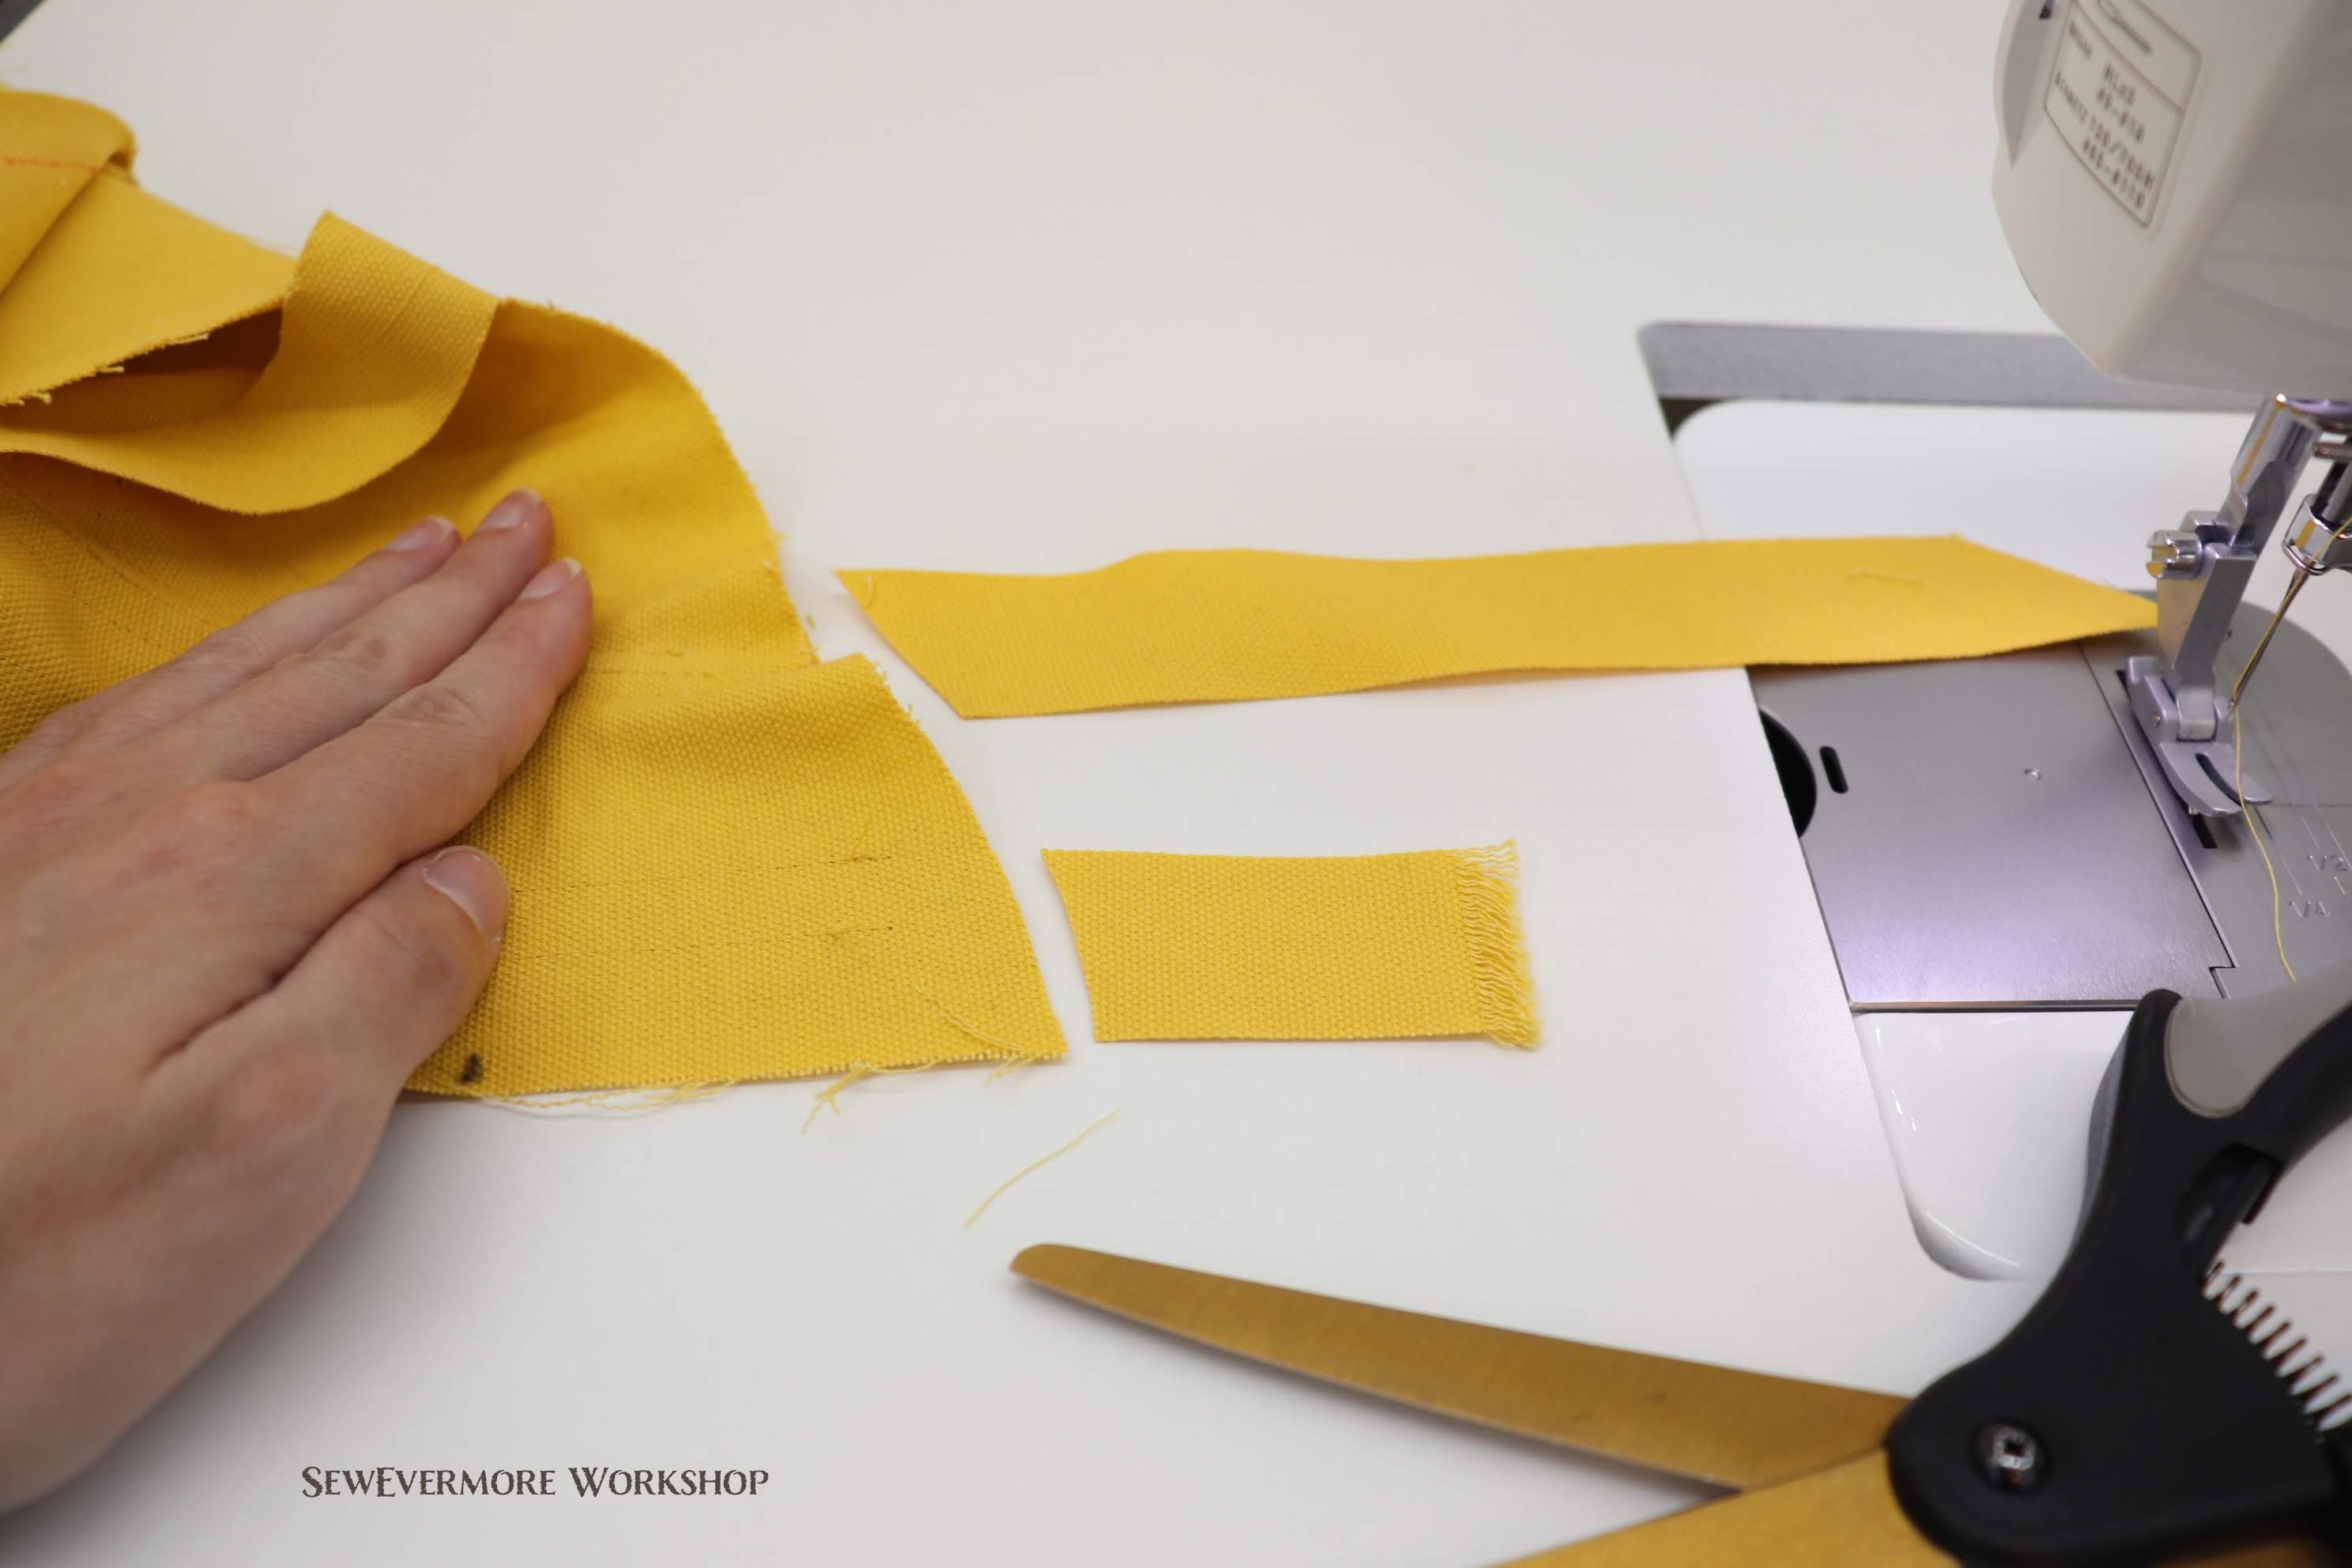
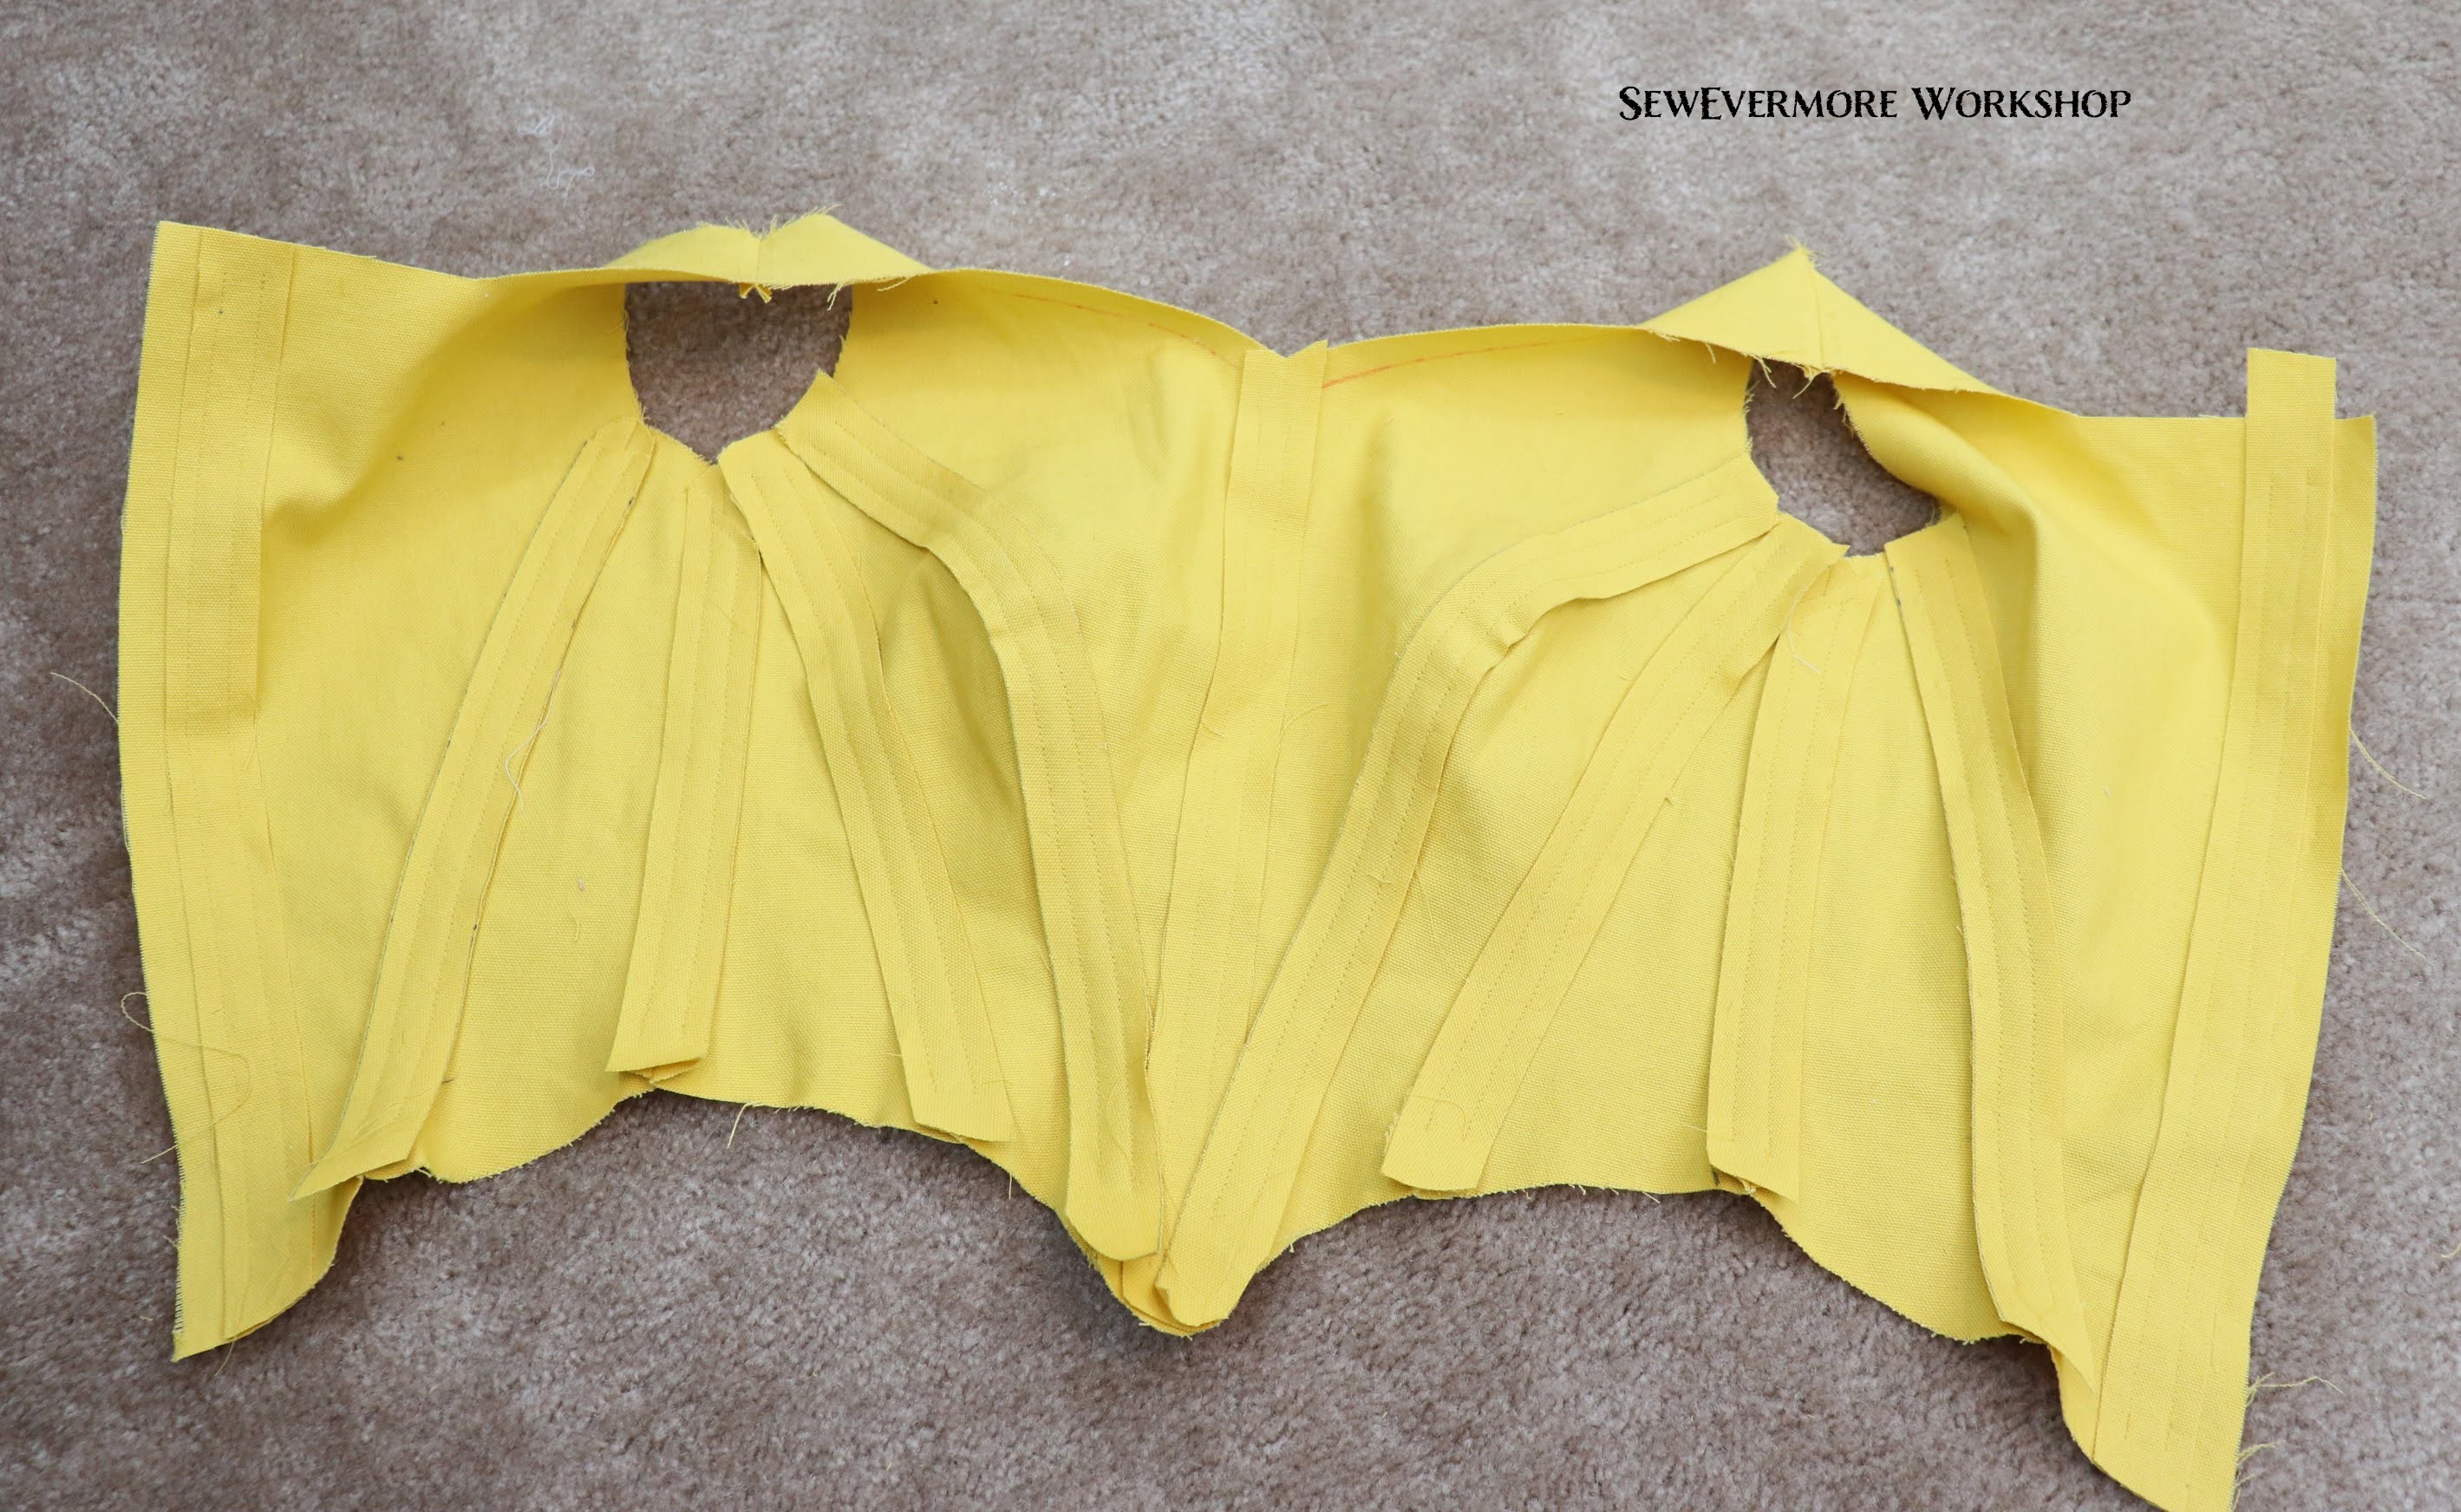
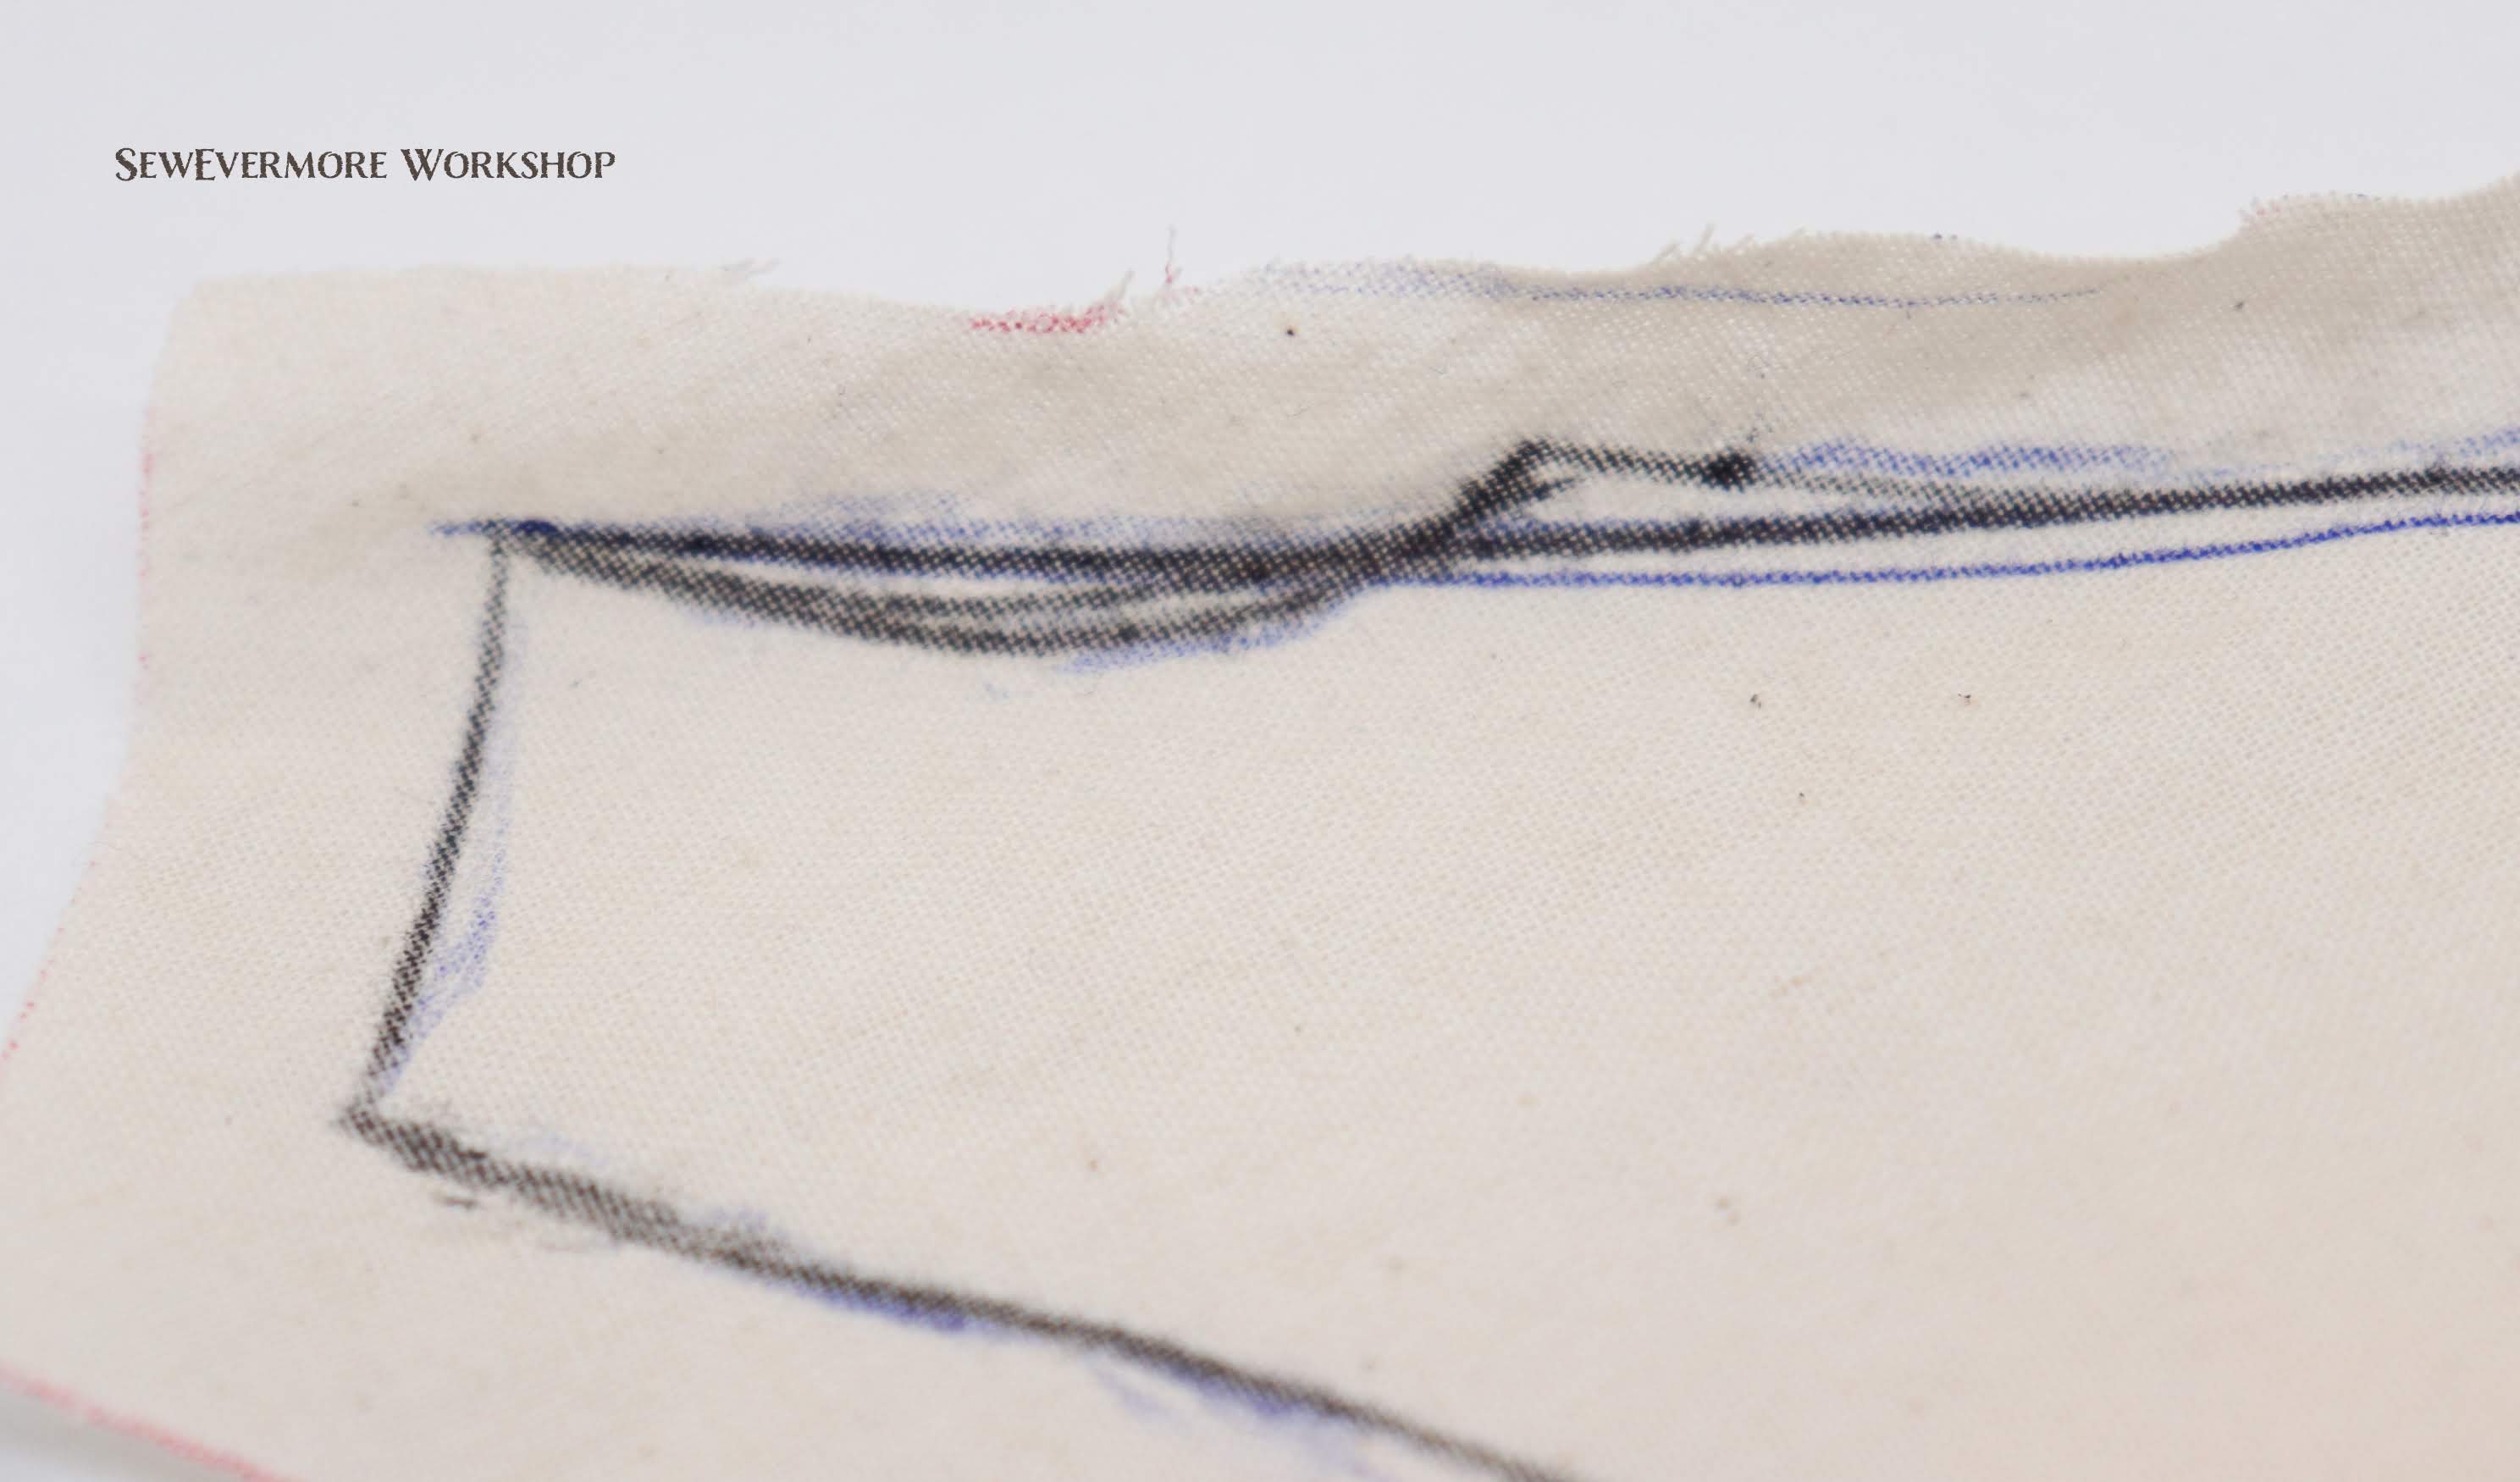
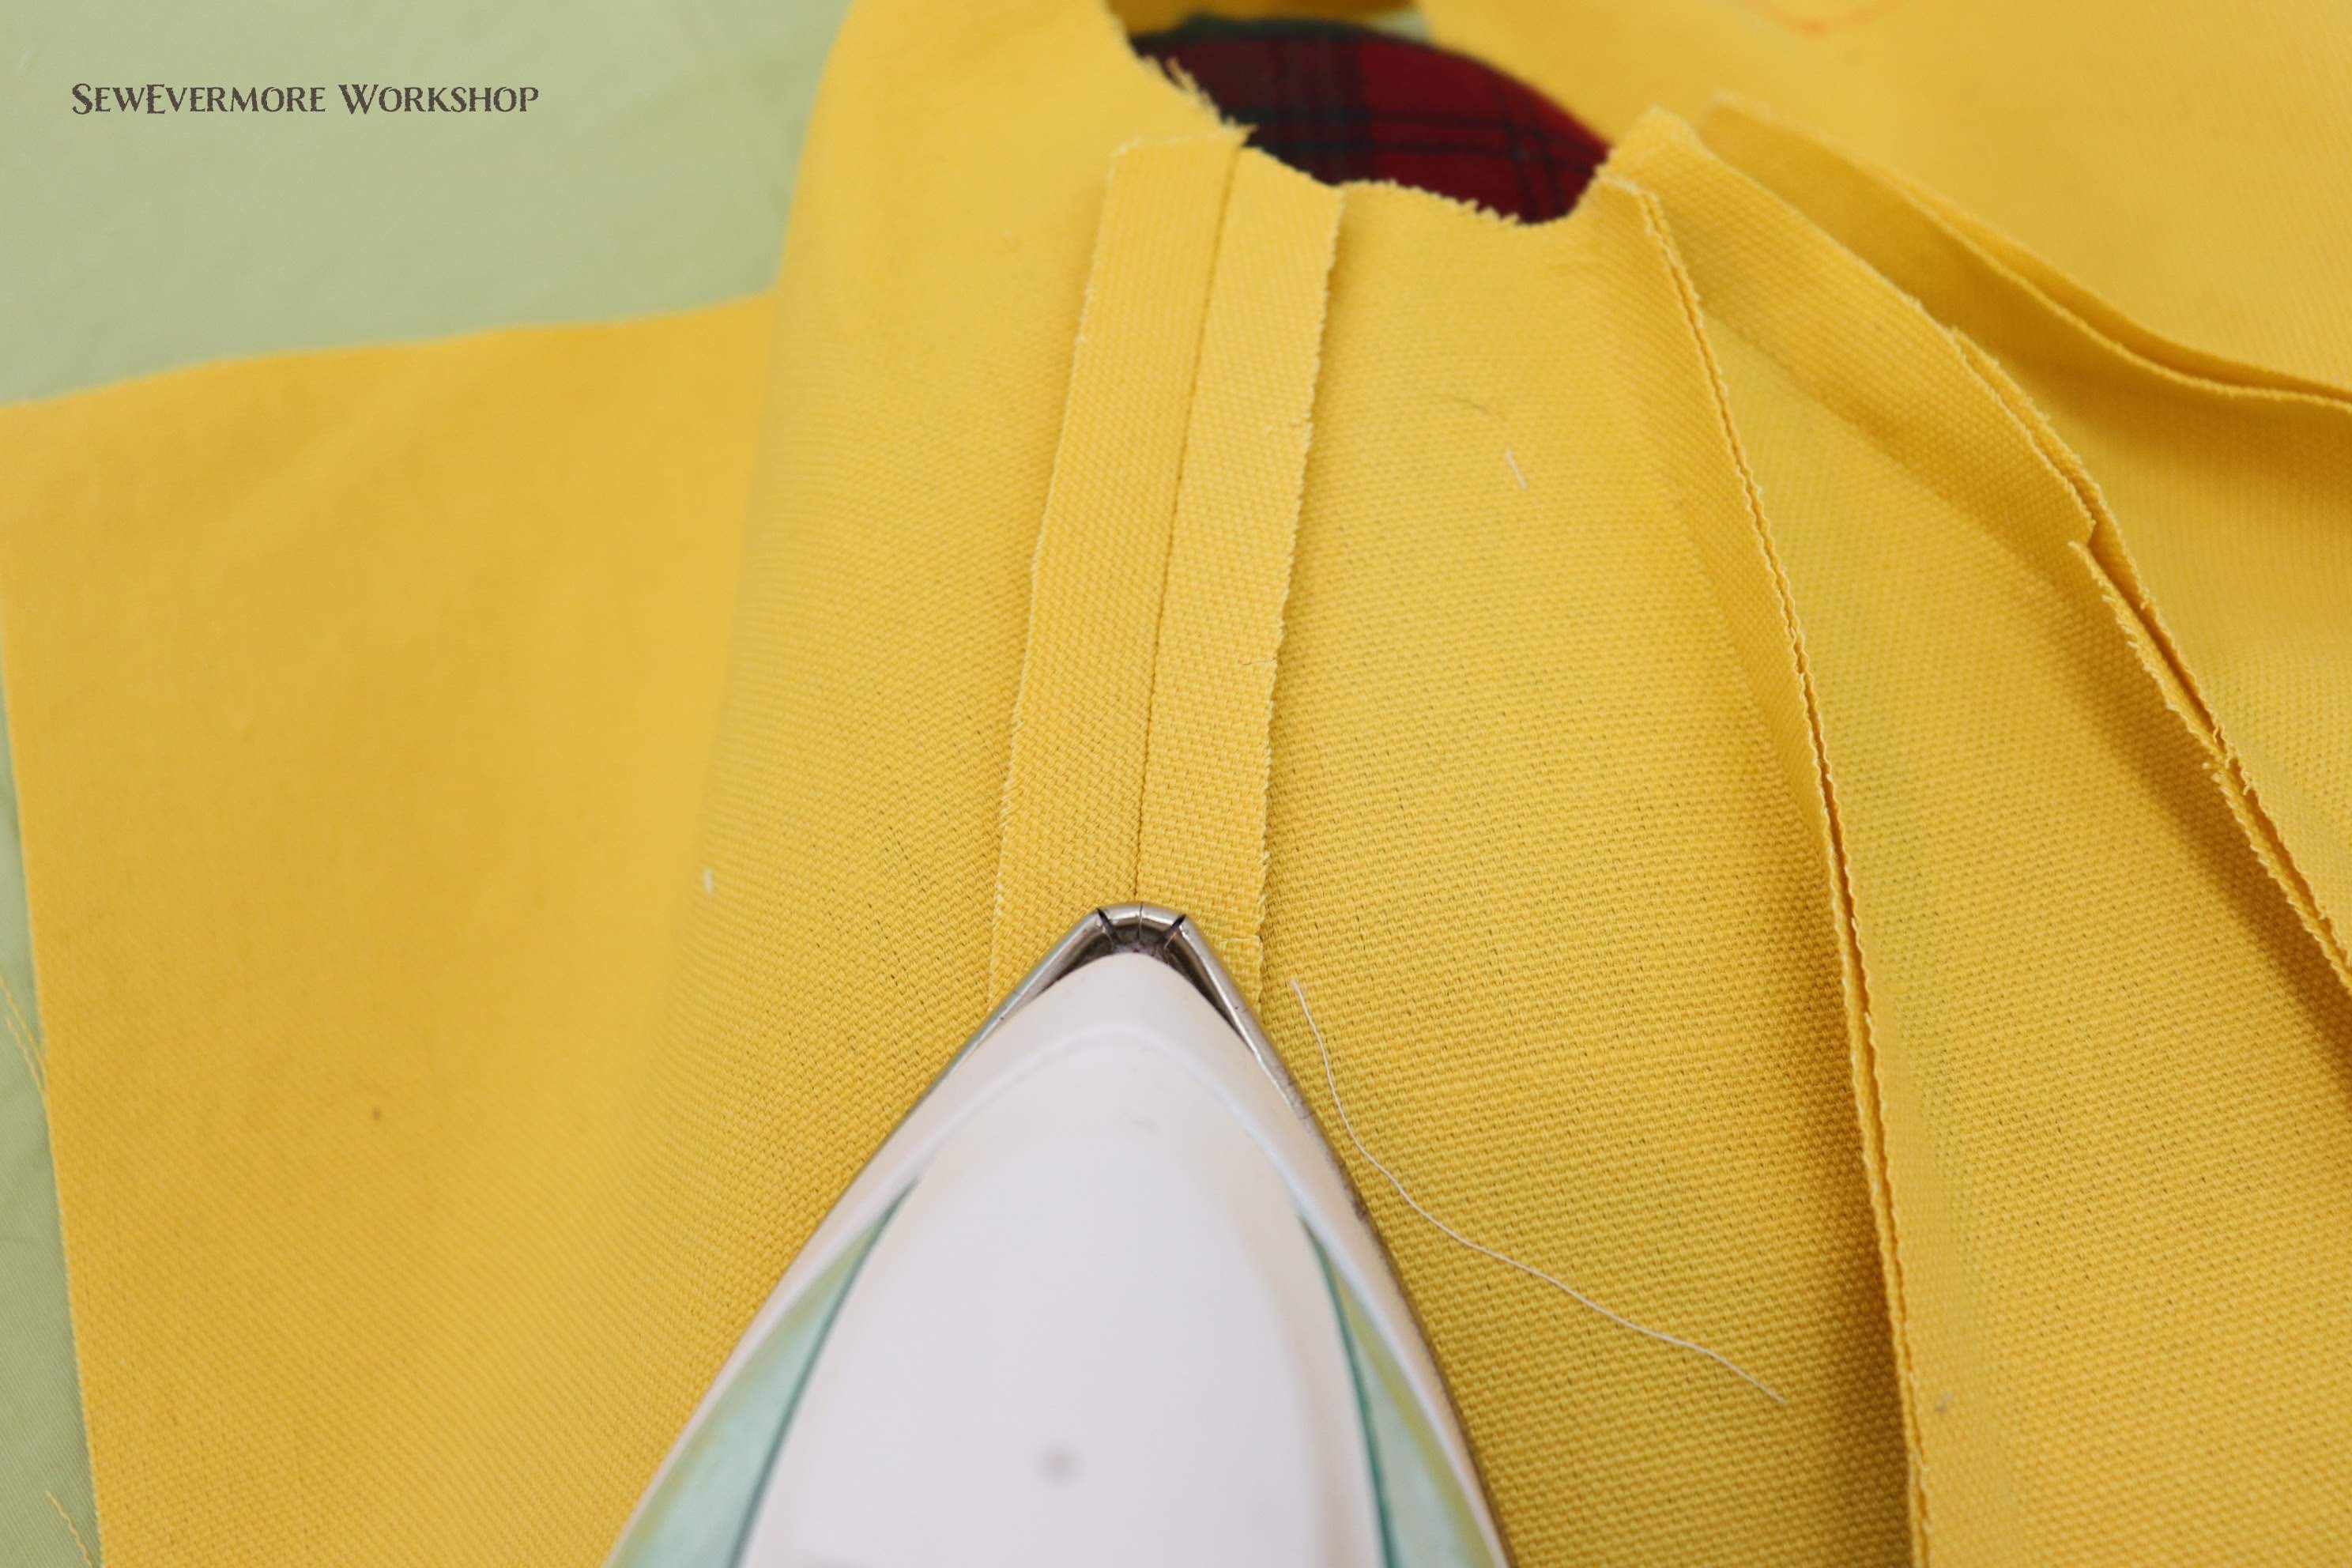
Finally, it is time to remove the muslin! You can clearly see the shape of the bodice pattern when the fabric is removed and laid flat.

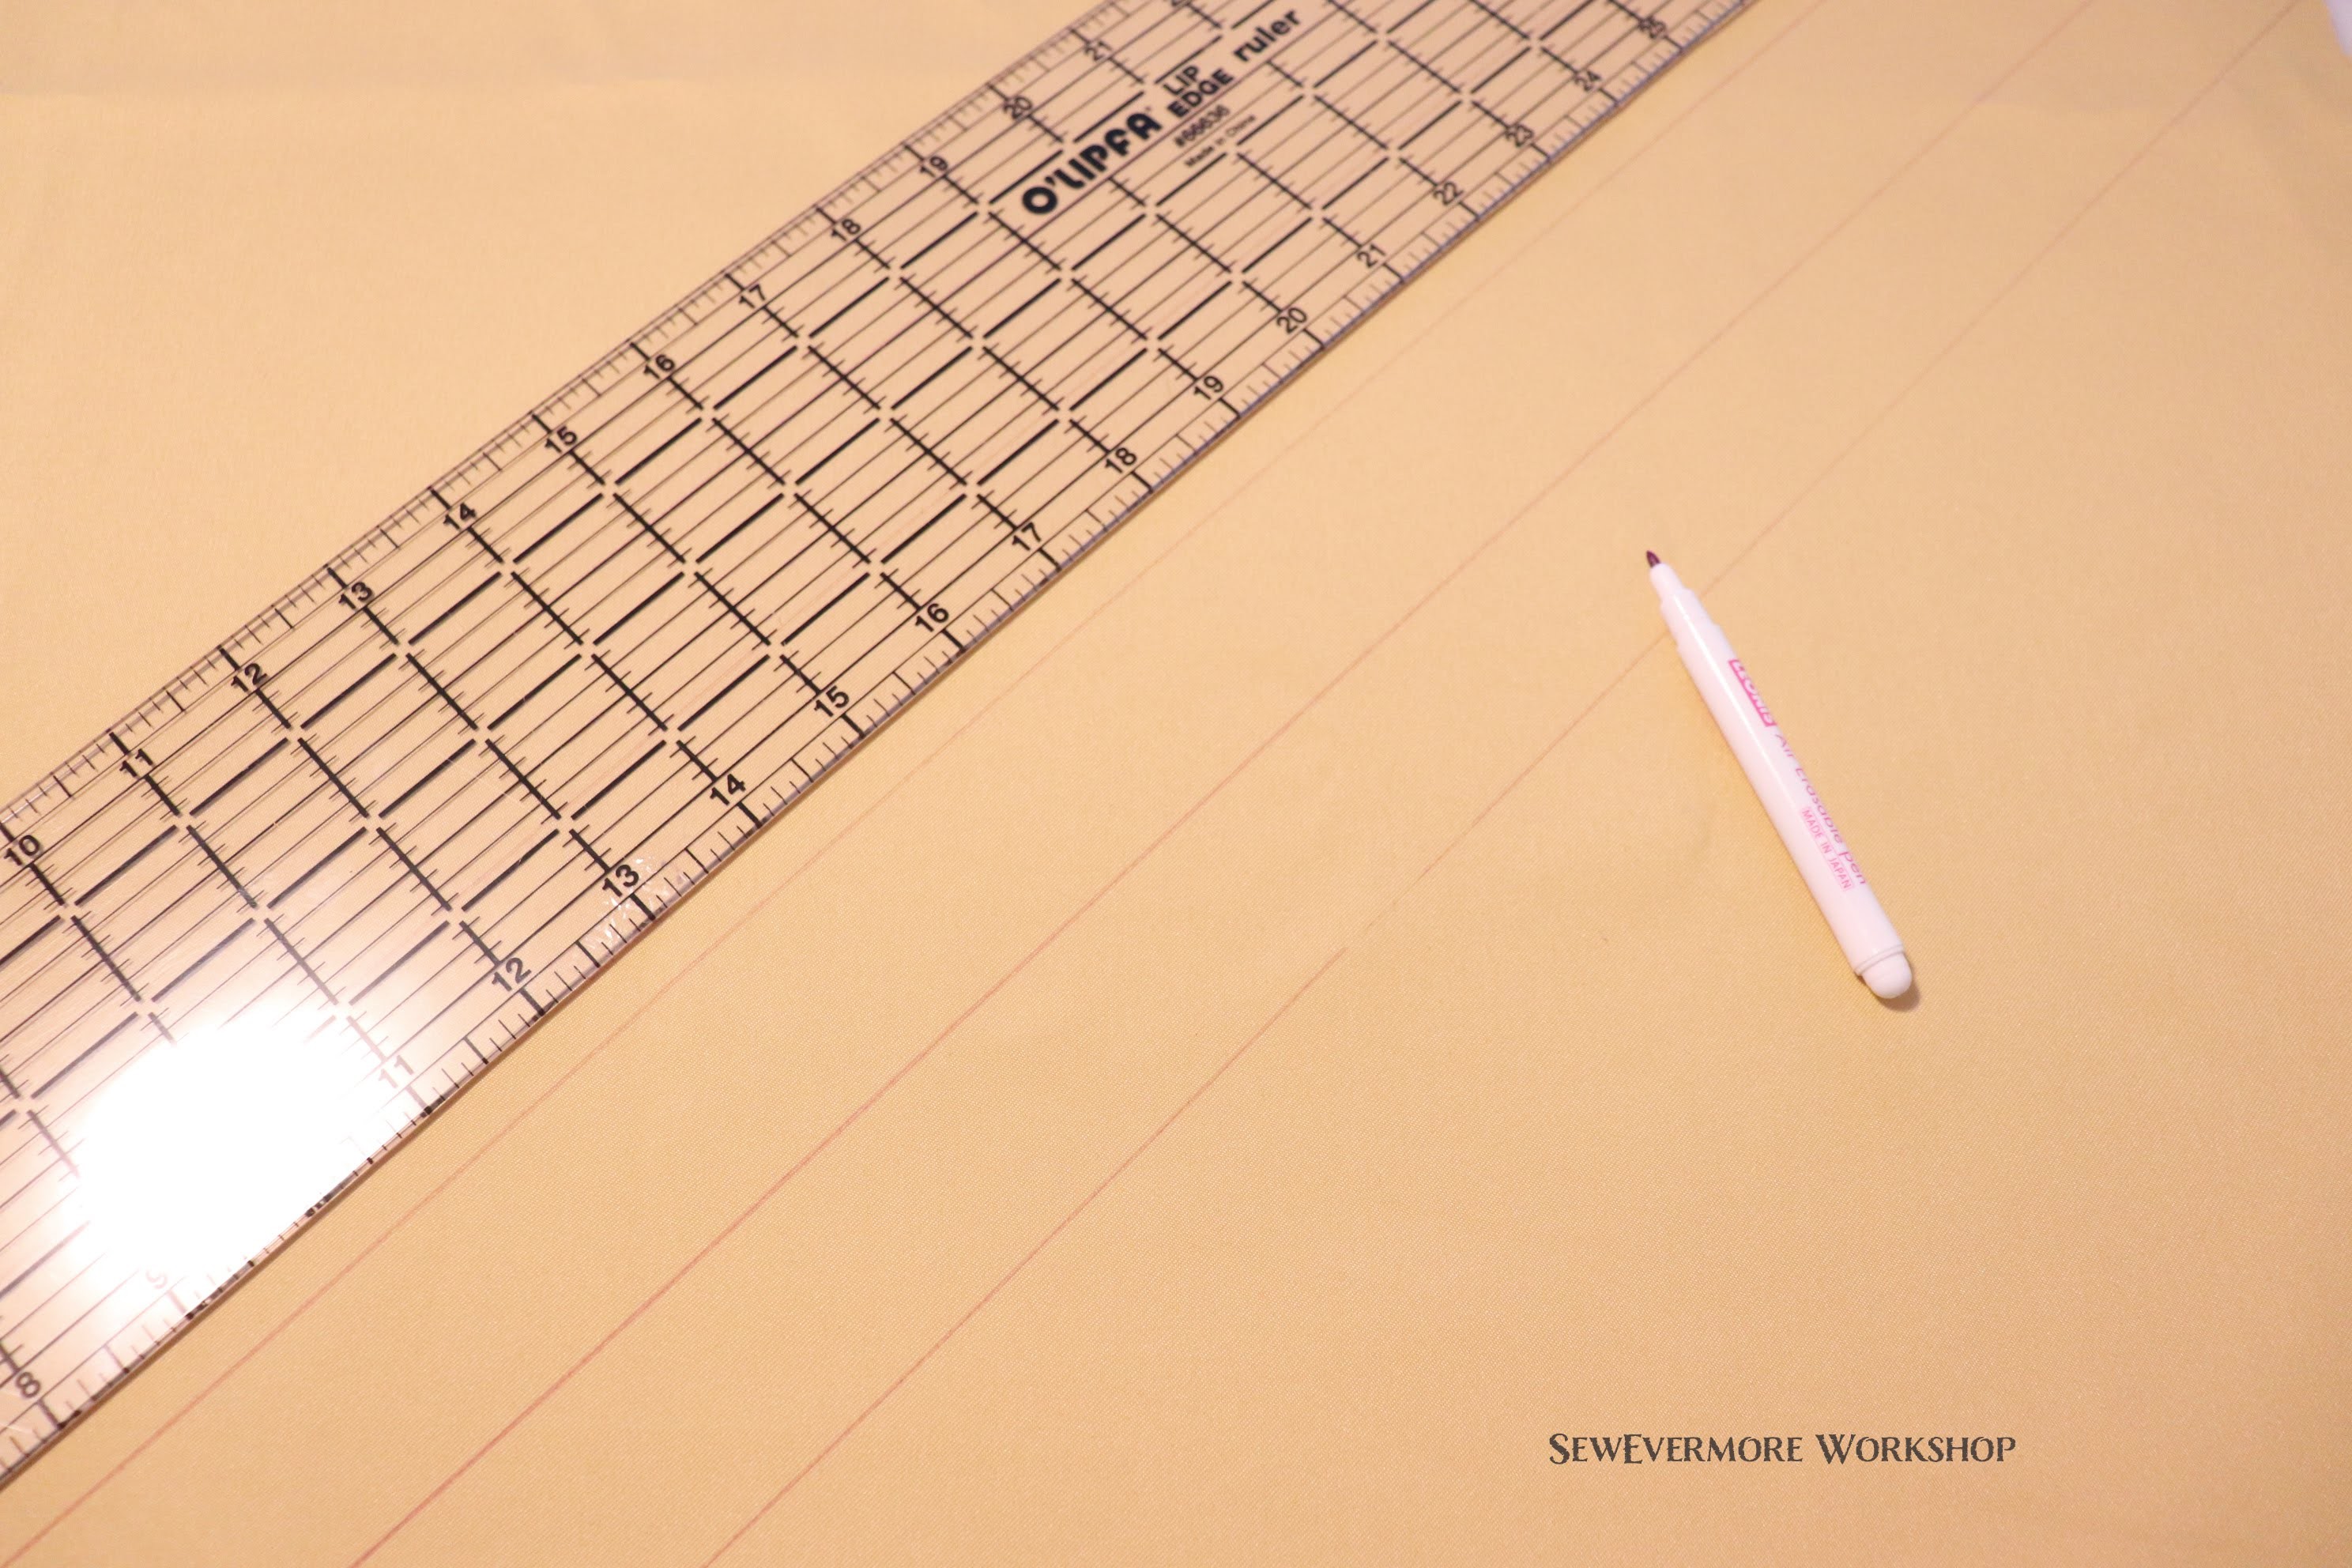
The lines that are drawn when tracing the pins are often rough and jagged. You don’t want that on your final pattern. Use design rulers to smooth the lines.

Sometimes the rulers will fit a curve beautifully! And sometimes they don’t. So, don’t force it. If your line looks nothing like the shape of the ruler, go with your line. Just smooth it out.

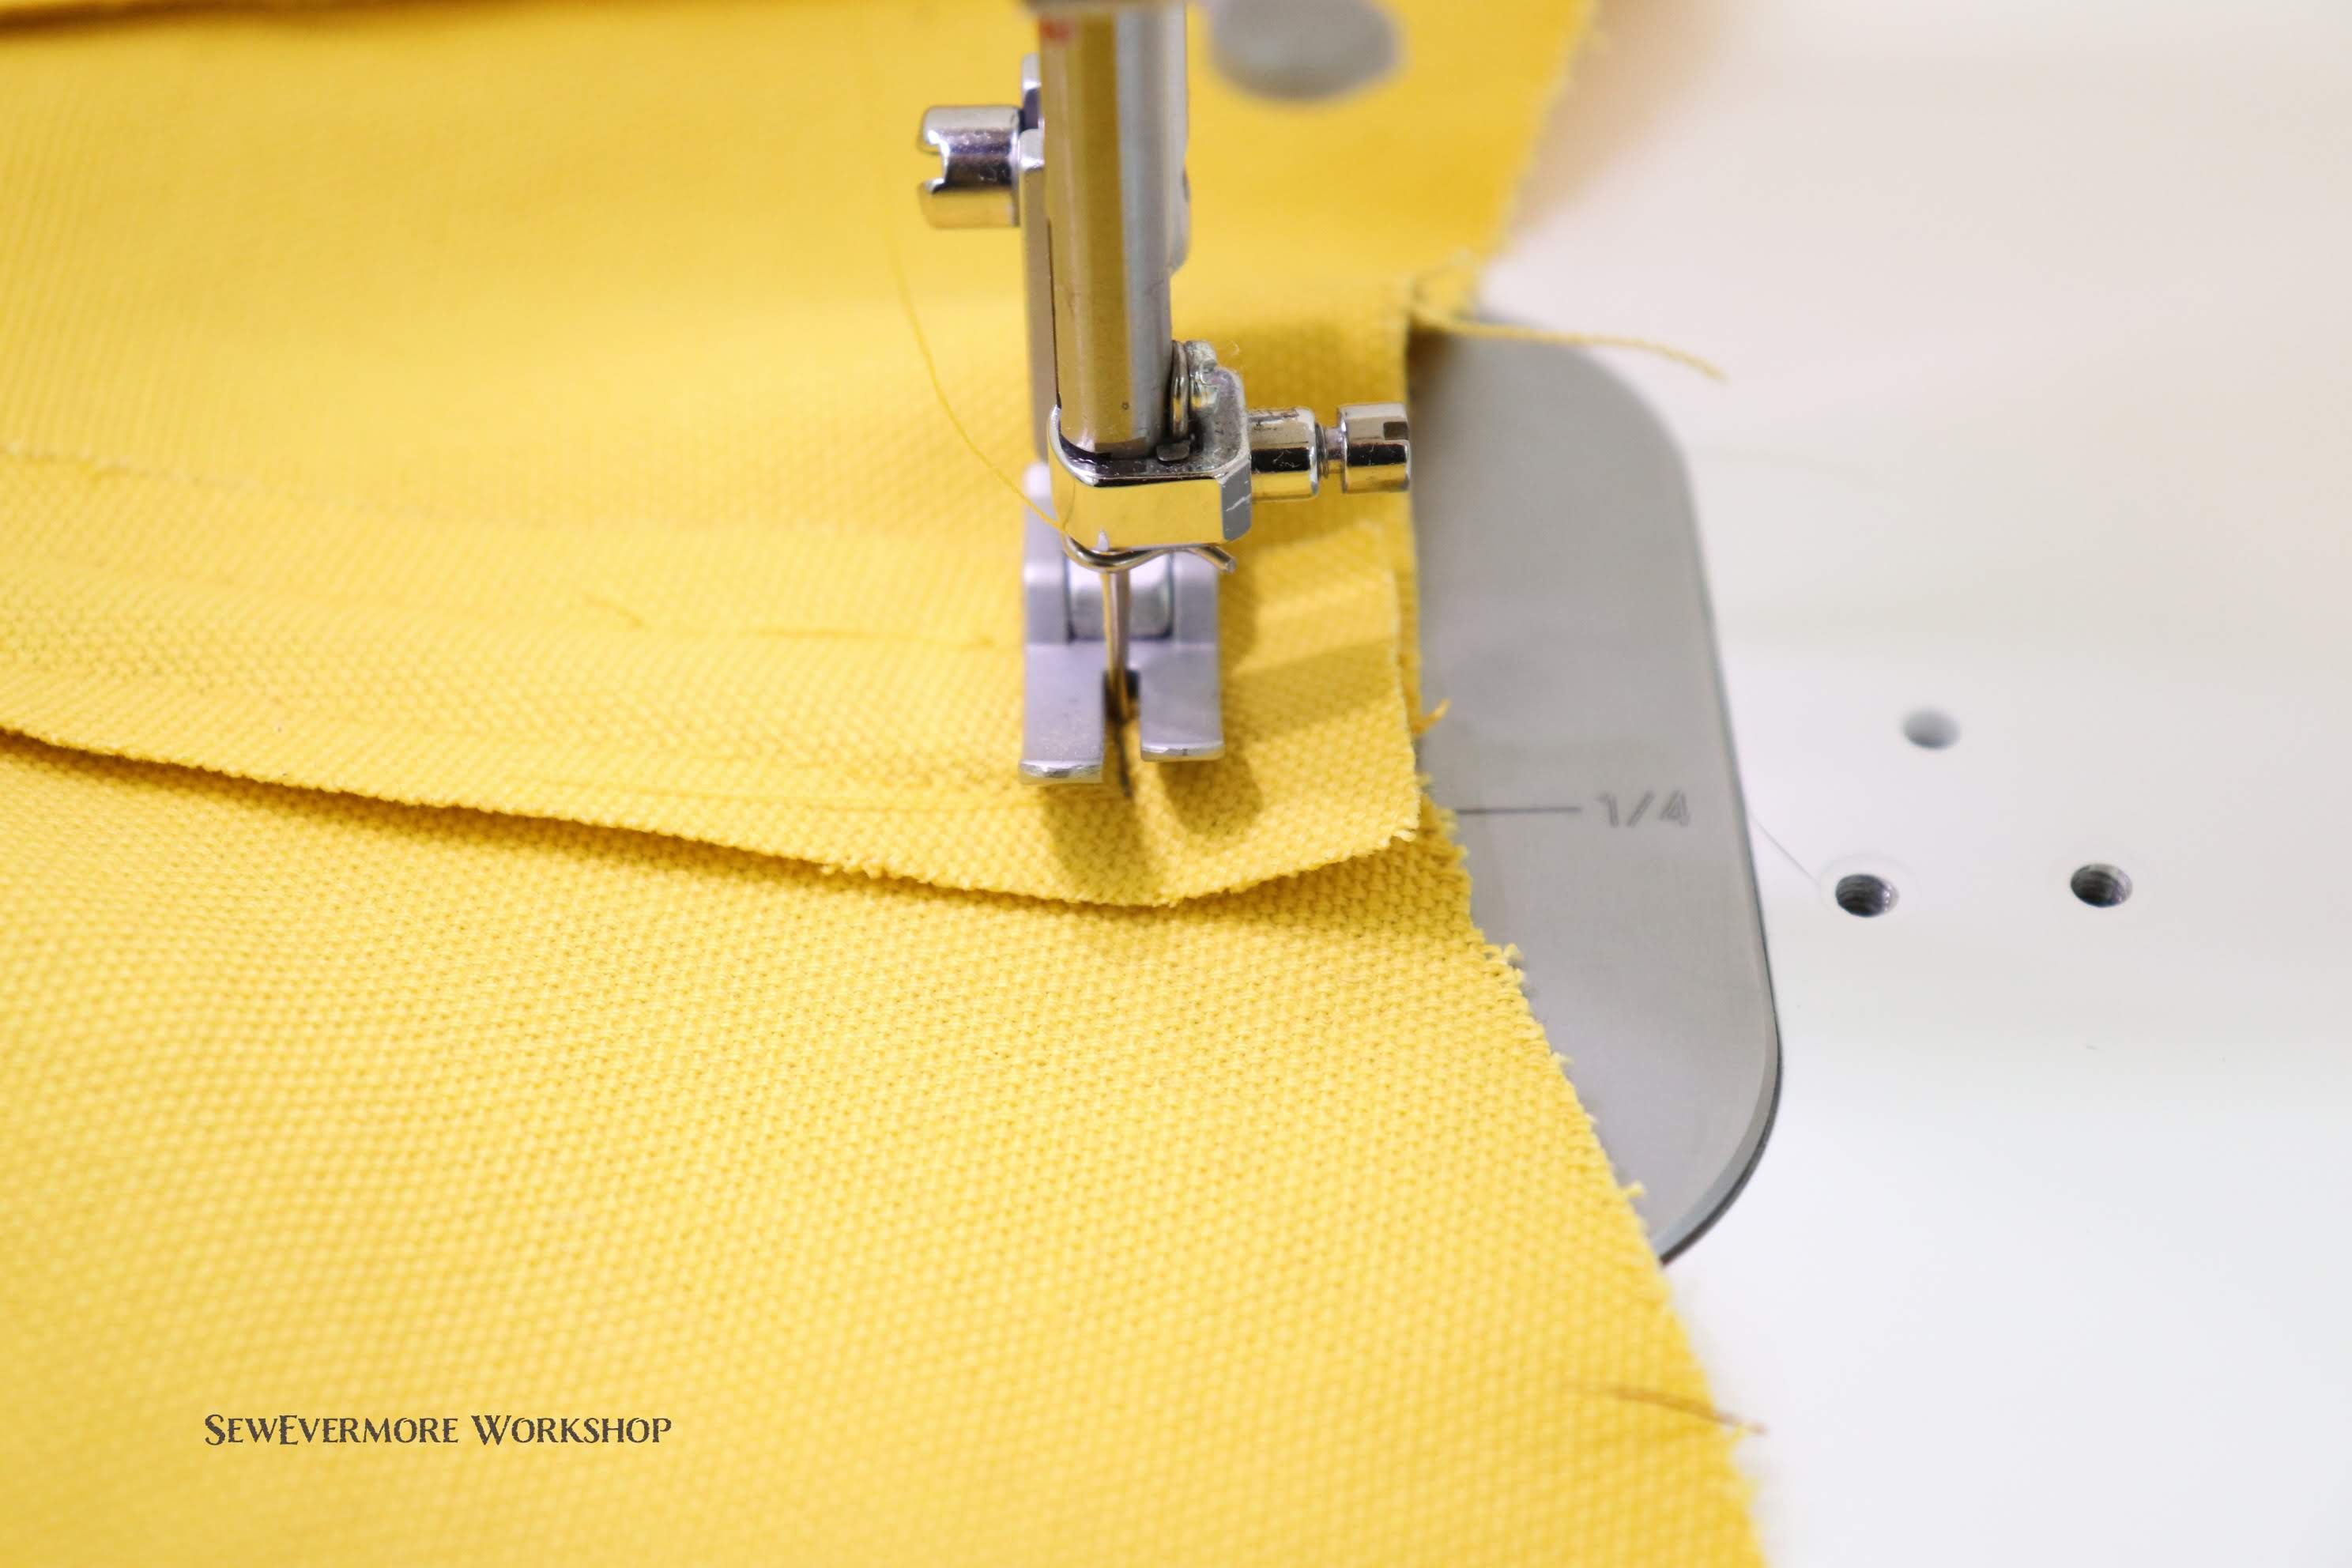
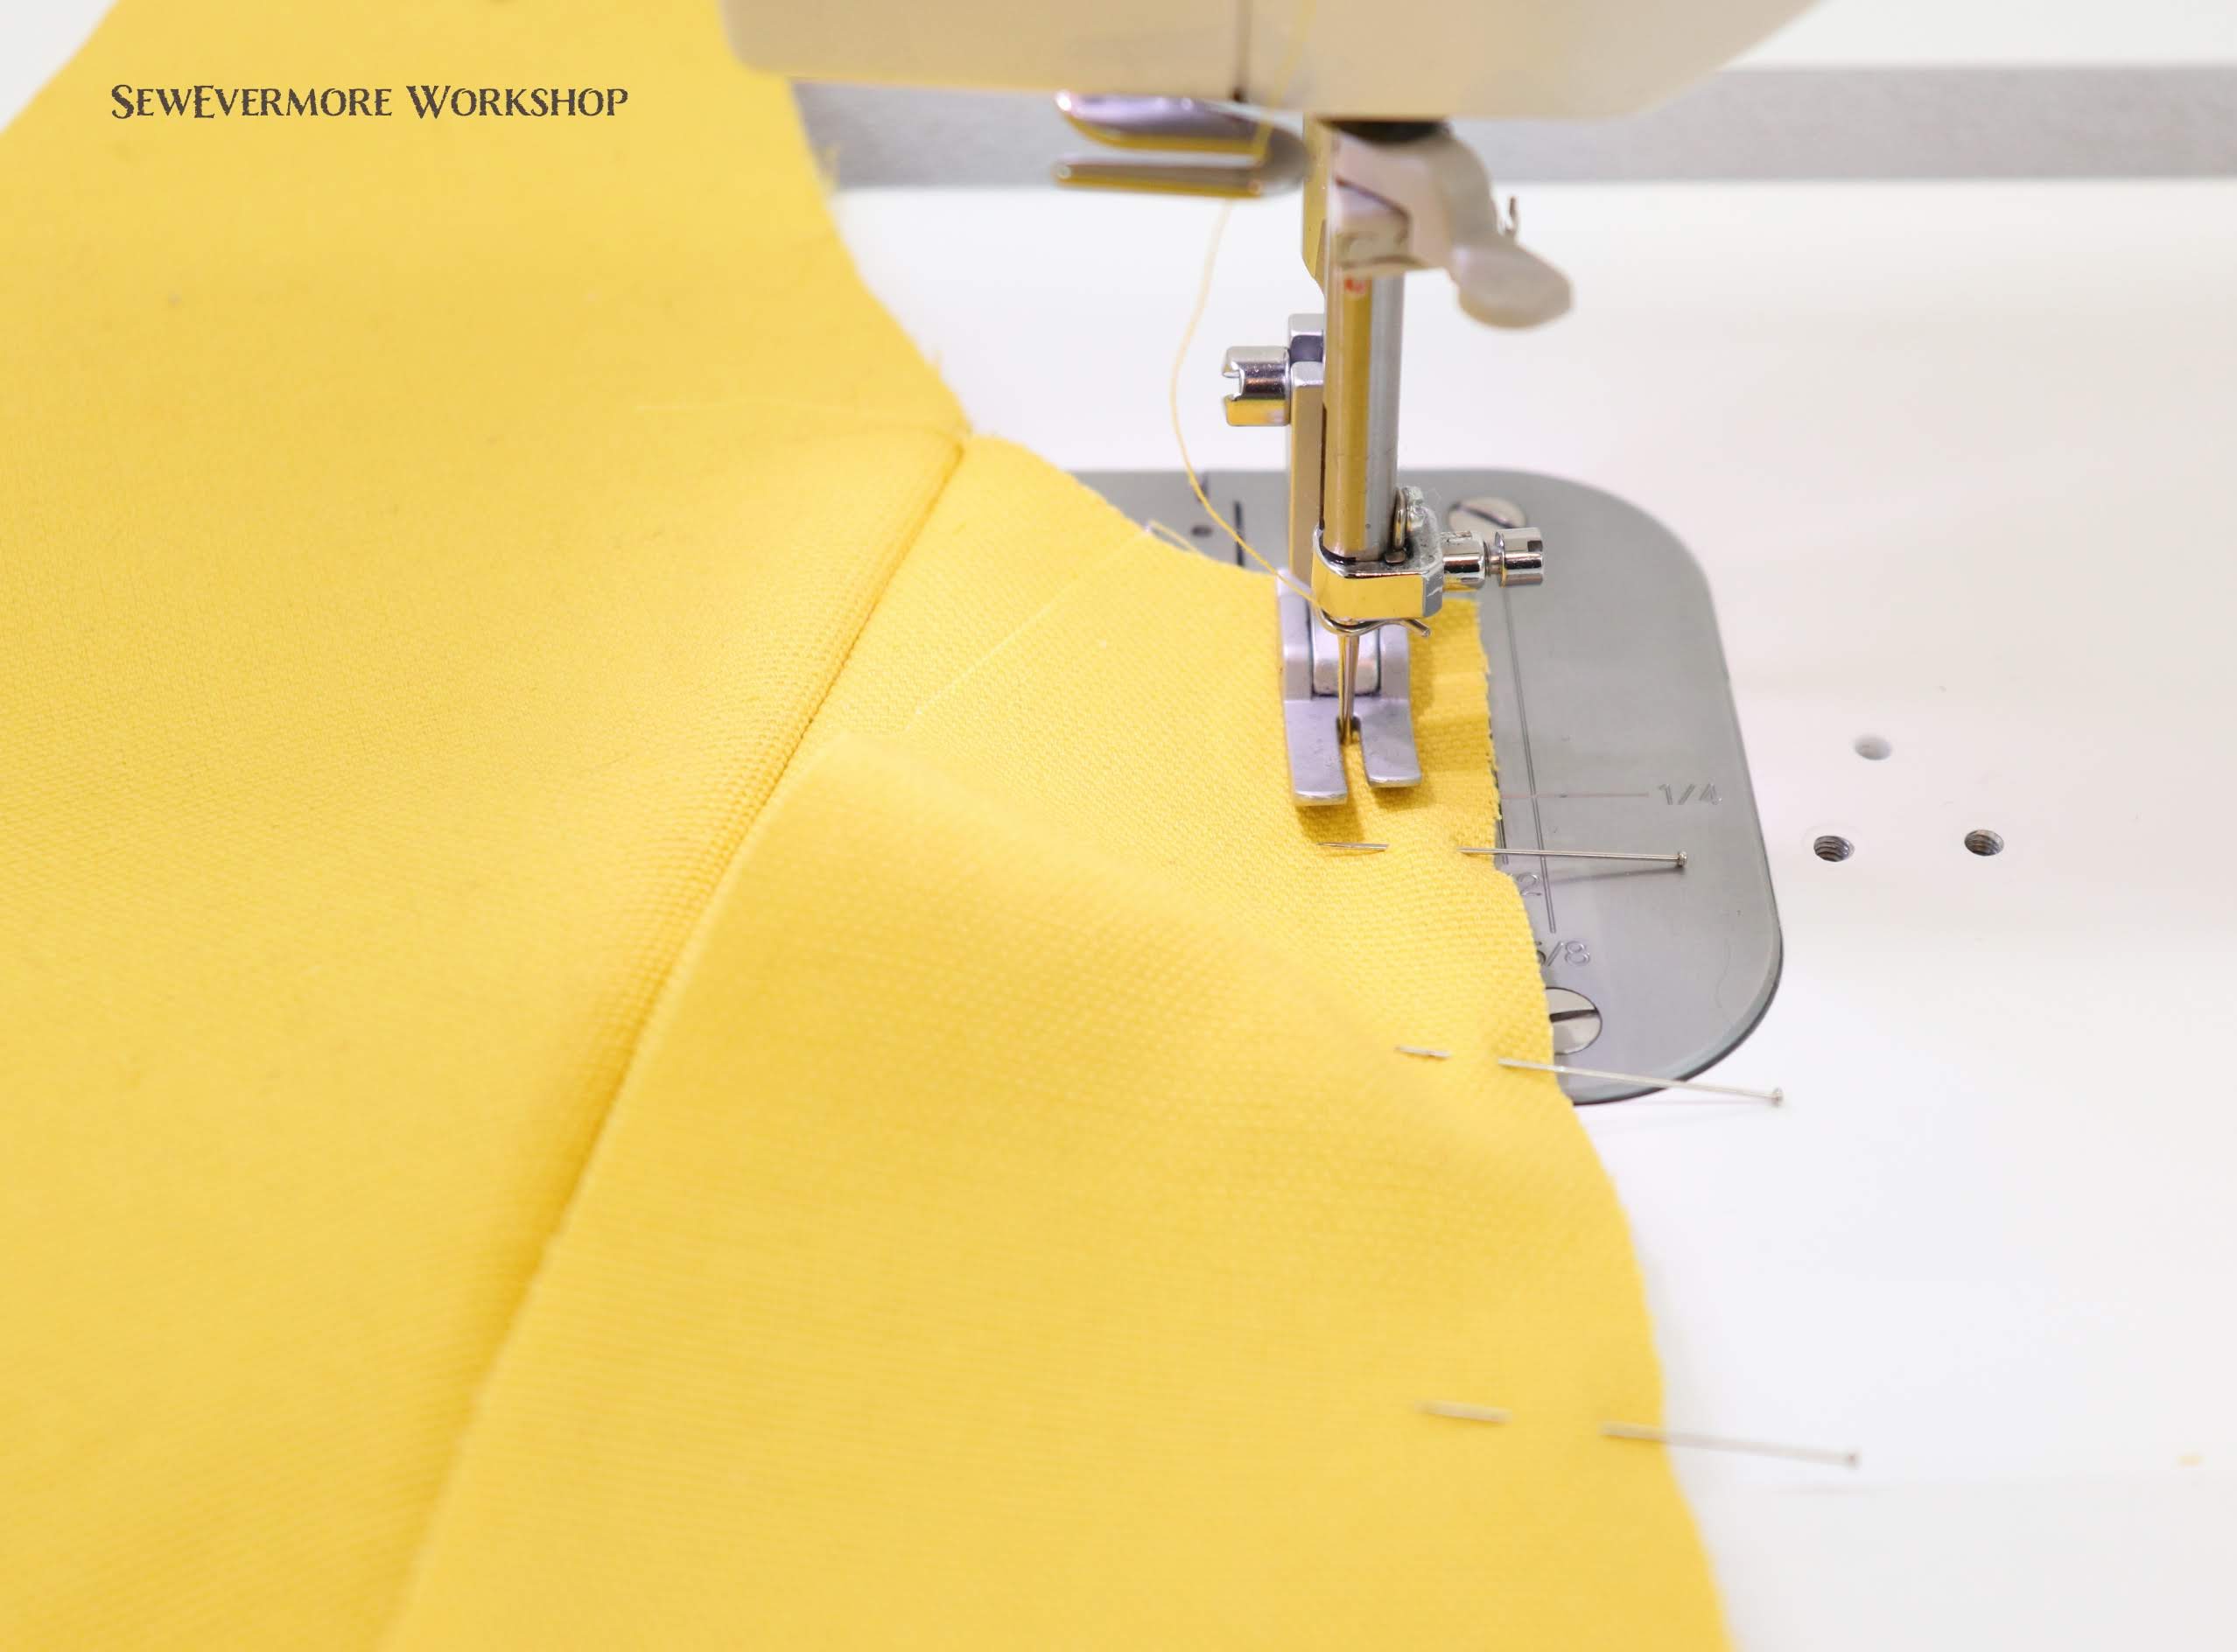
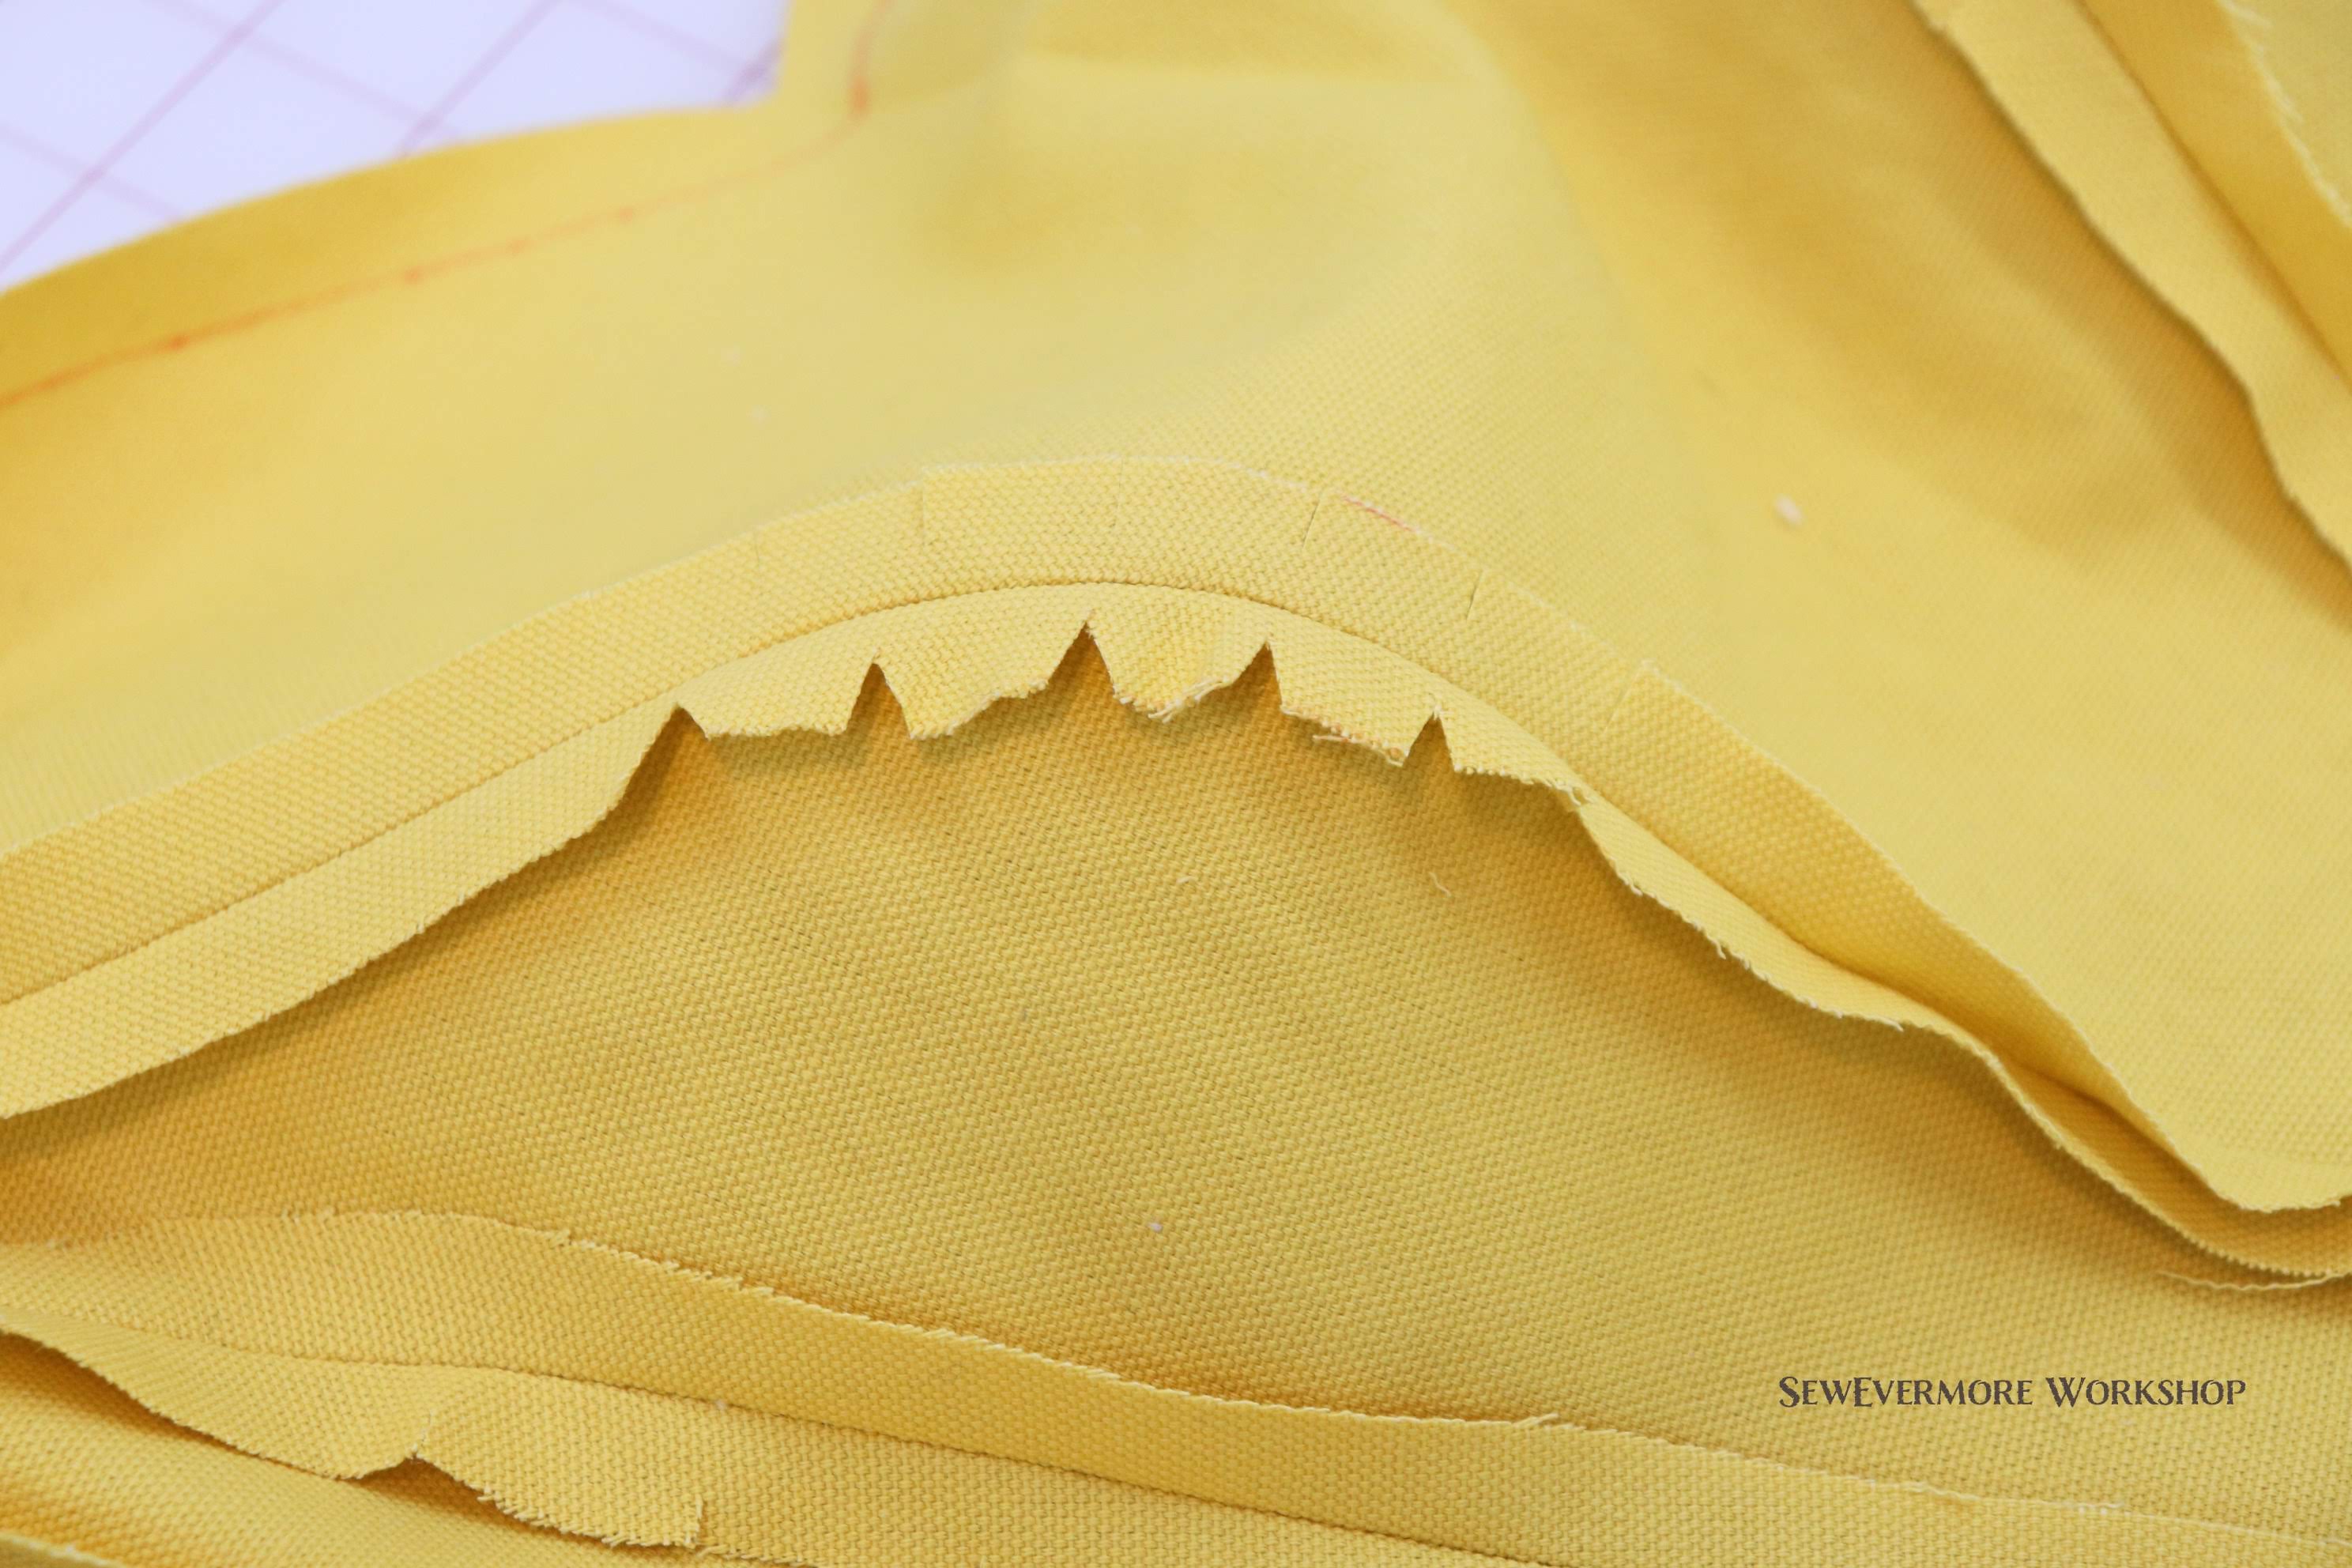
Once your lines are smooth you can use a ruler to add seam allowances if you like. Sometimes I do this with a ruler on the pattern pieces, and sometimes I will cut my pattern piece on the pin line and add a seam allowance when I cut my fabric. It just depends on how exact you need your pattern and how frequently you plan to use it. Since I usually only use the patterns once it is not always worth it for me to draw out the seam allowances, since I can free hand them pretty accurately on my own. But that is definitely personal preference. If you don’t think you can draw the seam allowance accurately without a ruler, or you plan to use the pattern multiple times, I definitely recommend adding one.
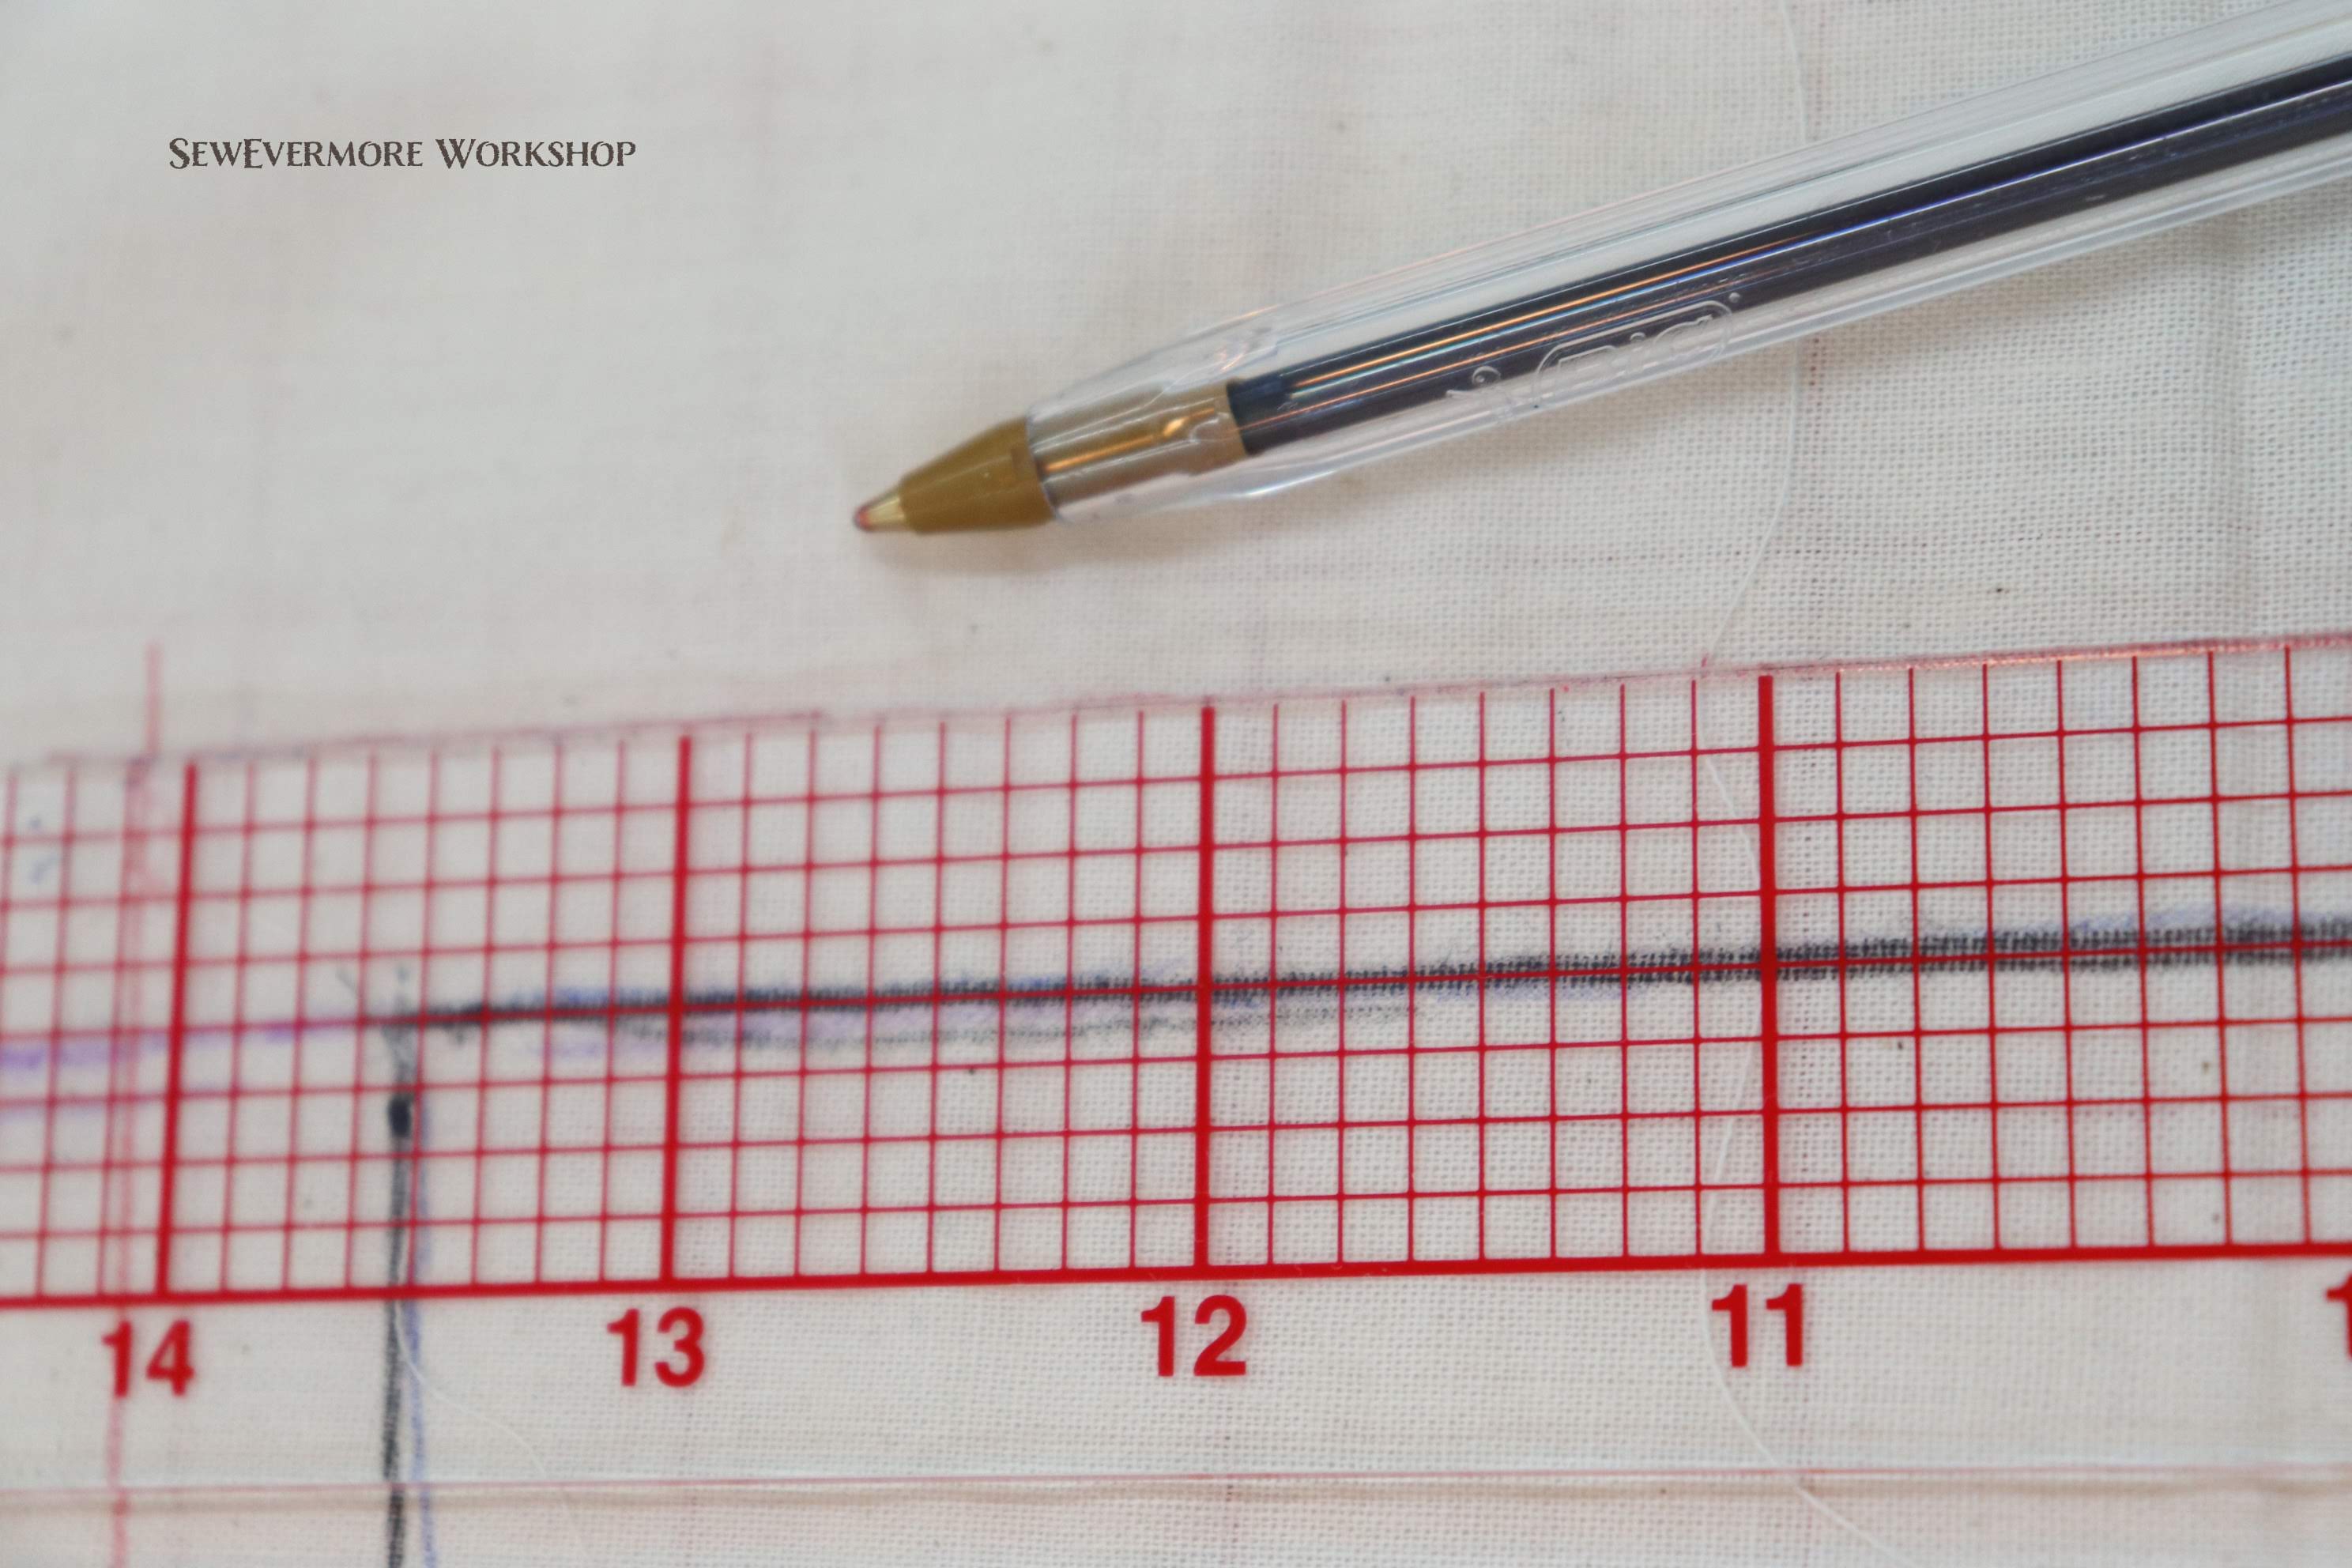
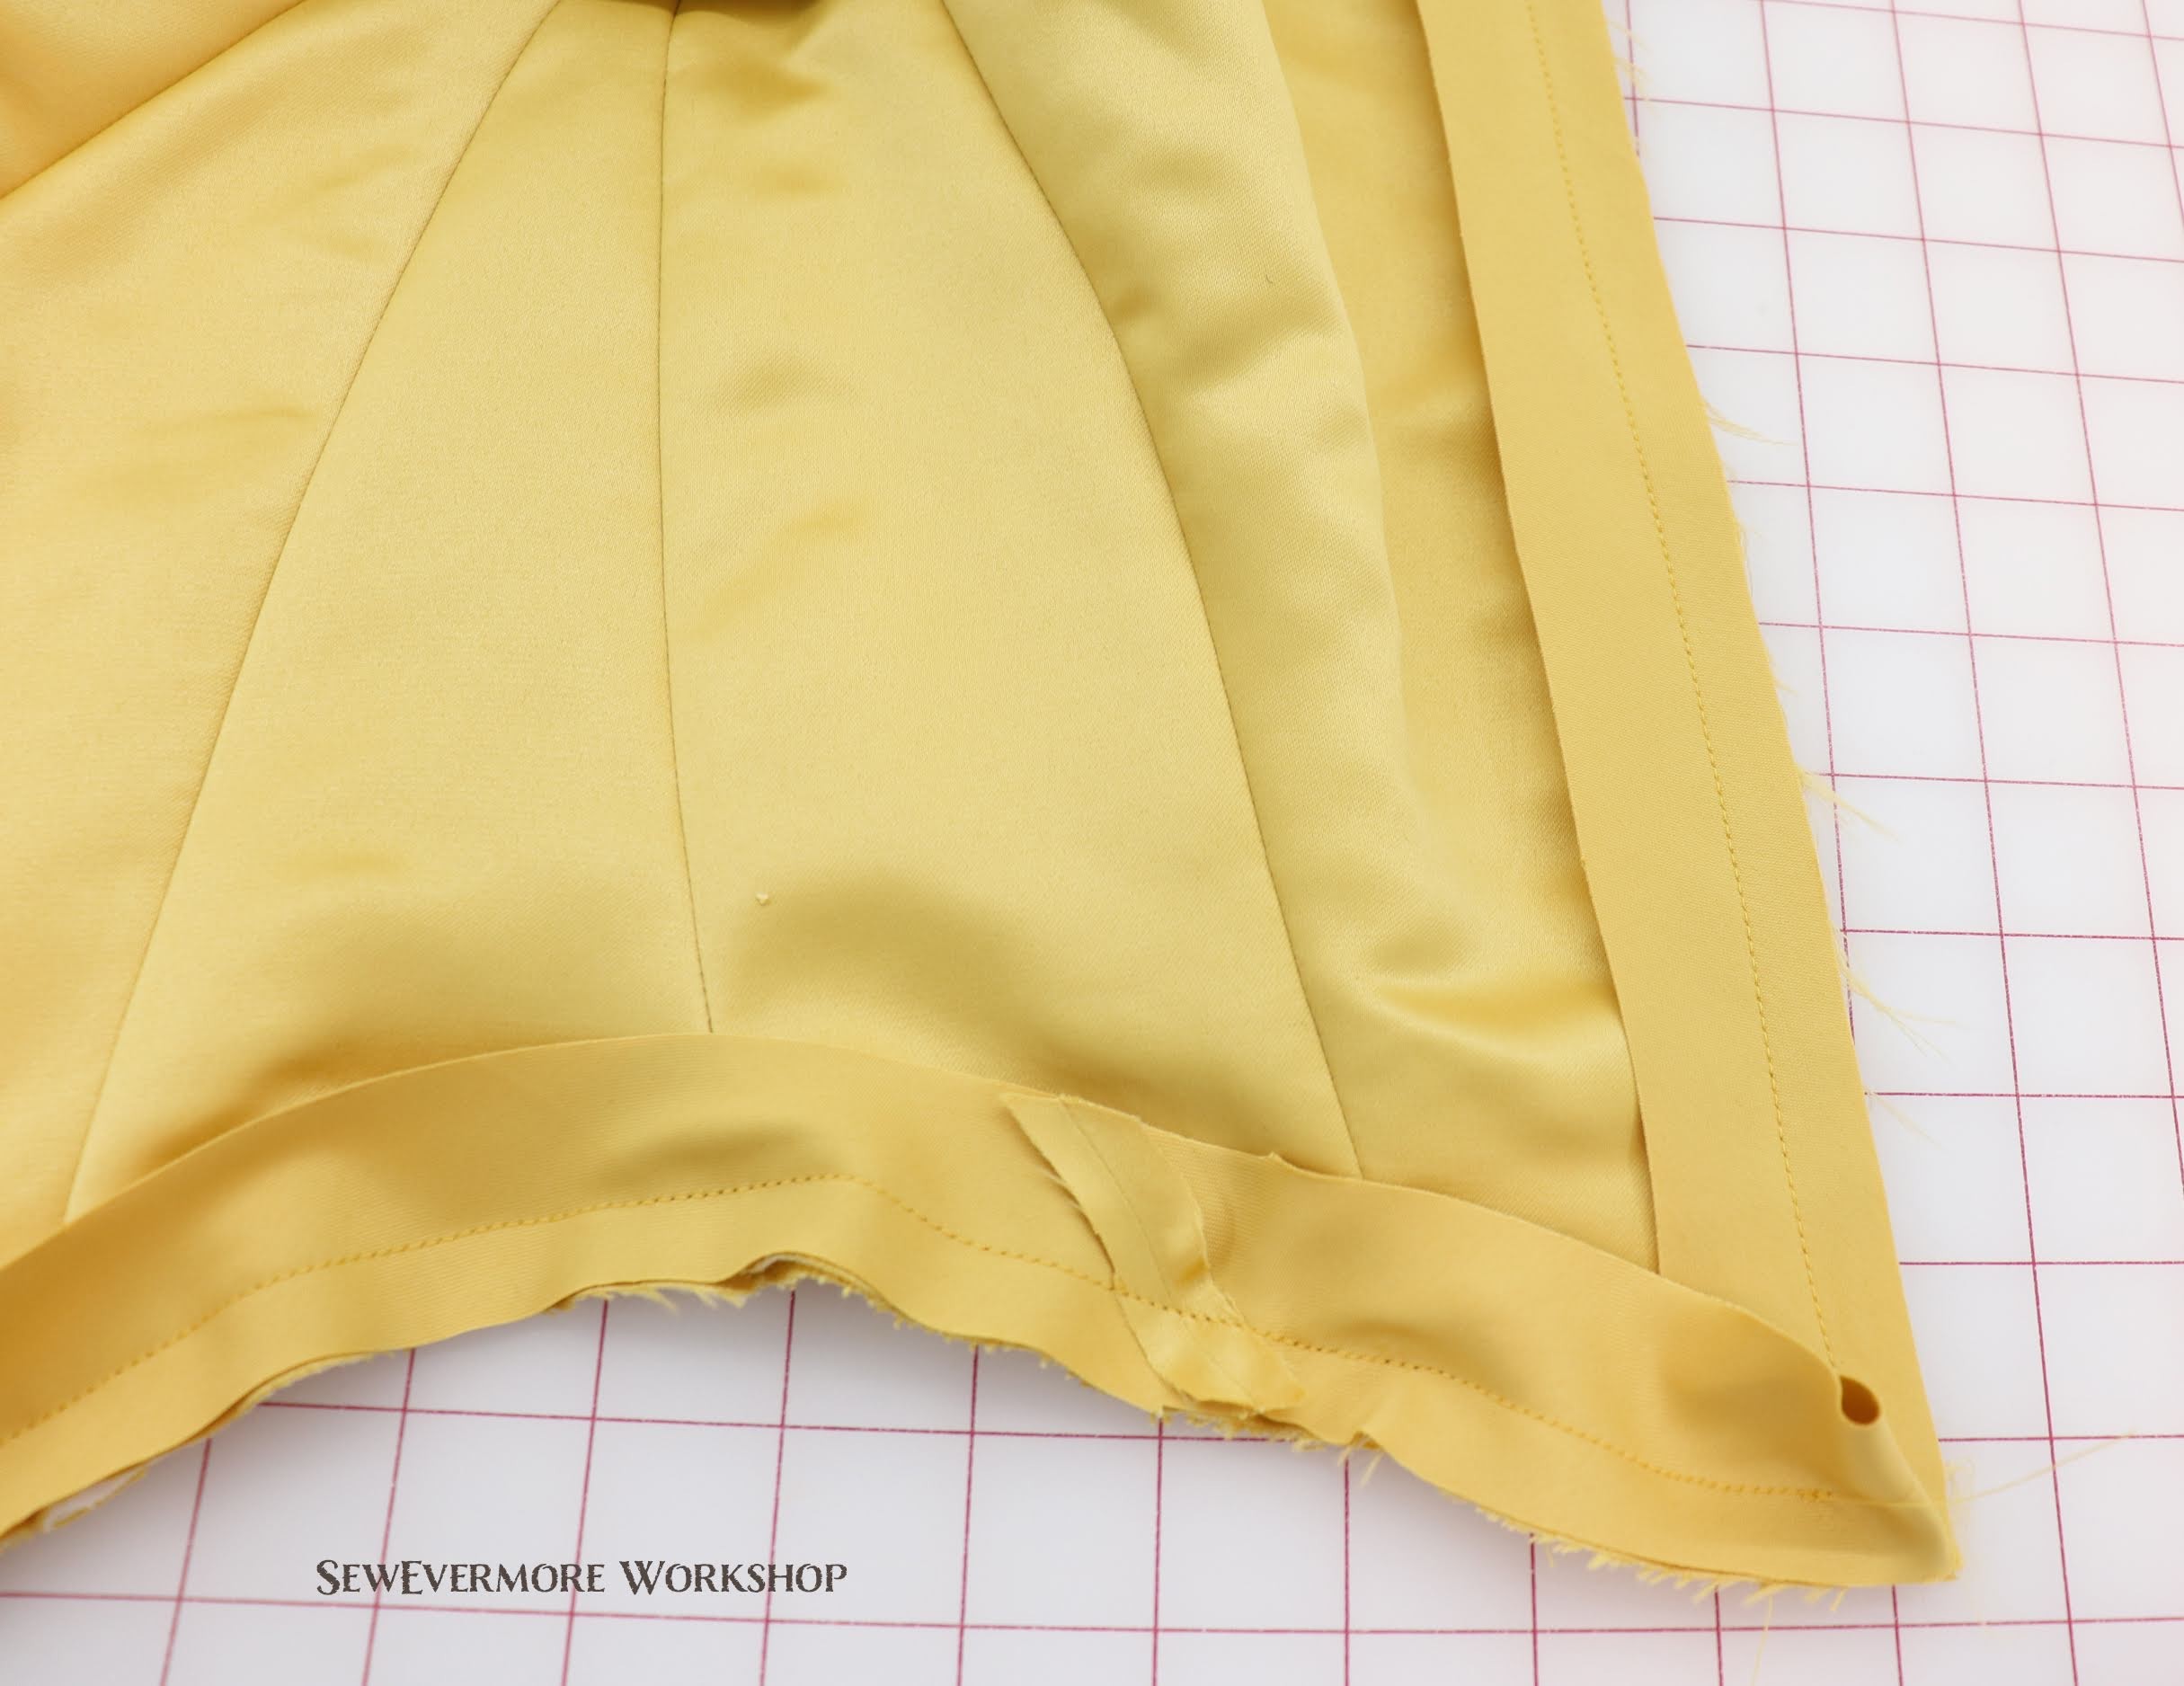
When I add a seam allowance I like to do so with a different colored pen. I usually use a 1/2 inch seam allowance. Below, the seam allowance line is in red. This will be the cut line for my fabric.

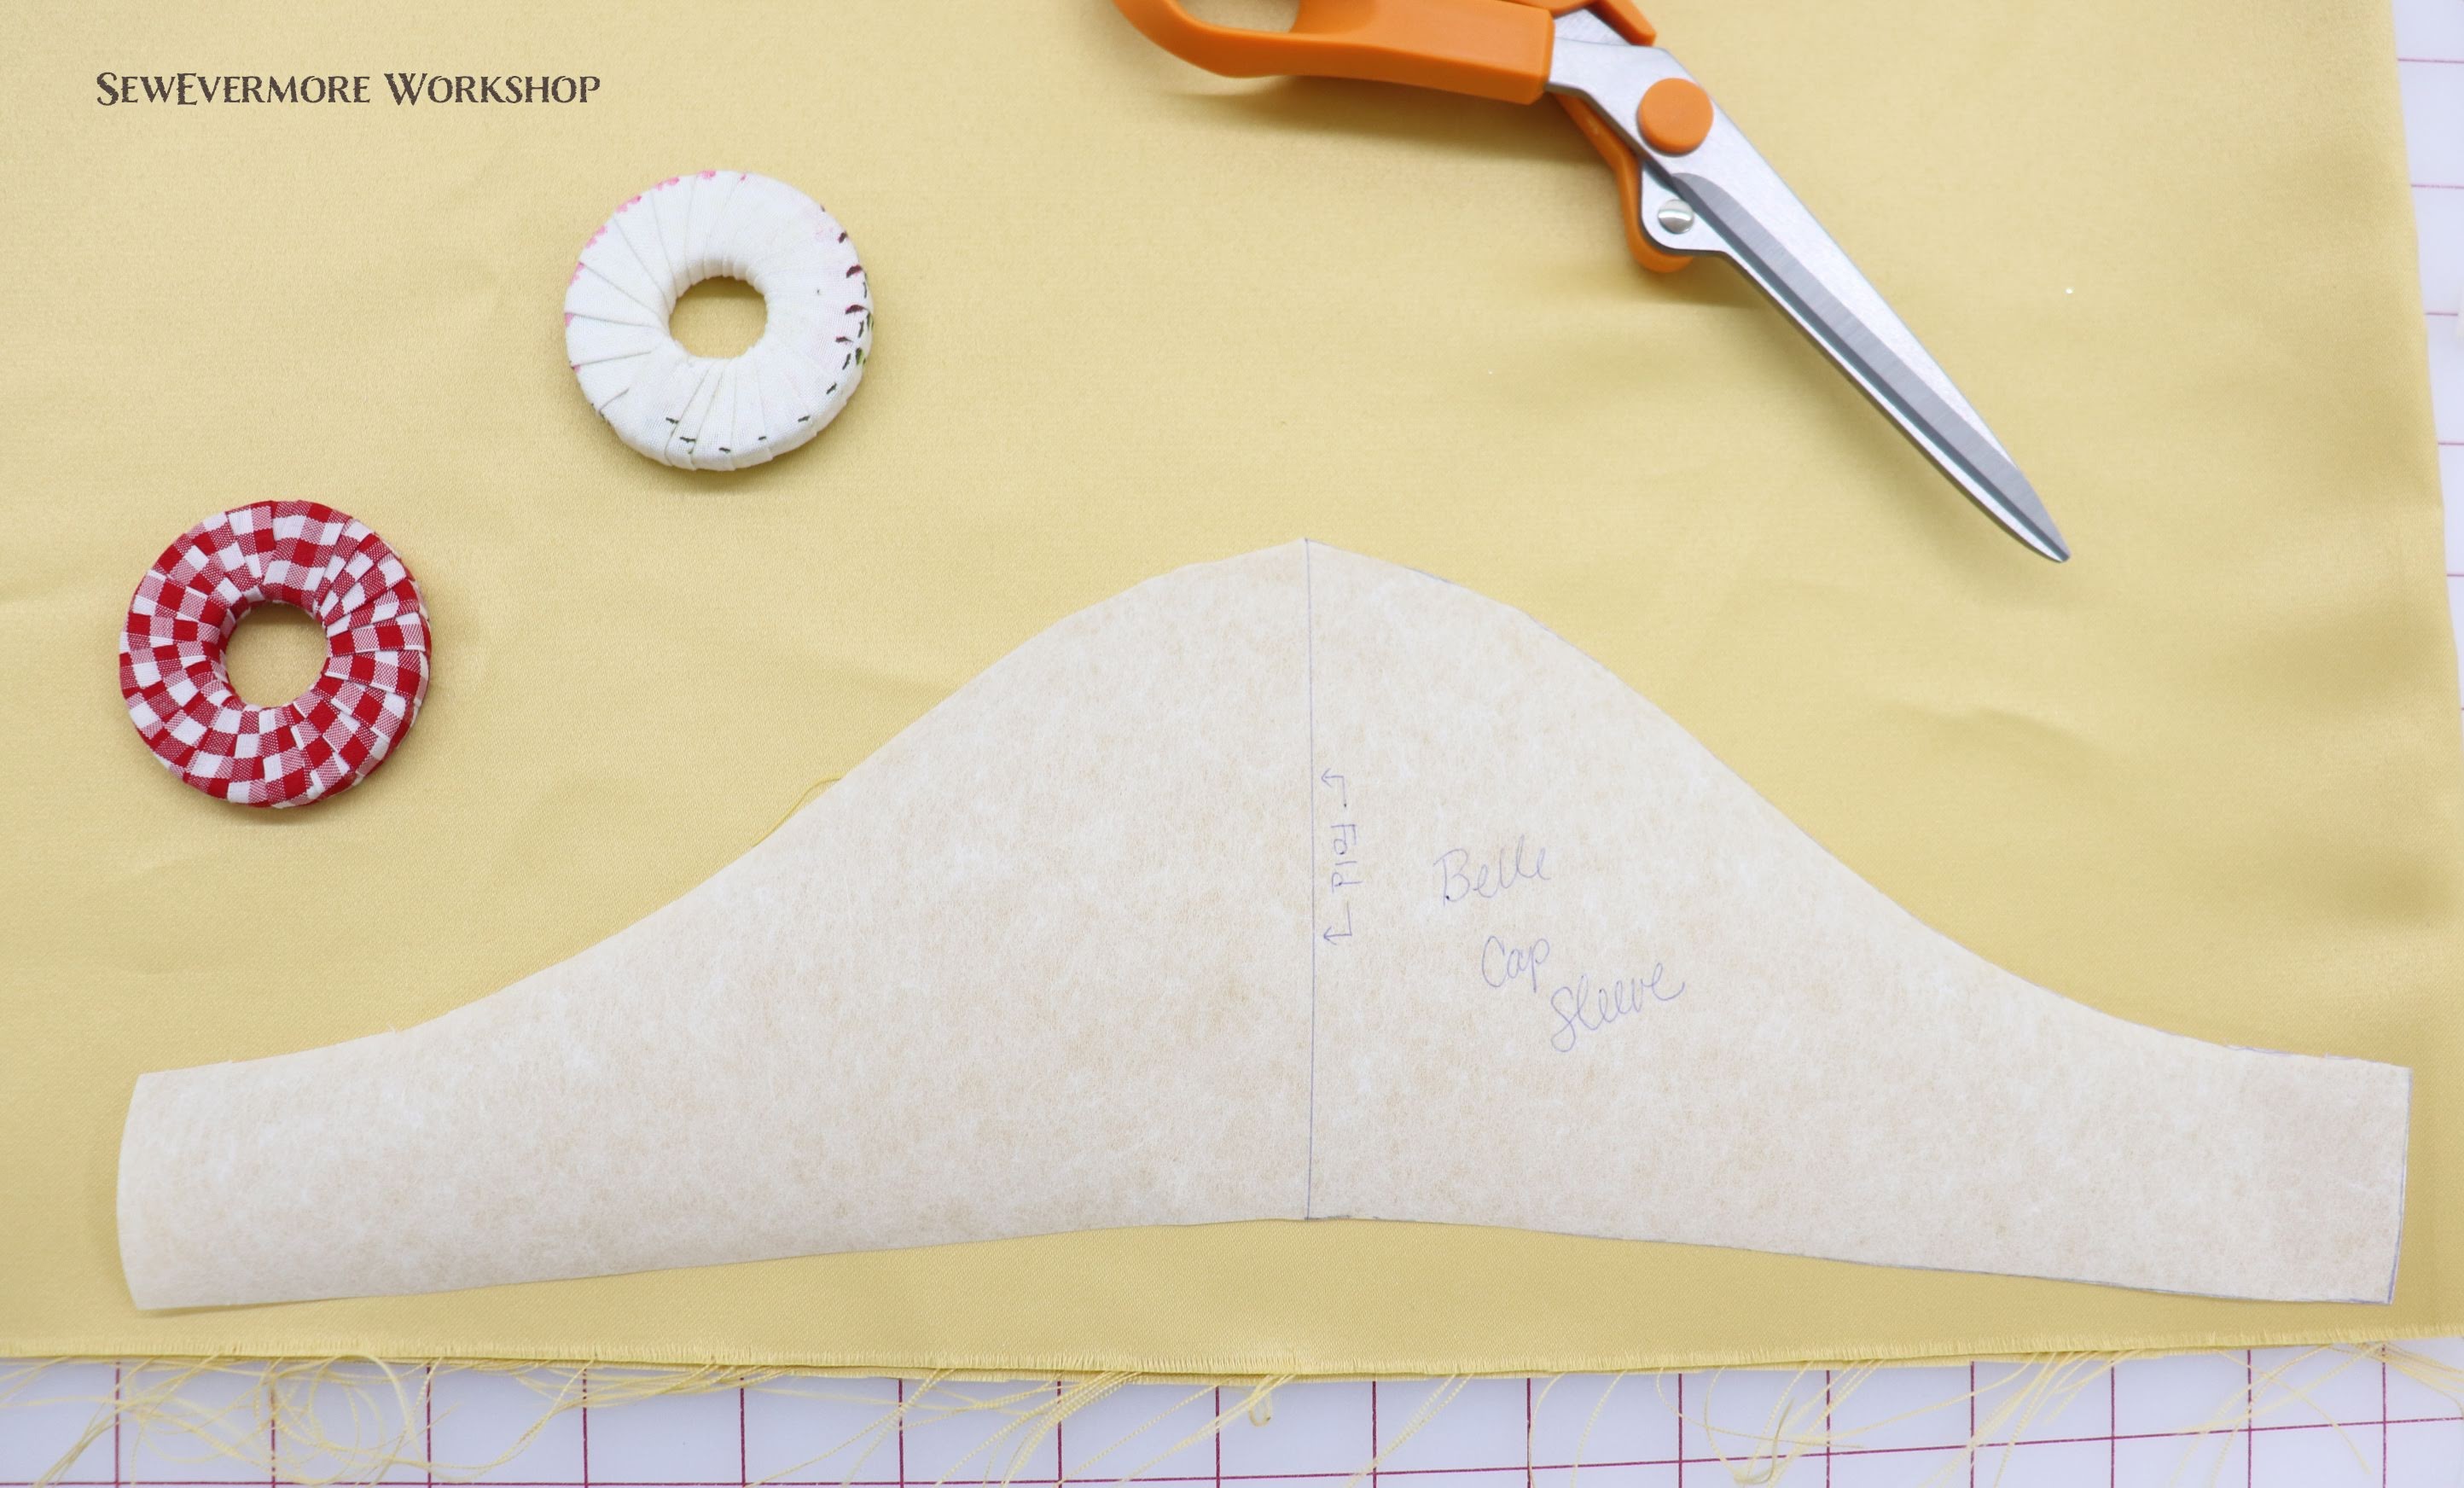
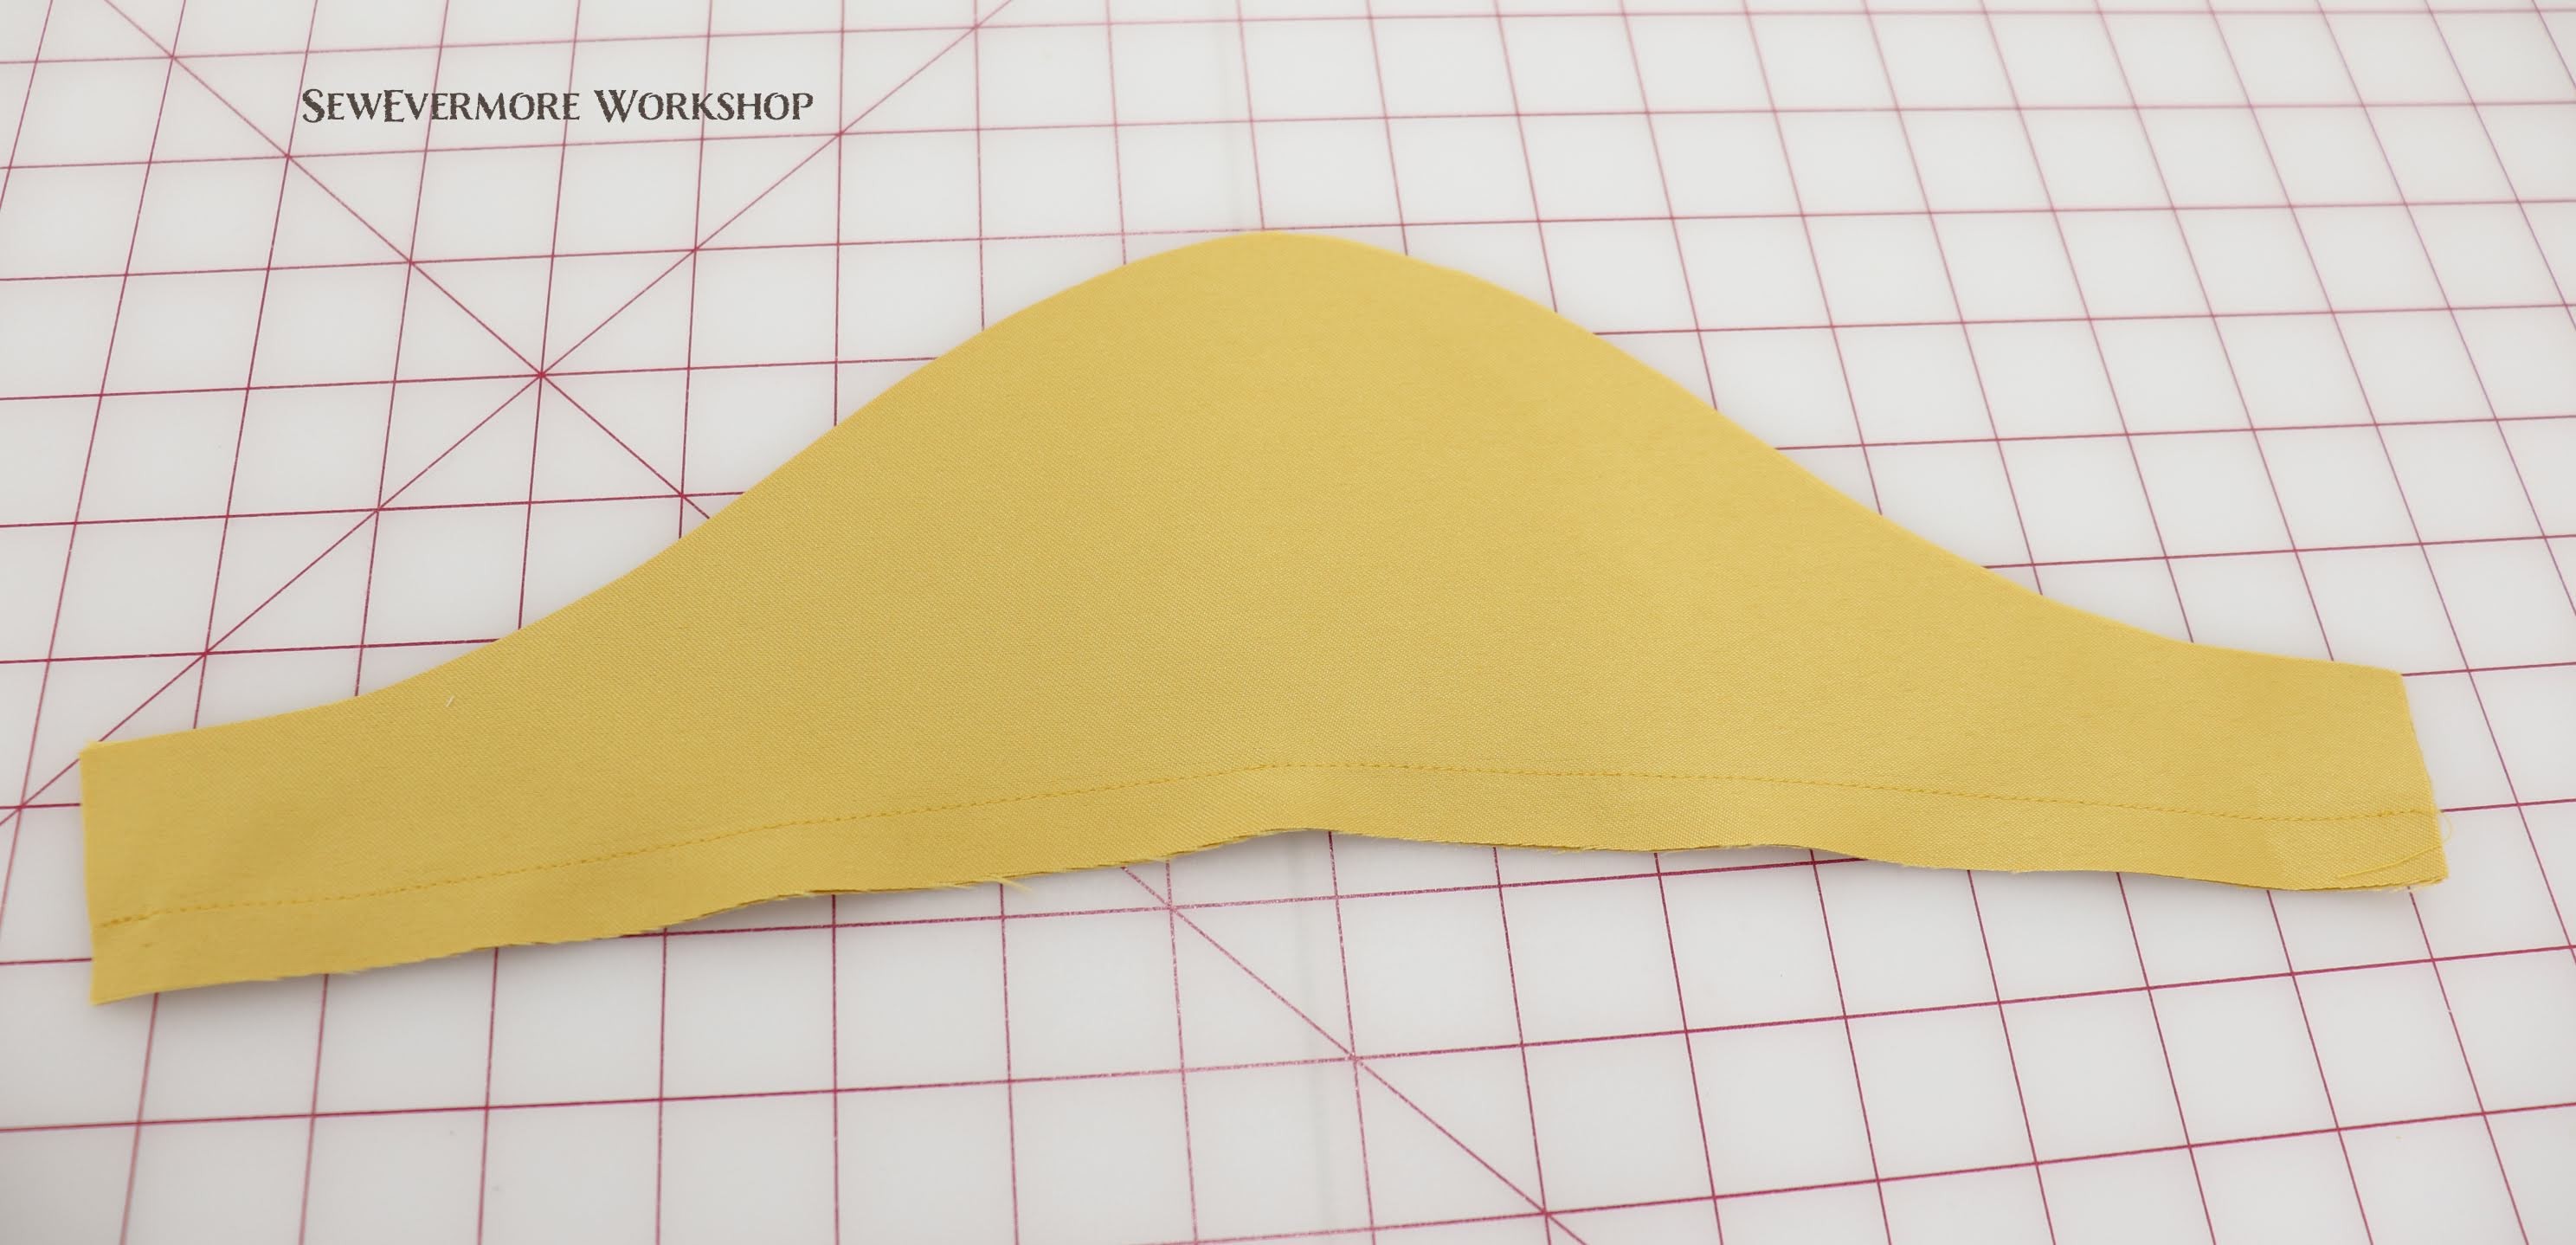
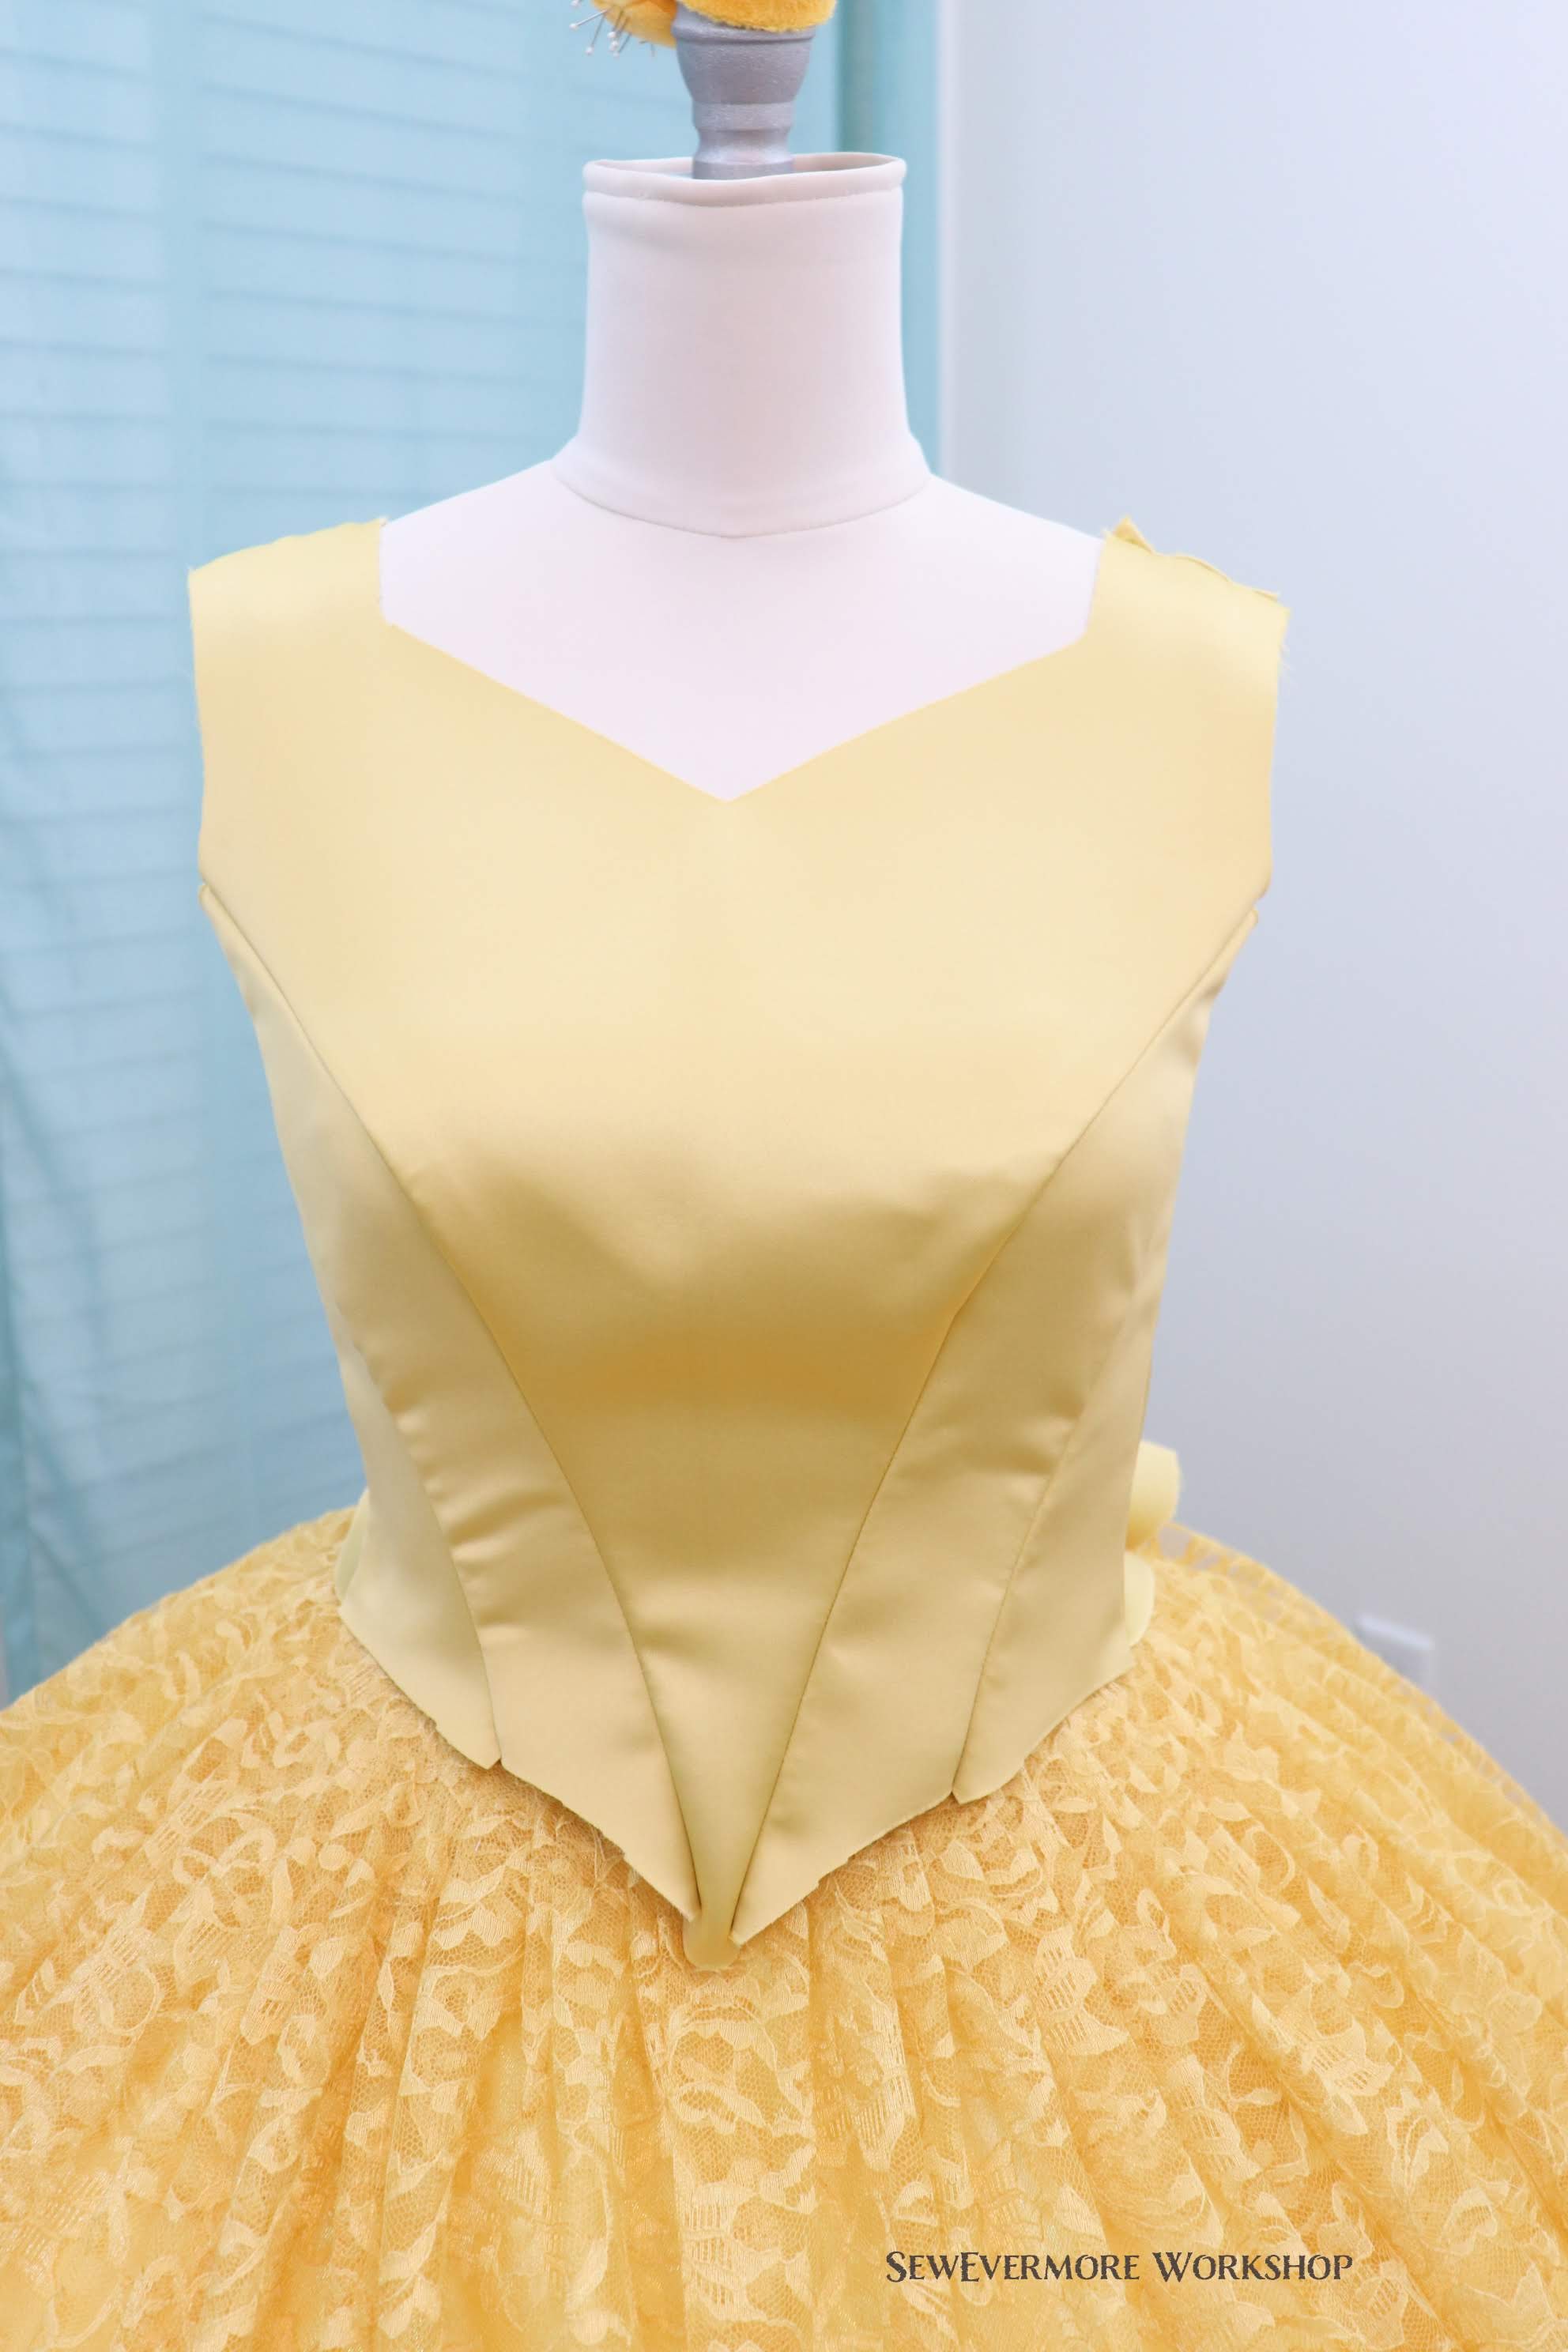
We now have a pattern for the Belle Dress Bodice!