Belle Dress

Binding the Bodice

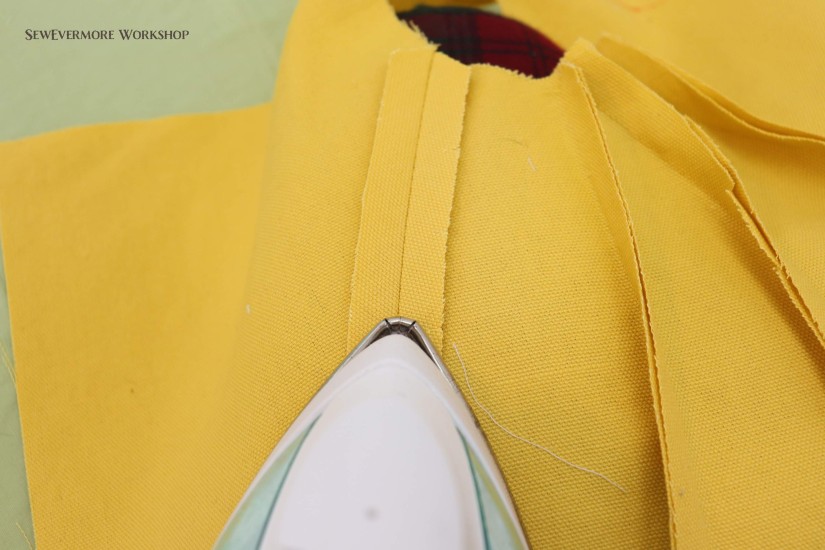
With the sleeves attached the bodice is close to finished. Up next, adding binding to conceal the raw edges. Before starting I gave the bodice a good press using a press cloth.
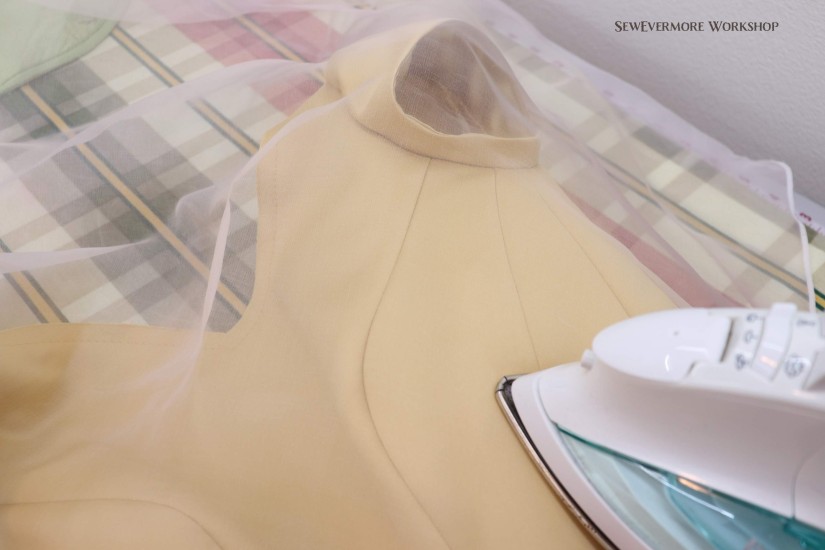
1img_0658

Since I want the binding to be hidden on the inside of the garment, I will be using single fold bias strips. If you want to see the binding, you could use double fold.

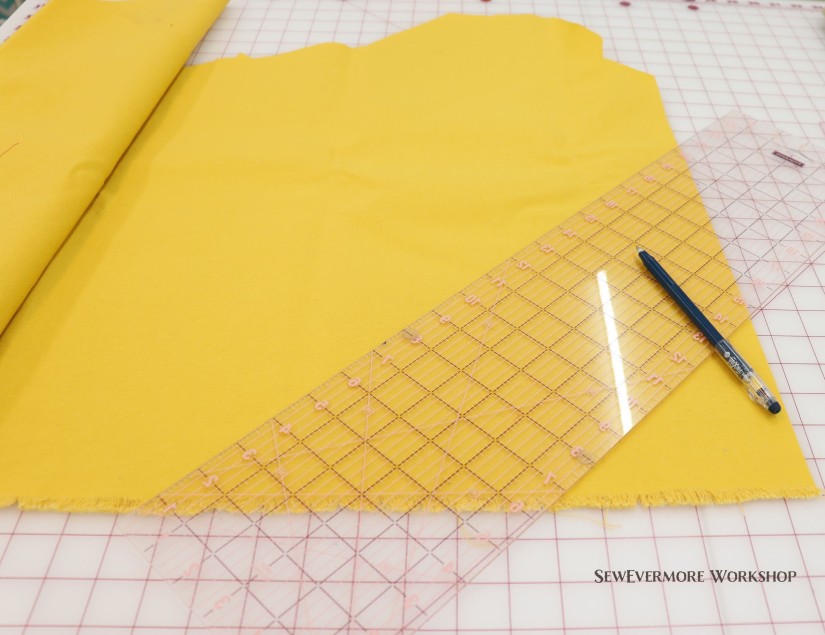
I used a fat quarter of the satin fabric and drew lines along the bias 1 5/8 inches apart to make a continuous binding strip.

1img_0654

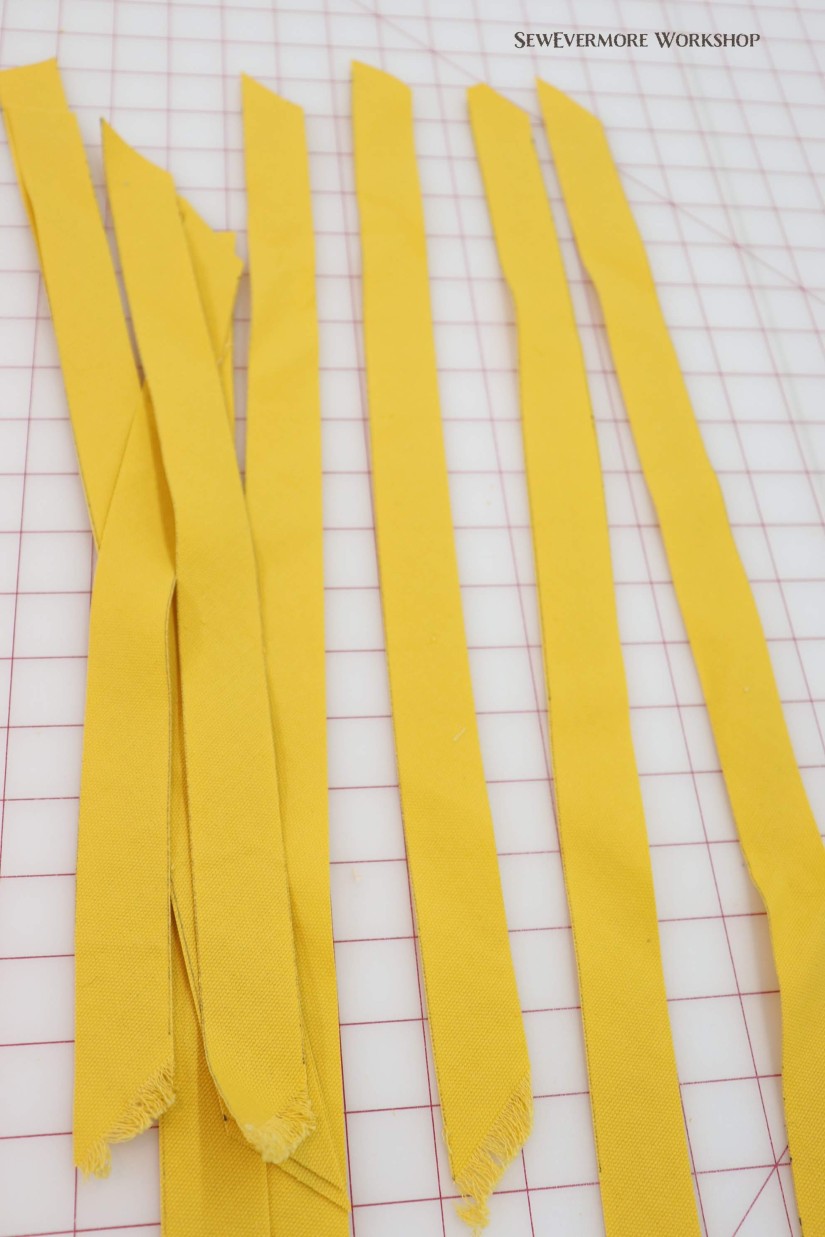
This yielded a few yards of binding which was just enough.

1img_0655

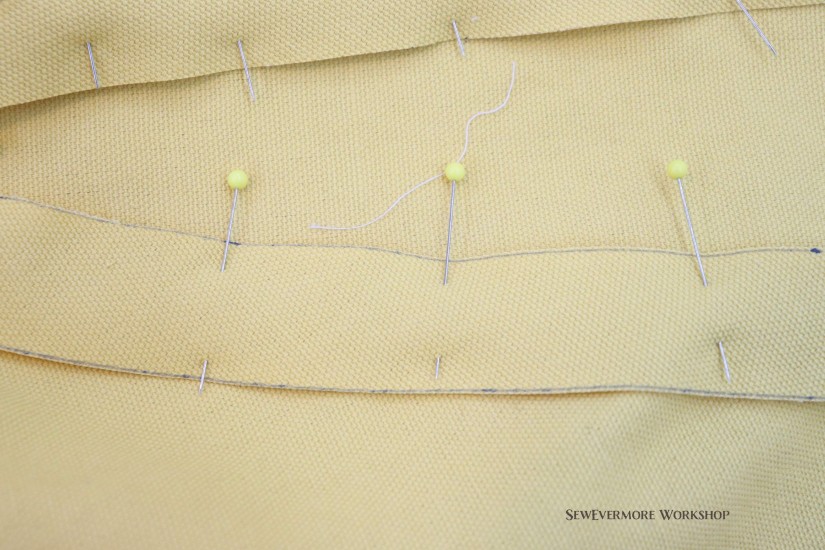
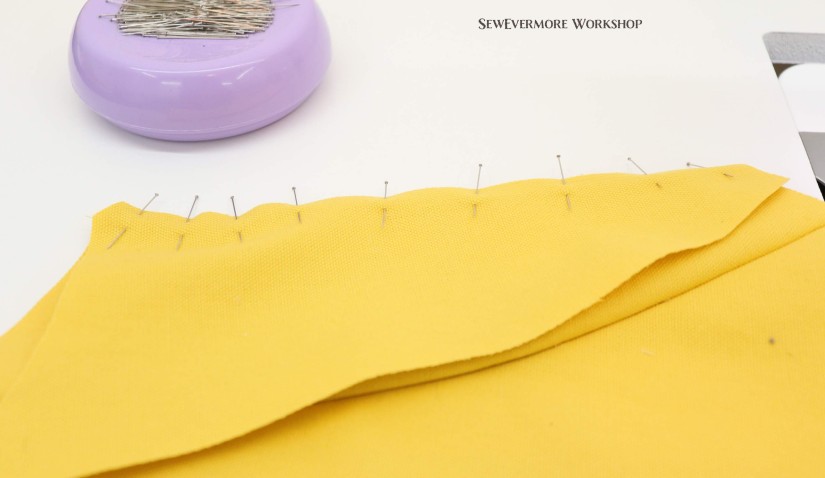
I placed the binding right side down on the right side of the bodice along all of the edges. This includes neck, hem, and back. You would also do the armholes if you have a sleeveless bodice. (Speaking of the sleeves. If you like you can bind the seam allowances on the sleeves, but this does add extra bulk. You can also trim them and finish with a zigzag stitch. I think this will by my choice on this project.)

1img_0661

I folded it at the corners. I don’t think I would do that again. Instead I would use two strips for the back edges and one for the top and one for the bottom. I think it would be easier.

1img_0659

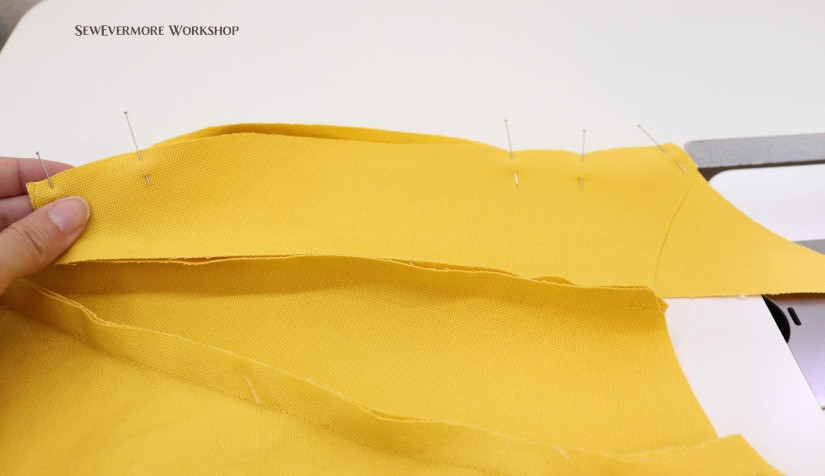
After stitching the binding in place with a little less than a 1/2 inch seam, I folded it toward the lining side of the bodice, folding the raw edge of the binding over the raw edge of the seam. I whip stitched it in place.

1img_0740

This process is a bit time consuming. It’s a good time to catch up on your Netflix viewing. I clipped the curves and trimmed most of the seams by about 1/8 inch as I did this.

1img_0738

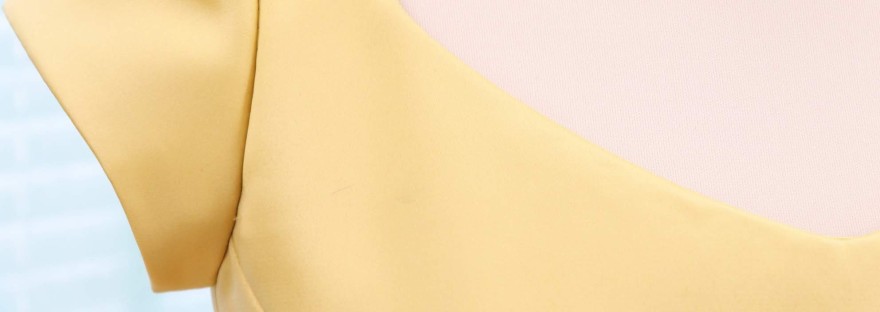
Binding creates a beautiful smooth edge on the right side of the finished bodice. I have found that binding creates a much better result than sewing the lining to the main fabric and flipping it, which I have done with poor results in the past. 
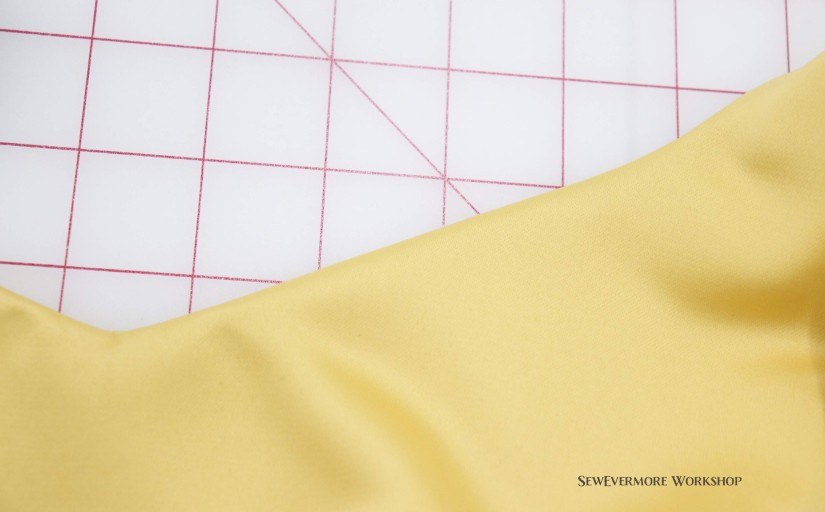
1img_0729

Binding really does make a difference in the look of the finished edges.
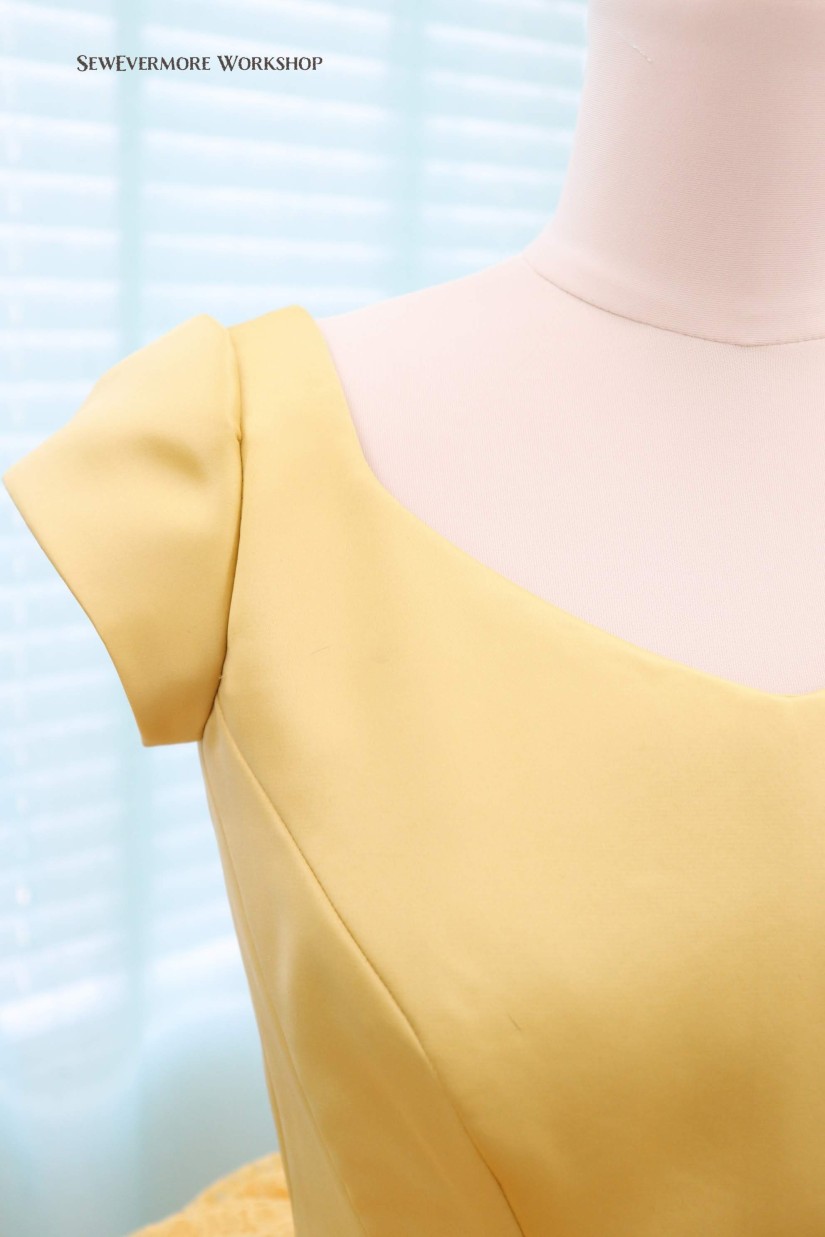
1img_0759-1

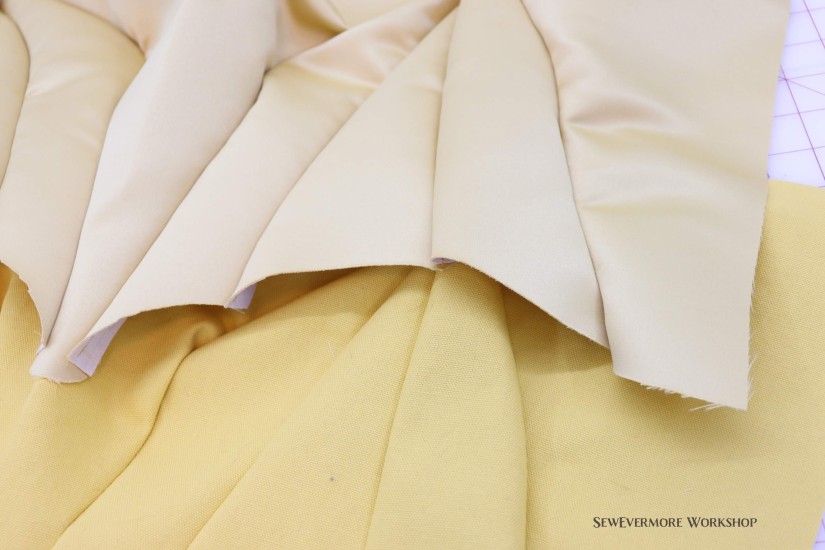
There are a few wrinkles on the bodice. If I was to make it again I would shorten the side front pieces a bit to help compensate for that. I am hoping that the majority will go away once the grommets have been inserted and the back is laced tightly.
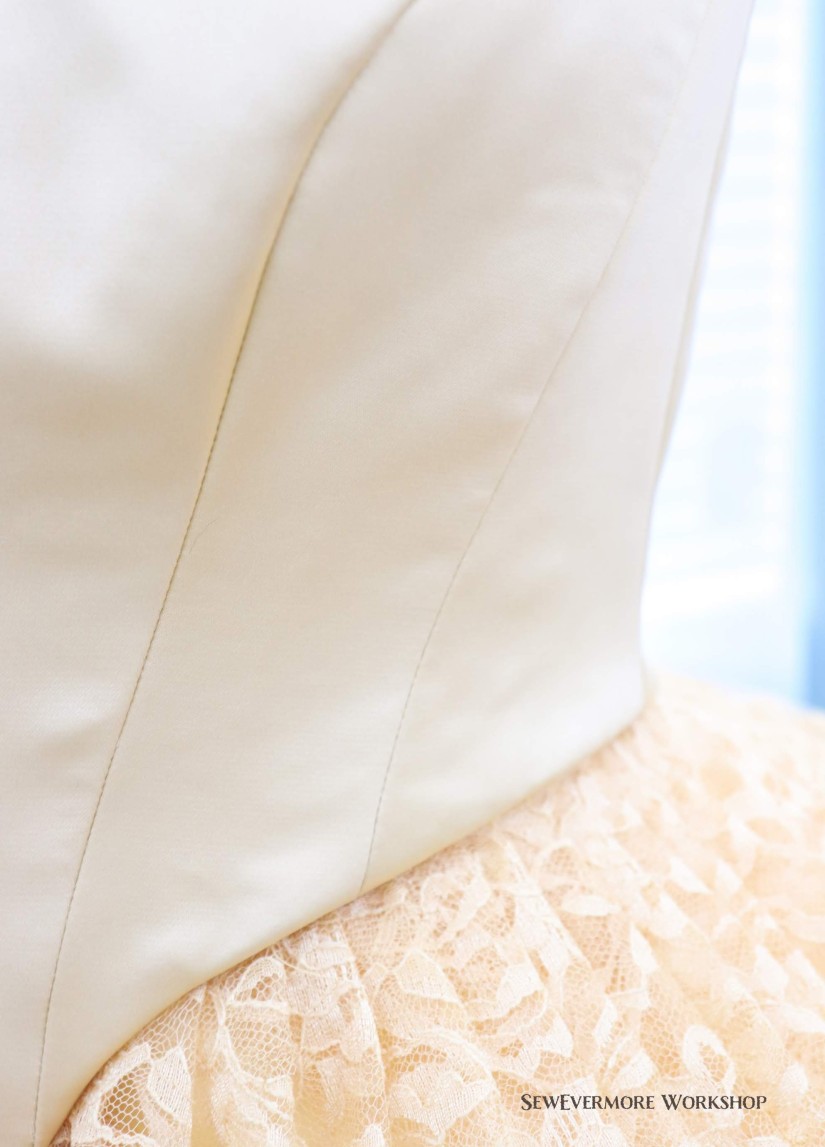
1img_0757

You may notice at this point that the bodice is smaller than expected. This is most likely due to the thickness of the fabric. There are a few simple ways to compensate for this. Plan to add a bit of extra length to the bottom and back, or use a smaller seam allowance. You just have to get to know your fabric and your dress form so you can plan ahead. Making a muslin mock up first is also a good idea if you are using expensive fabric or need an exact fit.
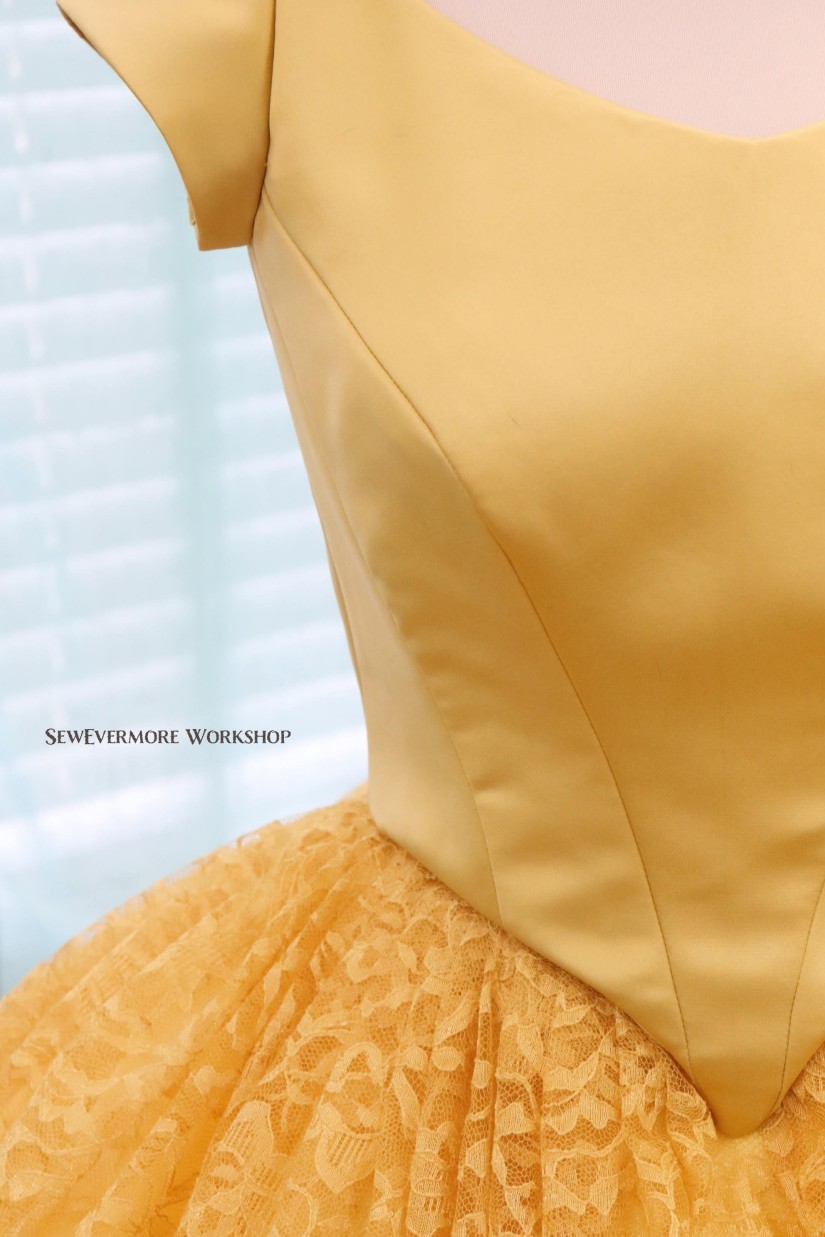
1img_0749-1

In the end, a gap of 1 – 2 inches in the back usually works just fine for a corset bodice. This allows for a more snug fit if that is what you are going for. It won’t be comfortable, but it will look nice!

What’s next? The majority of the construction is complete we still need to add grommets for lacing, and modesty panels. We also need to complete the waistband, neckline, hem and decoration. It’s coming together quickly now!

Belle Dress

Adding the Boning

The first thing you need in order to add boning to a bodice, are casings. You need to have a channel for the bones to slide into. The most common places to add bones are along the seams and at the center back. You can always add more than that depending on how structured you want your bodice.

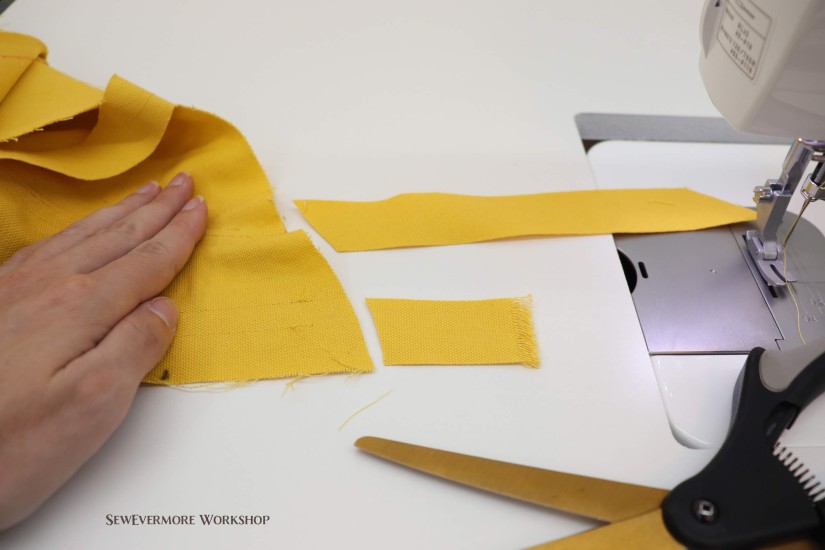
If you are purchasing your boning you will notice that some types of boning comes in the casing already. You can also buy boning casing separately. I will be making my own using the same duck canvas I used for my lining. Since many of the seams are curved you want to make sure the casings can stretch. So, I cut mine on the bias. This is at a 45 degree angle to the grainline.

1img_0527

I drew my casings 1 1/8 inches (or 9/8 inch) wide. This way they would be slightly wider than my seam allowances.

1img_0529

After cutting them into strips I have plenty of casings.

1img_0534

Next, I pinned the casings over each seam. This is done on the wrong side of the lining fabric, the canvas. That way all of the boning seams are on hidden on the lining and are not visible on the outside of the bodice.

1img_0535

It takes some time to make sure the casings lay flat over very curved sections.

1img_0536

I decided to pin all of my casings at once. This was mostly because my dog was sitting on my lap and didn’t want to move. I have to admit that doing this all at once can make for a prickly experience when sewing. I did get poked a few times. Therefore, if you prefer you can always pin one at a time, and then sew, so you don’t have to worry about all of the pins. You can also simply hold the casing in place adjusting as you sew if you don’t want to pin.

1img_0537

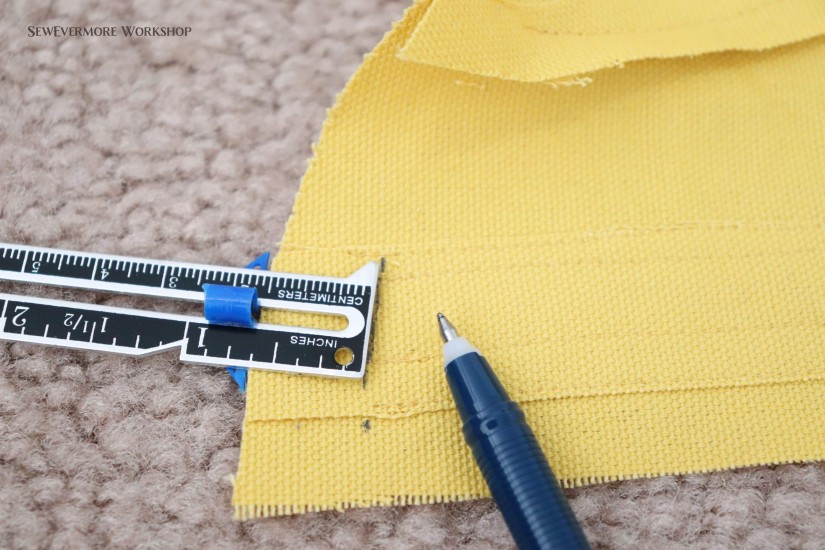
The boning that I will be adding to my corset is 1/4 inch wide. So, I will create a 3/8 inch wide channel to slide it into. This will allow the bone to slide in easily and takes into account the thickness of the metal. Since my casings are 9/8 inches, I will take a 3/8 inch seam allowance on each side leaving the 3/8 inch channel in the middle. It is important to keep an accurate seam allowance. If your seam allowance is too big, your channel will be too small and the bone won’t fit. If your seam allowance is too small, your channel will be too big, and the bone will slide around.

Normally, I sew my casings all of the way to the edge of the fabric. I decided to try something different this time. I started and stopped stitching 1/2 inch from each end. I want to see if trimming the bulk of the casing out of the seam allowance will help with how it lays. I will keep you posted as to which method I prefer after the construction is complete.

1img_0539

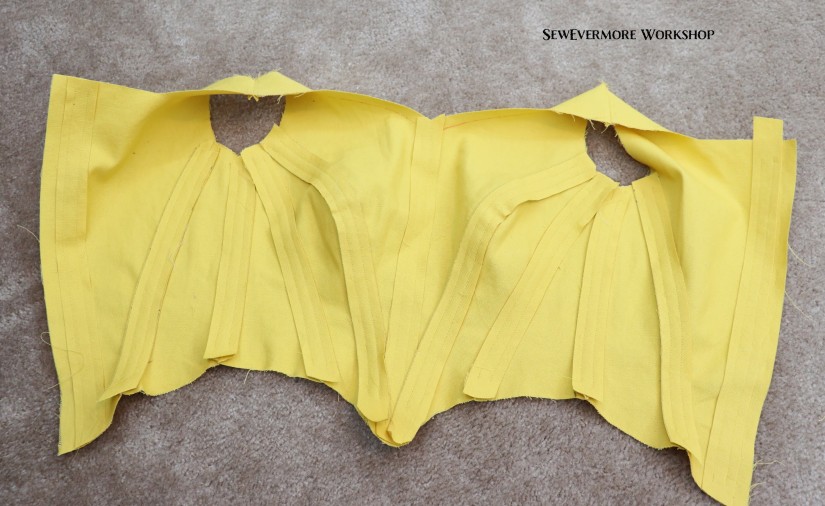
Now all of my casings are attached!

1img_0540

I trimmed off the extra edges of the casing that extended beyond the edge of the bodice.

1img_0541

I’m ready to add the boning.

1img_0543

The first thing I did was stitch the top of each channel closed 5/8 inch from the top edge. The seam allowance will be at 1/2 inch so this will provide a bit of a buffer so the boning doesn’t get caught in my seams. The will help when inserting the bones as well, so they don’t slide out.

Then I marked 5/8 inch from the bottom on each channel. This will give me a reference to where the closing seam will be.

1img_0548

Before inserting your boning, you need to determine what type of boning is best for you. Plastic boning is lightweight, flexible, affordable, easy to find, easy to cut, and often comes in the casing. That said, it offers the least amount of structure.

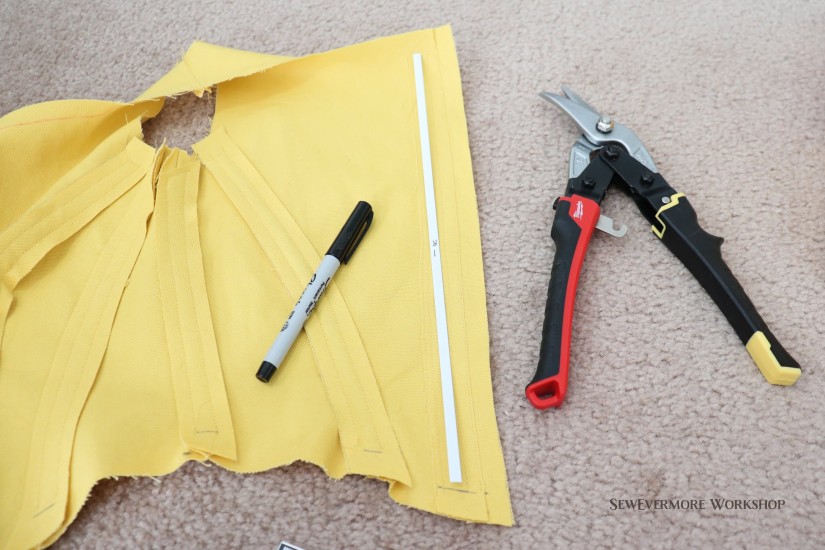
In my bodice I will be using a combination of flat steel boning, the white you see below, and spiral steel boning. I chose the steel boning because of the great structure it provides. The spiral boning is flexible and lays beautifully, but is very supportive. The flat steel, with its inability to bend sideways, provides great straight lines. Both of these types of boning can be purchased on a roll, or in pre-cut lengths. If you plan to cut the boning yourself it helps tremendously if you have proper tools. See my previous post on my Corset making tools if you would like information on what I use. If you choose to purchase pre-cut lengths take the time to measure carefully so all of your bones fit.

I will be using the flat boning for the straight channels. Those at the center back, and the center front. I will use spiral boning for everything else. I laid the boning along the back channel, and trimmed it to the proper length (about 1/8 – 1/4 inch shorter than my channel.) You don’t want it to be too long as you don’t want to accidentally stitch on it, or have it poke through.

1img_0552-1

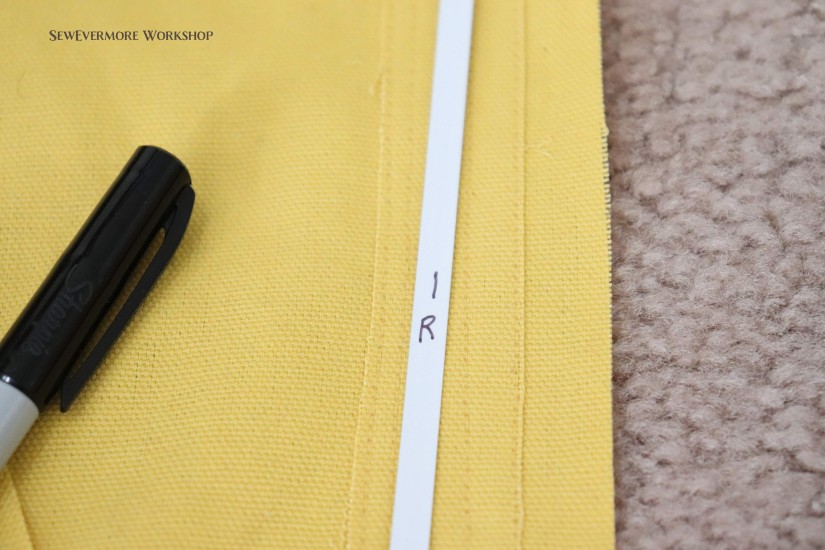
If you plan to use a lot of flat boning, I like to use a sharpie to label which casing the bone goes into.

1img_0554

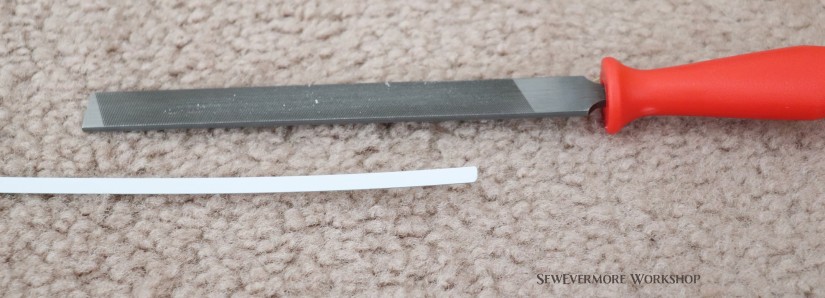
I use a metal file to sand down the sharp corners of the cut boning.

1img_0555

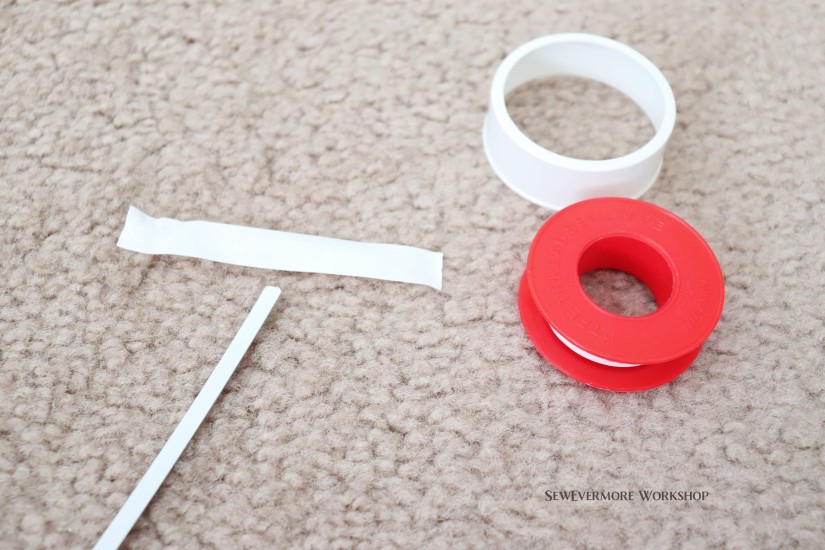
Next, I wrap the very end in PTFE tape to cover the exposed metal end. (I’ve also used a bit of plasti-dip instead of the tape, see my post, but the tape is definitely faster and less messy.)

1img_0556

Then I slide the boning into the appropriate channel.

1img_0557

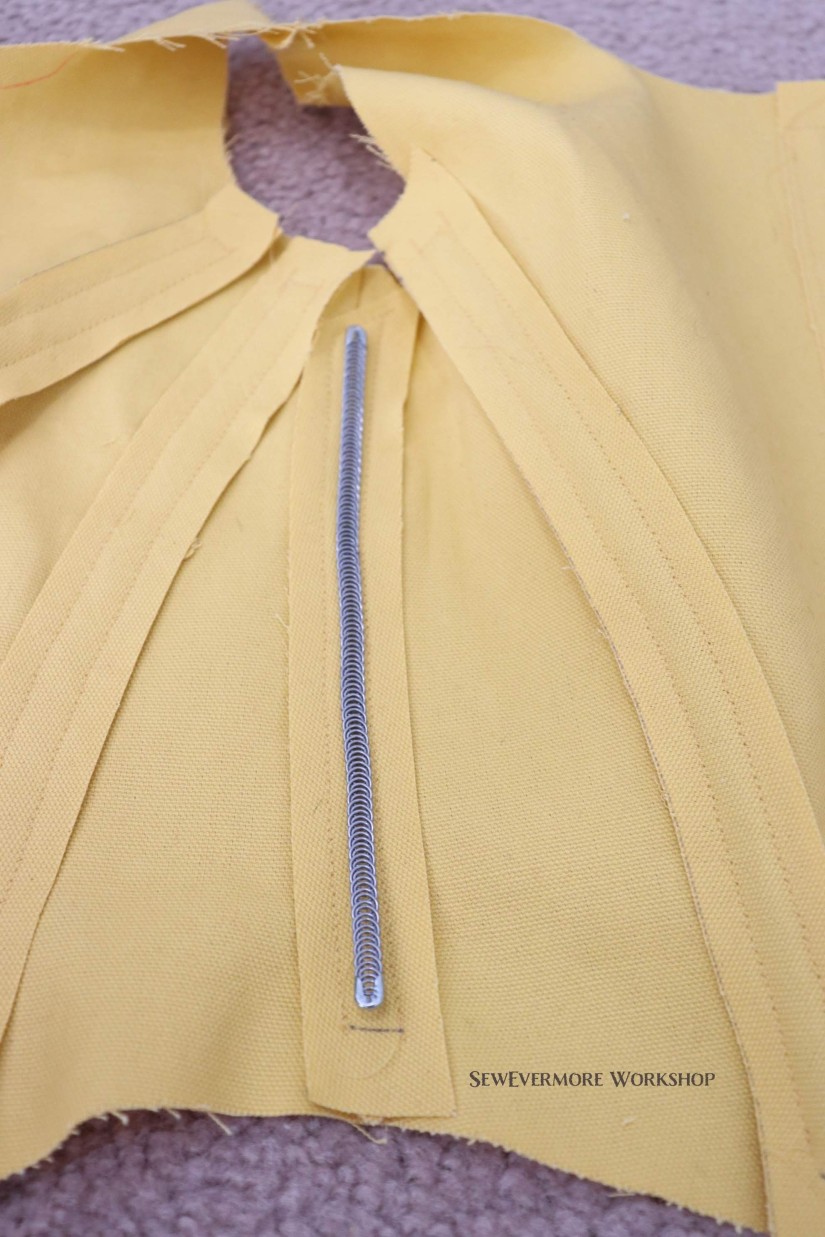
Up next is the spiral boning. You use metal tips to cover the ends of the spiral boning. I tipped one end of the boning, and then as with the flat boning, I lay it over the channel and trim it to the appropriate length.

1img_0558

Then cap the other end and slide it into the channel.

1img_0560

While the idea of using steel boning can be overwhelming at first, if you have the right tools and patience it is not terribly difficult. With pre-cut boning available the difficulty is not any more difficult than plastic boning. You just have to be careful not to sew over it with your machine. My middle school students have been able to successfully cut and tip their own metal boning. So, it can be done!

Belle Dress

Sewing the Bodice

Now that the pattern is ready it’s time to sew the bodice.

The first step is to prepare your fabric. Make sure that is washed and laundered if applicable. I want the bodice of my dress to act much like a corset. The lining will be duck canvas, and the exterior fabric will be satin. Coutil would probably be a better choice than duck canvas if you can find it and don’t mind the price tag, but I was definitely shopping on a budget and I have found that the canvas works well for me.

Since the lining will be so heavy, the satin needs to be reinforced to add structure. It is worth it to take the time to do this, especially if the satin is really light weight. There are several ways to do this. I chose to use fusible interfacing. I used Pellon SF101.  I don’t always care for fusible interfacing. It can pull away from the fabric and sometimes causes puckering. So, if you don’t want to use interfacing, interlining is also a great option.

1img_0477

I’ve made a deadline for myself on this project, so to save time I fused the interfacing to a large piece of the satin prior to cutting out the pieces. You could cut out each piece individually and fuse separately to save on the cost of interfacing if you prefer. My goal with this step was to save time. By fusing first you only have to cut once instead of twice.

Next, I cut out the bodice from both the canvas and the reinforced satin. You can always make a muslin with the pattern prior to cutting out your actual fabric if you want to test the pattern first. (Just FYI, I sometimes give myself a few extra inches at the center back just in case…to account for thickness of fabric, seam allowance error, etc.)

1img_0480

I like to start by sewing the canvas together. I use the canvas to test my pattern.

1img_0489

I sewed each section right sides together with a 1/2 inch seam allowance.

1img_0490

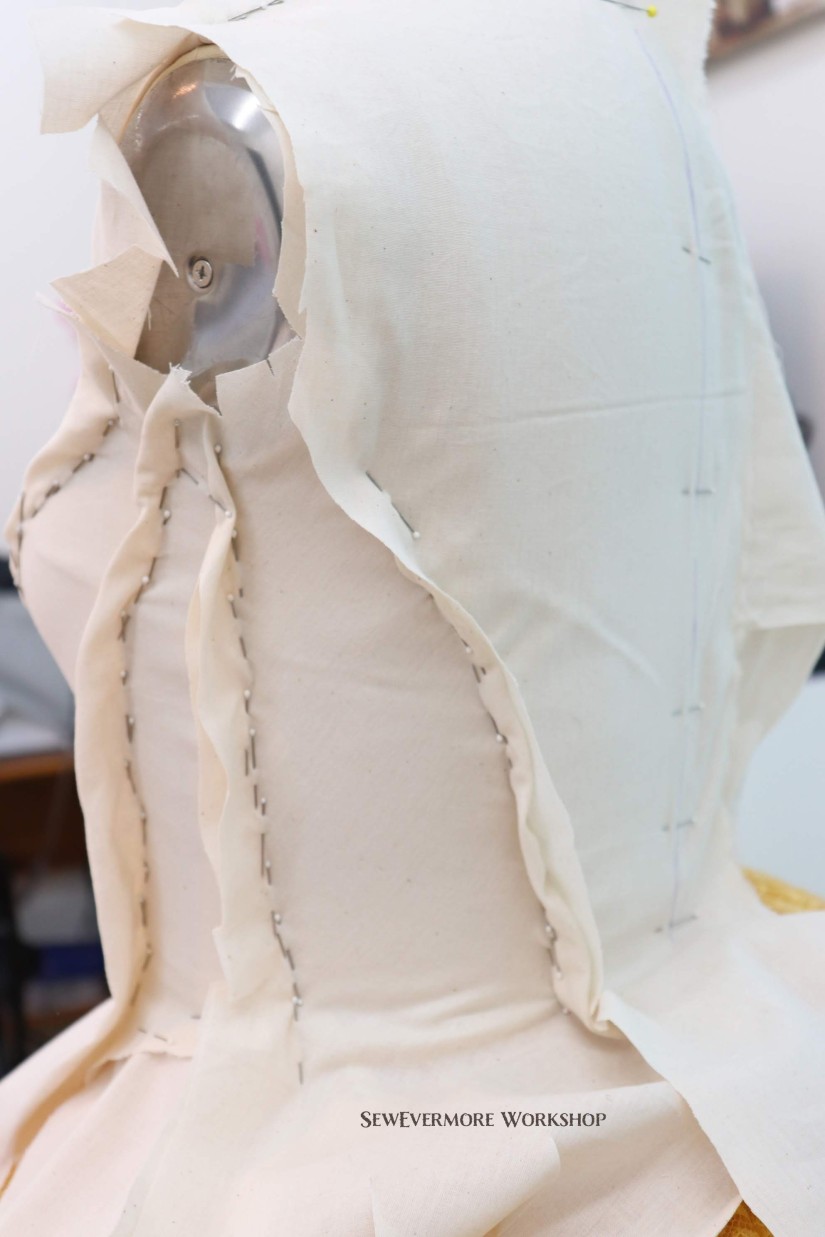
I like to match up the ends and then pin in the middle. Occasionally, in areas with tight curves, I need to clip the edge of the smaller piece in order to fit the fabric. On this pattern, I found that was necessary when aligning the side back to the back piece.

1img_0500

A note on making your own patterns, I have found that there are little discrepancies that occur when making your own patterns. Since I am not a professional pattern maker I encounter things like this frequently. For example, when aligning your pieces recall it is the stitch line, 1/2 inch from the edge (since I used a 1/2 inch seam allowance), that needs to align. Not the corners. This was very visible on the shoulder seams. I have found that if you have a lot of experience using store bought patterns you can predict how edges should be aligned, even if it isn’t cut perfectly.

1img_0505

Also, I occasionally find that I mark the wrong line while drafting my pattern. This could be a section where the fabric was folded, or the pin was in at an odd angle when draping, and for some reason when I connect the lines it ends up an odd shape. This happened on this pattern on the side front piece. There was an indent from the top on the pin line near the shoulder, my brain thinking it was part of the shoulder curve, curved the edge. In reality, the fabric had just been folded, and the line was supposed to be straight. It wasn’t part of the shoulder curve at all. I was able to realize the error when I was pinning the pieces together and corrected it. Why am I telling you this? I just want to point out, that it is okay if things aren’t perfect. We learn from it, and as long was we adjust as we go, things usually work out just fine!

1img_0495

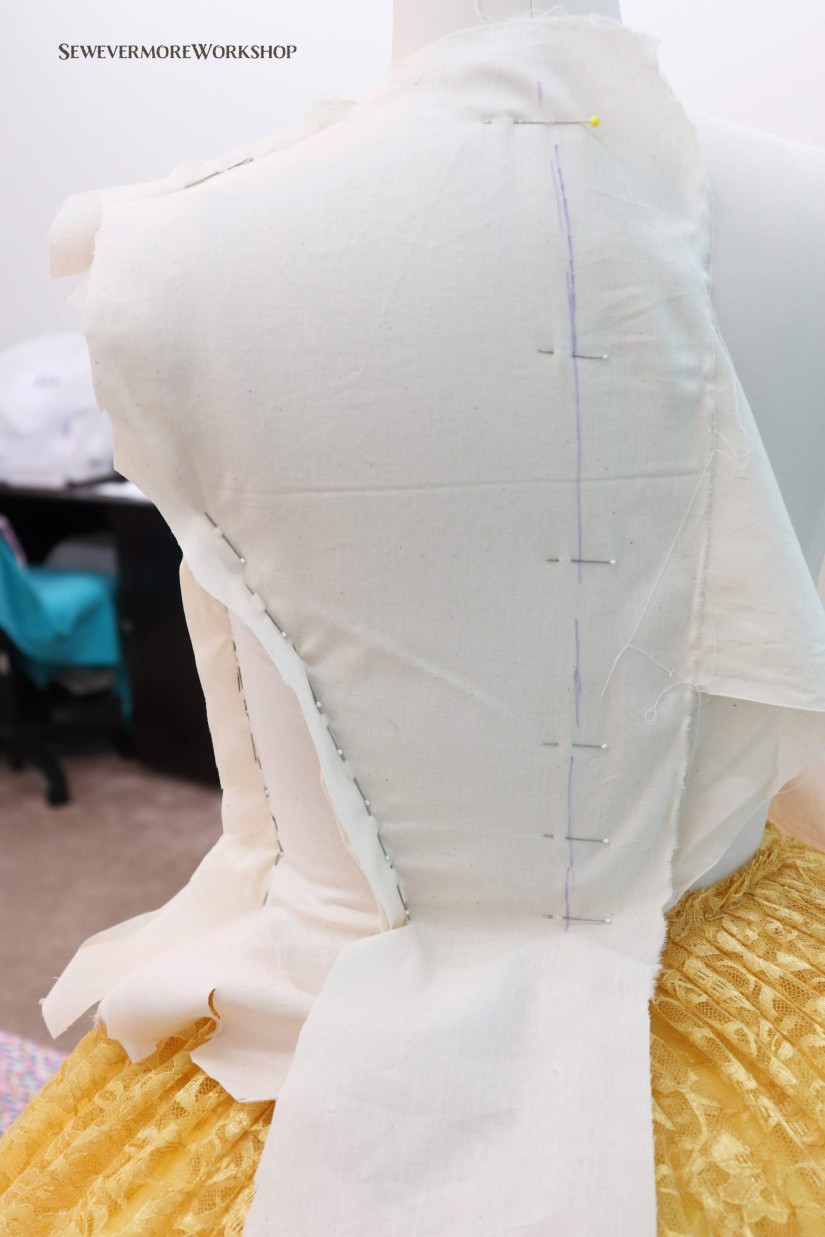
Once the canvas was sewn together I placed it back on the dress form, inside out, so the seams could be adjusted as needed.

1img_0507

I noticed it was a little loose at the bust.

1img_0511

So, I made a slight adjustment. This is also a good time to try it on yourself, or on whoever will be wearing the garment. Since we are not all model perfect like our dress forms it is a good time to make sure it will fit you. (Keep in mind, corset patterns may be a bit small since they are often meant to suck you in.)

1img_0512

When I tried it on myself I noticed that the neck was a bit high, so I may have to adjust that later. I also had to let out the shoulder seams a bit. Just keep in mind, the top, bottom, and armhole seams have not yet been stitched, so the seam allowance is still present.

Next, I sewed together the satin, using the adjustments I had made to the canvas.

1img_0514

It’s still a little rumpled, but it’s a bodice!

1img_0515

Time for pressing! Pressing makes all the difference in the appearance of your final garment. You’ll probably want to have a pressing ham and press cloth handy. I prefer silk organza press cloths.

1img_0517

I pressed open the seams.

1img_0518

I had to clip the curves of the seam allowance around very rounded places such as the bust. I pressed both the satin and the canvas.

1img_0524

Keep an eye out for my next post, where we will talk about adding boning channels and boning to the bodice.


Belle Dress

Draping the Bodice

Now that everyone is settling into the new school year I feel like I finally have time to sew. Hooray!

Today I worked on draping the bodice. Draping is a process used to create your own garment pattern. This is one of my favorite steps in the dressmaking process.

1img_0416-1

I have had good experiences with many store bought patterns, and still use them when I try new styles or techniques. I have definitely learned a lot from them. That said, I greatly prefer making my own patterns. Overall, I feel like I get a better fit, with fewer adjustments being necessary.  If you are not comfortable making your own pattern or if you don’t have a dress form, store bought patterns can work just great! With cosplay so popular nowadays, there are many wonderful store bought patterns that could be used to make a corset bodice. Just note that if you do use a store bought pattern it may require additional adjustment to create a good fit for you.

Since I am making my own pattern I hope my newly fitted dress form will help me with this process! (See my previous post.)  It is good to note, that a bodice has a left and right side that are mirror images in most cases. As a result, you only need to drape half the bodice to create the pattern.

I began by draping a piece of muslin over the dress form. Be sure to make note of the grainline of the muslin and keep it vertical on the dress form.  I like to secure the fabric at the center front first. Then I begin to pin the muslin into the desired shape, taking care to make sure the seams are as smooth as possible, and placed in flattering and easily maneuverable areas.

1img_0417

This can take practice, and is sometimes filled with trial and error. There were several seams that I had to re-pin a few times to create the look I was going for.

1img_0428

I find it helpful to be careful regarding the intersection of seams. It can be difficult to work with them if they are too close together or join in awkward places. I find this is particularly important in places such as under the arms, where you don’t want a lot of unnecessary bulk.

1img_0427

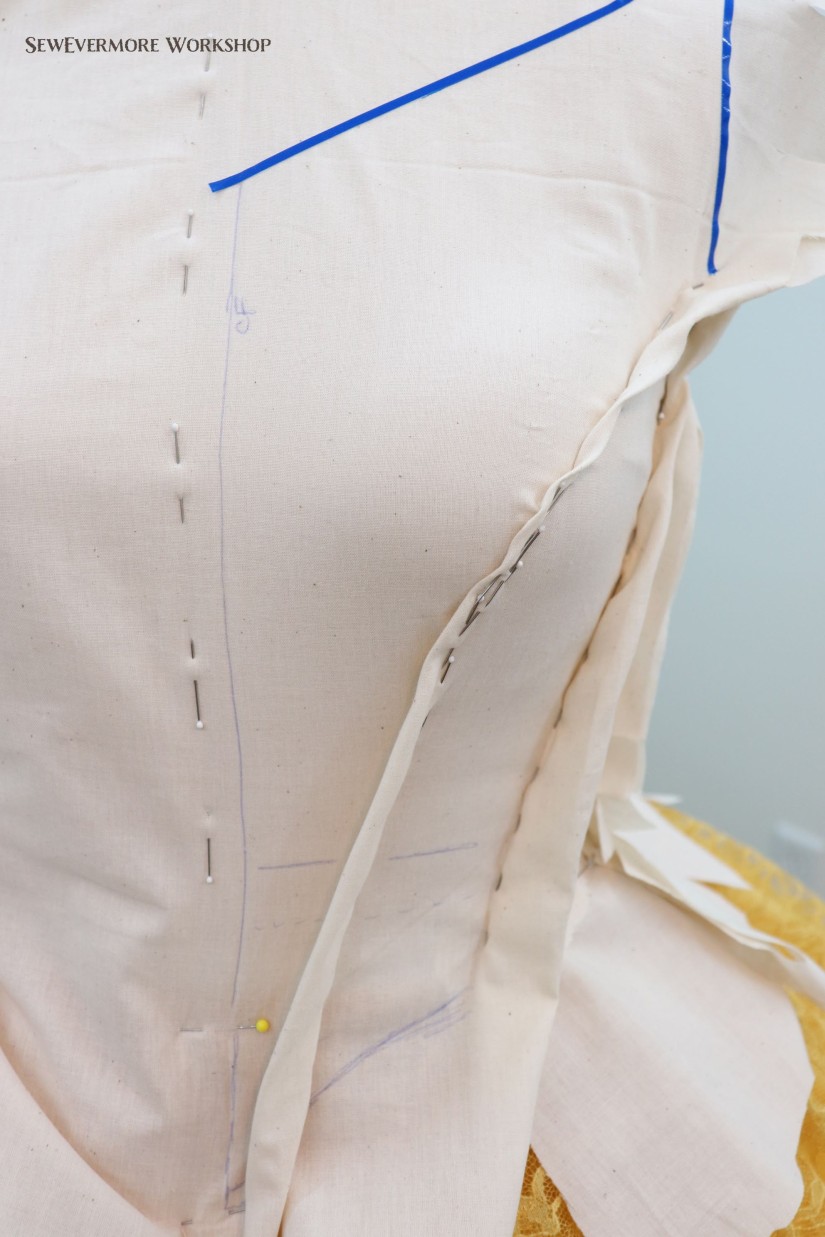
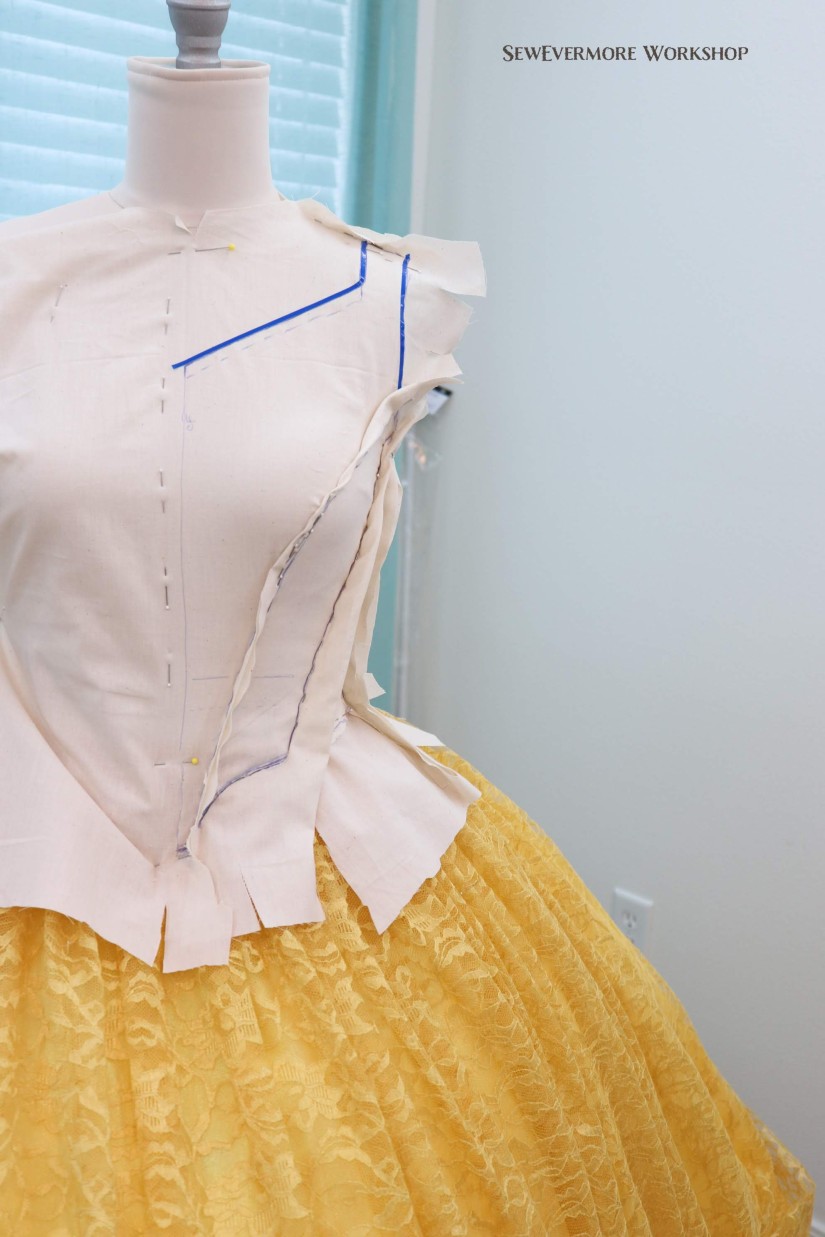
Once I have the seams pinned the way I like, I start to play with the edges. I began by using 1/8 inch draping tape to create possible necklines. I purchased the tape, and a lot of my draping and pattern making supplies, from pgm. My dress will be worn at a school with strict modesty guidelines, so the dress can’t be sleeveless. So, my dress will have cap sleeves which will be hidden under the “collar”, hence the necklines shown.

That said, the beauty of draping your own bodies is that you can make it whatever shape works best for you! The sky is the limit! Most of these methods will work regardless of your particular shape, unless it is drastically different.

1img_0434 I have only recently started using the draping tape, but I find that I like it. It is bold, which gives great lines, and it is easy to move until you decide on a final position. I decided to go with the blue line.
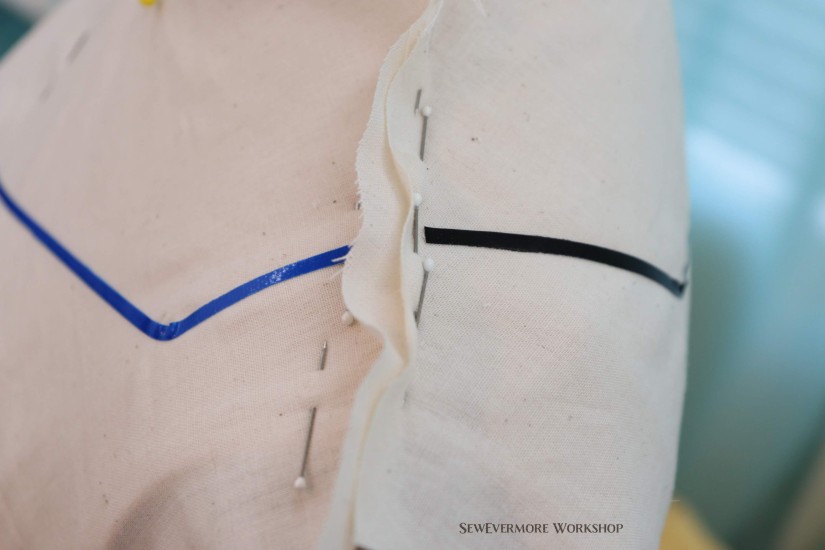
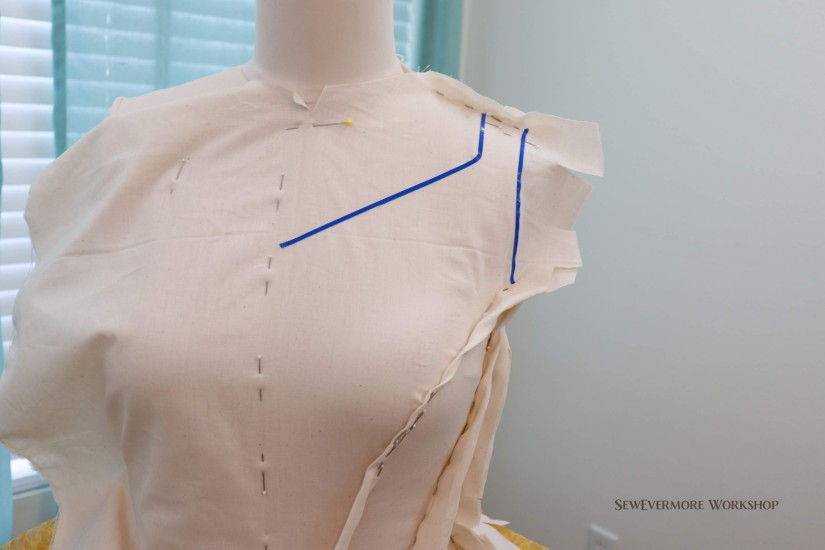
Next up was the back neckline. I started by making sure the shoulder lines matched up.

1img_0437

From the shoulder line I continued on to shape the back neck line.

1img_0439

I then used tape to mark the sleeve holes.

1img_0441

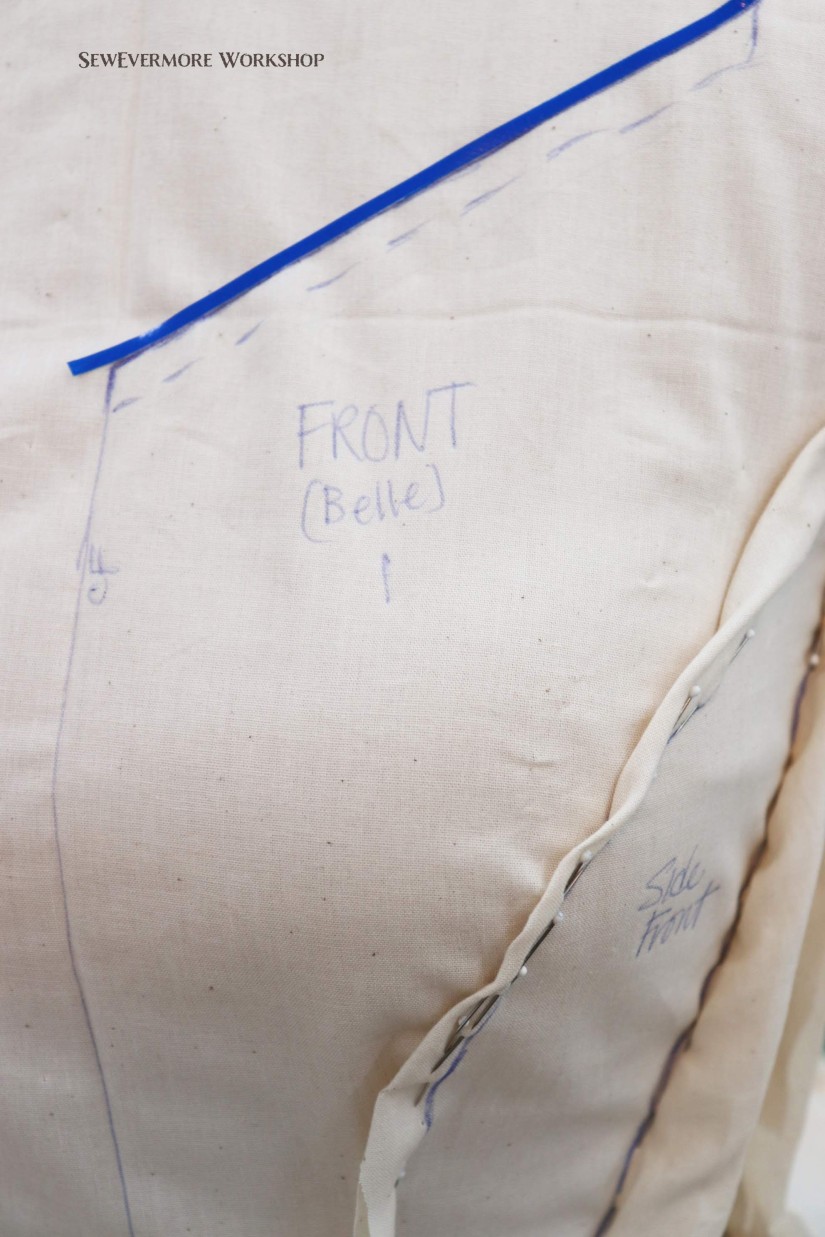
It is important to mark key locations such as the center front, waistline, joining points, etc. I like to simply use a ballpoint pen for this, but others prefer pencils or other marking tools. I would not use anything that smudges or could bleed through.

1img_0444-1

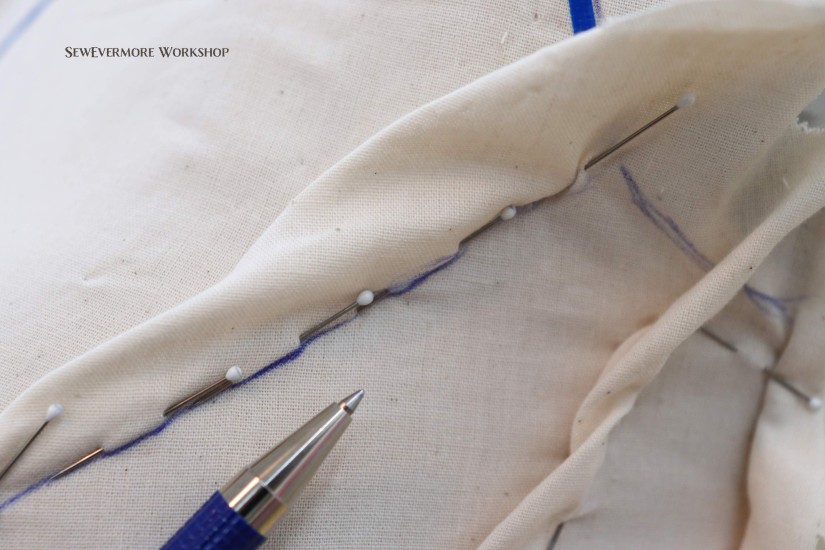
At this point I was pretty content with the progress of my pattern, so it was time to mark the seams. I did this by marking along the pin lines. Be sure to do this on both sides of the seam, along the front and back of the pins, so each pattern piece or section is defined.

1img_0446

Do this for all seams.  Mark the center back and along the taped edges as well. Once my seams were marked I began drawing a line for the bottom of the bodice.

1img_0447

When in doubt I prefer to make the bodice a little longer rather than shorter. You can always shorten a pattern later, I find it is much more difficult to lengthen it. If I have multiple lines for an edge, I will grab a different colored pen to draw my final line so the correct line is obvious when I remove the muslin from the dress form.

1img_0453

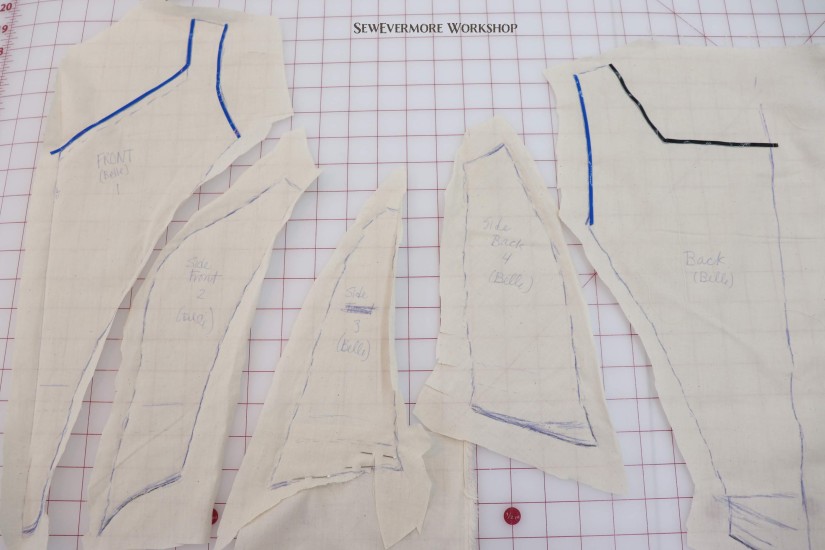
Before I remove the muslin I like to label each piece: front, side front, side, etc. Sometimes I will also label them numerically 1, 2, 3, etc. starting with the center front and working to the center back.

1img_0457

Finally, it is time to remove the muslin! You can clearly see the shape of the bodice pattern when the fabric is removed and laid flat.

1img_0462

The lines that are drawn when tracing the pins are often rough and jagged. You don’t want that on your final pattern. Use design rulers to smooth the lines.

1img_0466

Sometimes the rulers will fit a curve beautifully! And sometimes they don’t. So, don’t force it. If your line looks nothing like the shape of the ruler, go with your line. Just smooth it out.

1img_0467

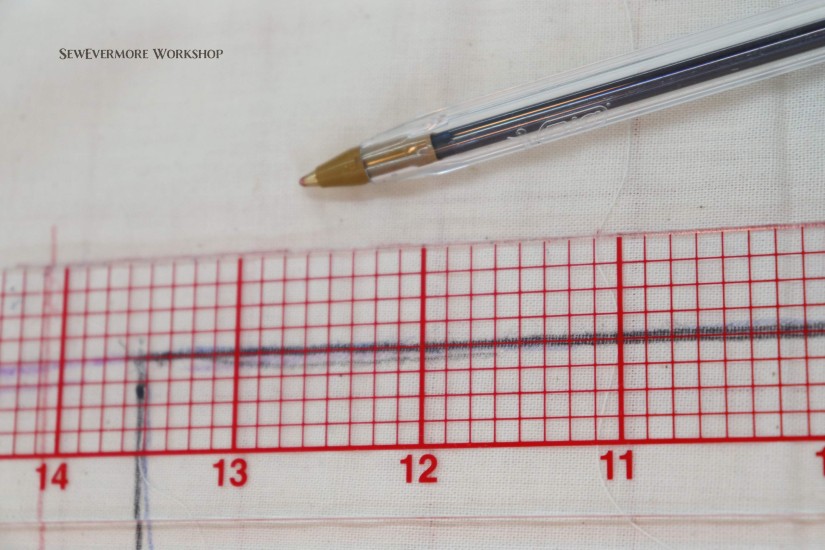
Once your lines are smooth you can use a ruler to add seam allowances if you like. Sometimes I do this with a ruler on the pattern pieces, and sometimes I will cut my pattern piece on the pin line and add a seam allowance when I cut my fabric. It just depends on how exact you need your pattern and how frequently you plan to use it. Since I usually only use the patterns once it is not always worth it for me to draw out the seam allowances, since I can free hand them pretty accurately on my own. But that is definitely personal preference. If you don’t think you can draw the seam allowance accurately without a ruler, or you plan to use the pattern multiple times, I definitely recommend adding one.

1img_0471

When I add a seam allowance I like to do so with a different colored pen. I usually use a 1/2 inch seam allowance. Below, the seam allowance line is in red. This will be the cut line for my fabric.

1img_0475

We now have a pattern for the Belle Dress Bodice!


Belle Dress

Adding a Bustle

When I began this project I wasn’t planning to add a bustle. I thought I would be satisfied without one, but after consideration I determined that I wanted one after all. So, before applying the 3rd and 4th layers of the petticoat, I decided to make a bustle. Or…as my students and I call it…a butt pillow 🙂

(This did cause me to have to make adjustments to my previous petticoat, so if you plan on using a bustle I would definitely make it before the petticoat.)

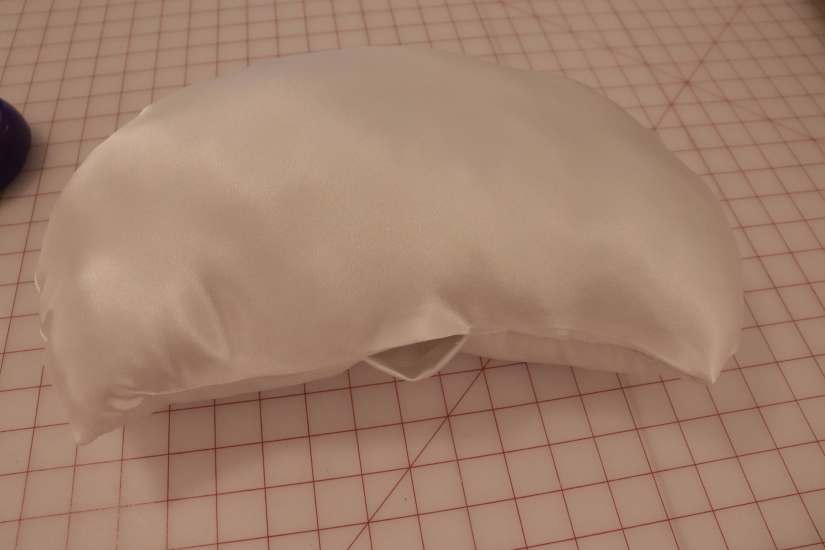
To make the bustle I used some scrap crepeback satin that I had, and non-roll waistband elastic. Then, I drafted the pattern. The largest width was my hip measurement ÷ 2. The top width was my waist measurement ÷ 2. The height, was the same measurement. I sewed around the edges with a 1/2 inch seam allowance leaving an opening.

IMG_2898

Flipped it right side out and stuffed.

IMG_2899-1

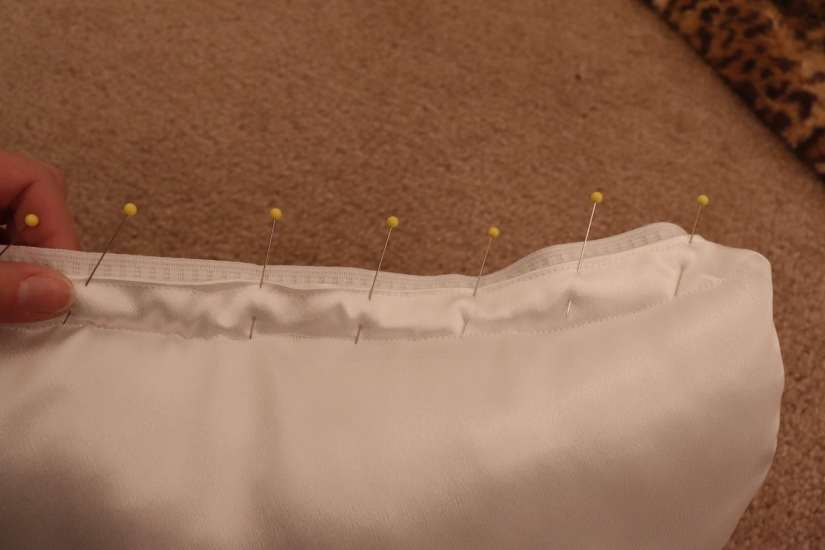
Next, I edge stitched the opening closed. I also pinched this top edge together and stitched again about 3/4 inch away from the edge. This is was to create an area for the waistband.

IMG_2900

The waistband was made from 1 inch waistband elastic. There is a lingerie hook at one end. At the other I added a few inches so I could fold it over and sew vertical divisions along the folded area. This creates slots for the hook, so the waistband becomes adjustable.

IMG_2902

Next, I pinned the elastic in place underneath the waistband section on the pillow. The center of the elastic (mid sized) was placed at the center of the bustle pillow. I stitched this in place with two rows of stitching.

IMG_2906

Here it is over the corset, as it will be worn with the dress.

IMG_2930

Next, comes the hoop!

IMG_2933

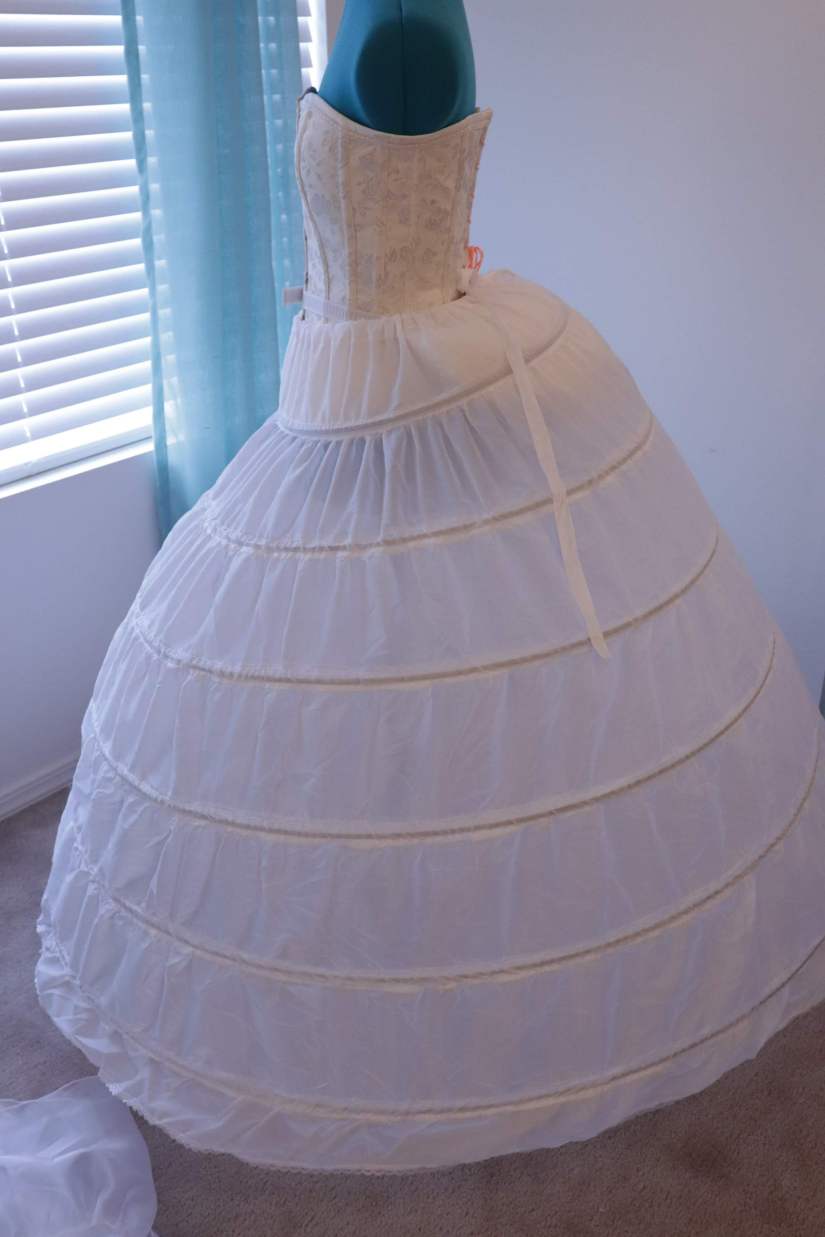
As you can see, this changed the positioning of my hoop SIGNIFICANTLY! You could always use a smaller bustle if this is not the look you prefer, but I kind of liked the drama of the shape.

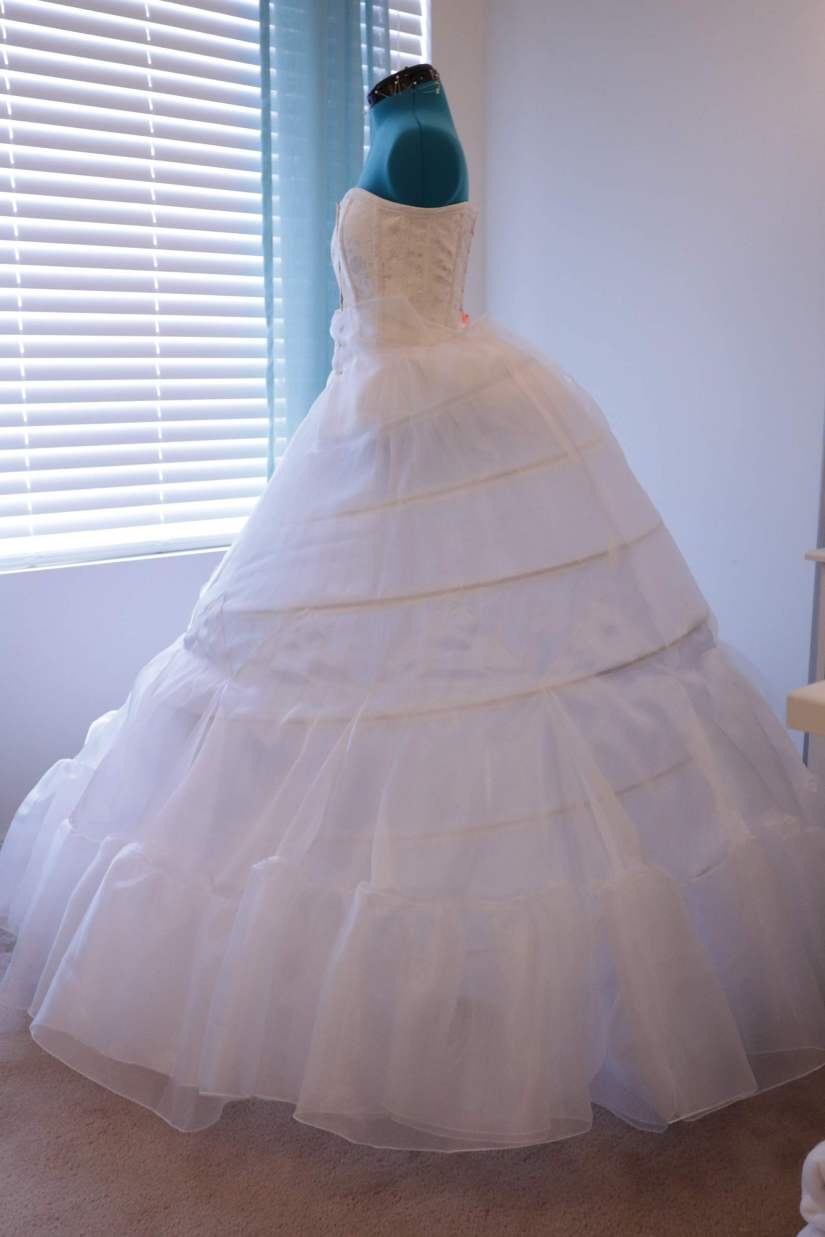
Next, I added the first two layers of my petticoat. It’s so big!

IMG_2938

Since I added the bustle, this brought up the back edge of the hoop. To compensate, I had to unpick and drop down the godets along the back side of the skirt a few inches. This made it a bit of a tight fit, but since it will be covered by other layers it wasn’t that big of a deal.

So now, because of the bustle, when I add additional godets, they will not be able to be aligned with the hoop, instead they will have to be placed based on the desired hem length.


Belle Dress

Finishing the Corset

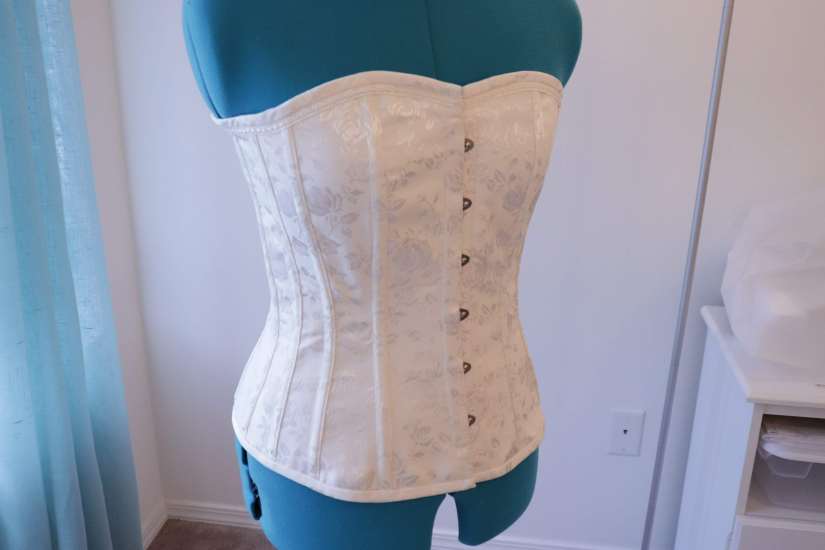
I was able to finish the corset last weekend!

IMG_2927

This was the first time I had ever used a busk in a corset, and it was a lot of fun to use. It was a challenge, but I was quite pleased with it in the end. I think I will have to practice my technique in order to help remove wrinkles, but overall I enjoyed the pattern and the process. Alison Smith’s Zara Pattern really was a nice place to start. The curves were gentle and easy to align.

IMG_2939

I particularly enjoyed adding the trim. I thought it really added a lot of character to the corset.

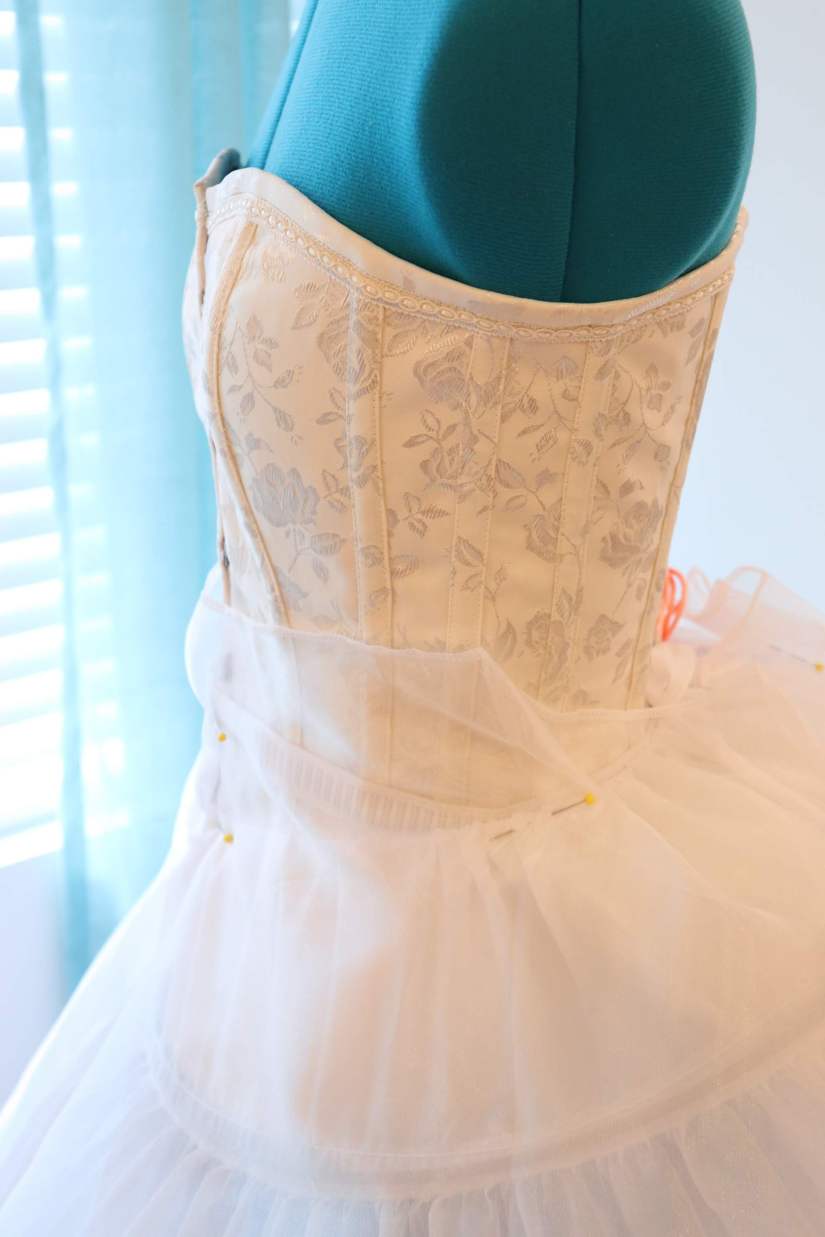
The primary reason that I made the corset was to offer support for the Belle/Cinderella dress. The skirt will be quite heavy. I wanted to have a corset to wear under the dress so that the waistband would not dig into your stomach when the dress was worn.

IMG_2947

The corset will be worn under the petticoat.