

Now that the pattern is ready it’s time to sew the bodice.
The first step is to prepare your fabric. Make sure that is washed and laundered if applicable. I want the bodice of my dress to act much like a corset. The lining will be duck canvas, and the exterior fabric will be satin. Coutil would probably be a better choice than duck canvas if you can find it and don’t mind the price tag, but I was definitely shopping on a budget and I have found that the canvas works well for me.
Since the lining will be so heavy, the satin needs to be reinforced to add structure. It is worth it to take the time to do this, especially if the satin is really light weight. There are several ways to do this. I chose to use fusible interfacing. I used Pellon SF101. I don’t always care for fusible interfacing. It can pull away from the fabric and sometimes causes puckering. So, if you don’t want to use interfacing, interlining is also a great option.

I’ve made a deadline for myself on this project, so to save time I fused the interfacing to a large piece of the satin prior to cutting out the pieces. You could cut out each piece individually and fuse separately to save on the cost of interfacing if you prefer. My goal with this step was to save time. By fusing first you only have to cut once instead of twice.
Next, I cut out the bodice from both the canvas and the reinforced satin. You can always make a muslin with the pattern prior to cutting out your actual fabric if you want to test the pattern first. (Just FYI, I sometimes give myself a few extra inches at the center back just in case…to account for thickness of fabric, seam allowance error, etc.)

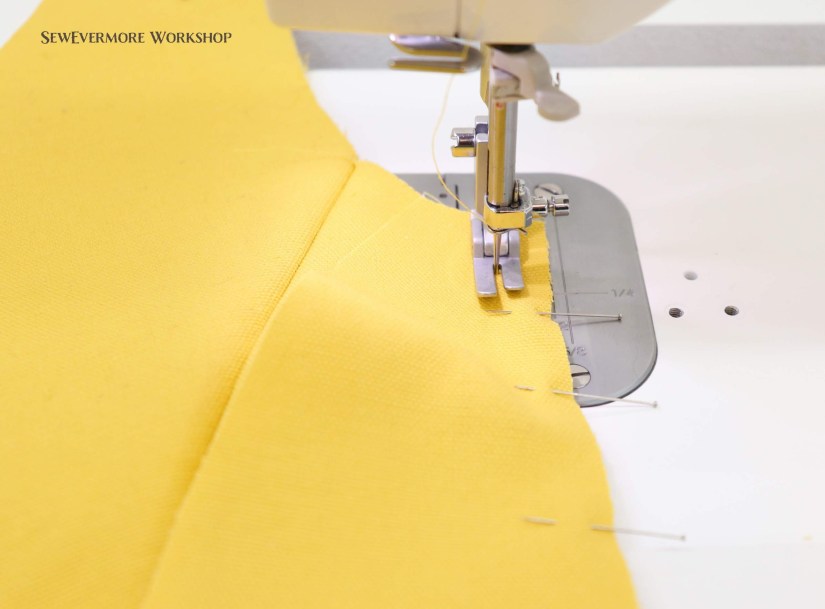
I like to start by sewing the canvas together. I use the canvas to test my pattern.
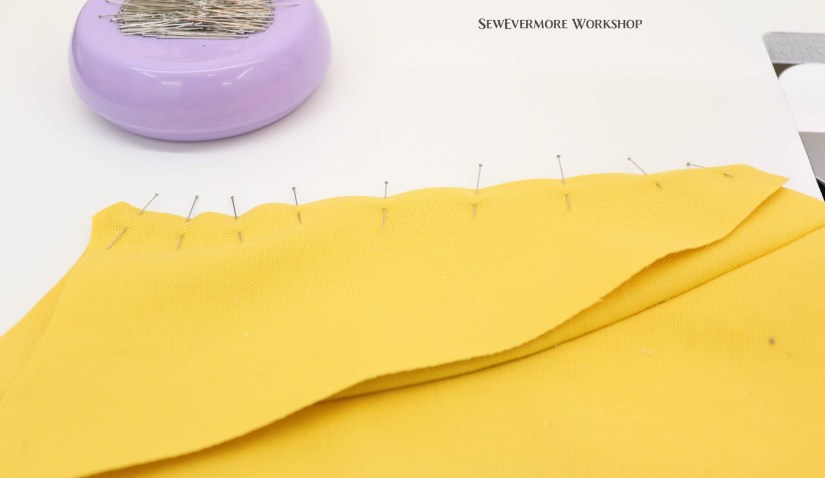
I sewed each section right sides together with a 1/2 inch seam allowance.
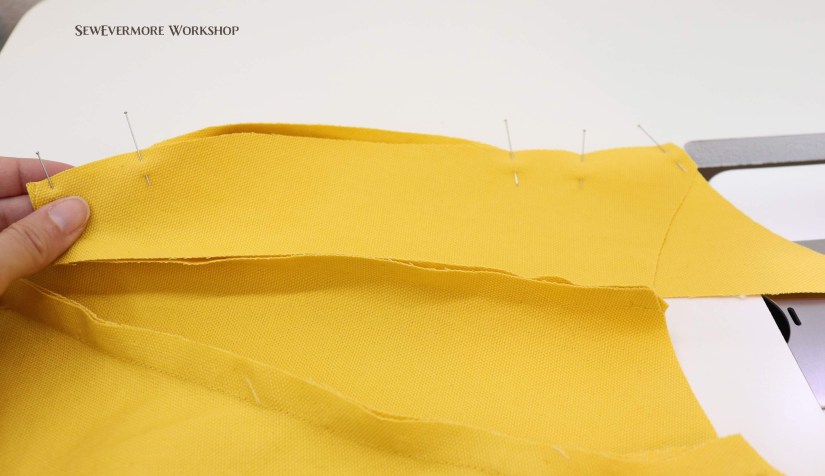
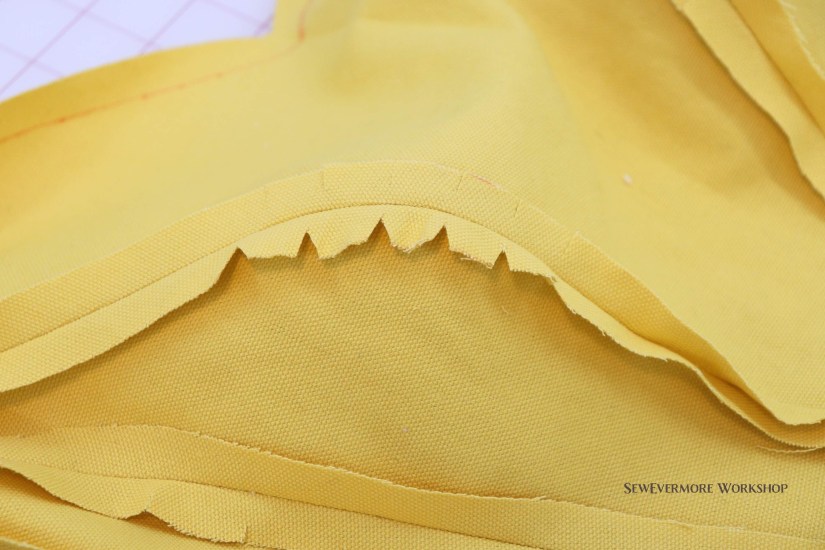
I like to match up the ends and then pin in the middle. Occasionally, in areas with tight curves, I need to clip the edge of the smaller piece in order to fit the fabric. On this pattern, I found that was necessary when aligning the side back to the back piece.
A note on making your own patterns, I have found that there are little discrepancies that occur when making your own patterns. Since I am not a professional pattern maker I encounter things like this frequently. For example, when aligning your pieces recall it is the stitch line, 1/2 inch from the edge (since I used a 1/2 inch seam allowance), that needs to align. Not the corners. This was very visible on the shoulder seams. I have found that if you have a lot of experience using store bought patterns you can predict how edges should be aligned, even if it isn’t cut perfectly.

Also, I occasionally find that I mark the wrong line while drafting my pattern. This could be a section where the fabric was folded, or the pin was in at an odd angle when draping, and for some reason when I connect the lines it ends up an odd shape. This happened on this pattern on the side front piece. There was an indent from the top on the pin line near the shoulder, my brain thinking it was part of the shoulder curve, curved the edge. In reality, the fabric had just been folded, and the line was supposed to be straight. It wasn’t part of the shoulder curve at all. I was able to realize the error when I was pinning the pieces together and corrected it. Why am I telling you this? I just want to point out, that it is okay if things aren’t perfect. We learn from it, and as long was we adjust as we go, things usually work out just fine!

Once the canvas was sewn together I placed it back on the dress form, inside out, so the seams could be adjusted as needed.
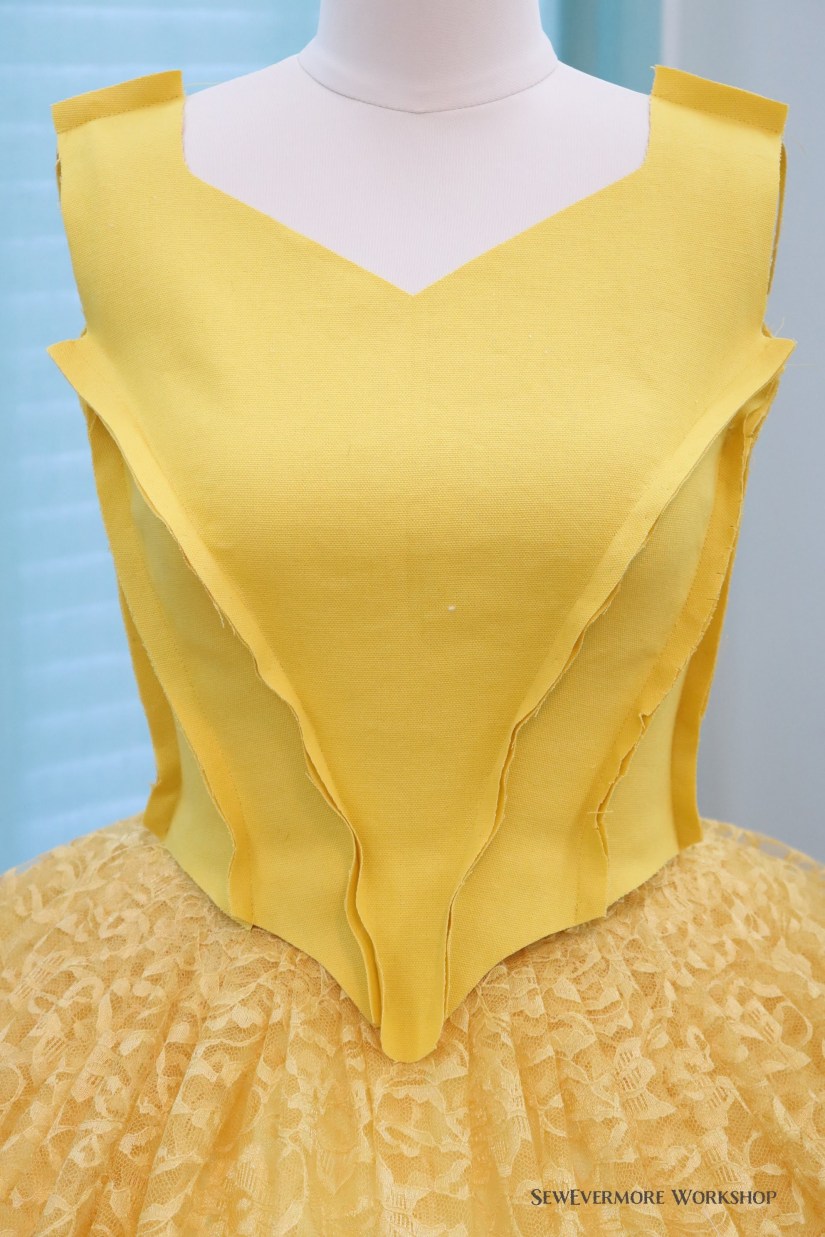
I noticed it was a little loose at the bust.

So, I made a slight adjustment. This is also a good time to try it on yourself, or on whoever will be wearing the garment. Since we are not all model perfect like our dress forms it is a good time to make sure it will fit you. (Keep in mind, corset patterns may be a bit small since they are often meant to suck you in.)

When I tried it on myself I noticed that the neck was a bit high, so I may have to adjust that later. I also had to let out the shoulder seams a bit. Just keep in mind, the top, bottom, and armhole seams have not yet been stitched, so the seam allowance is still present.
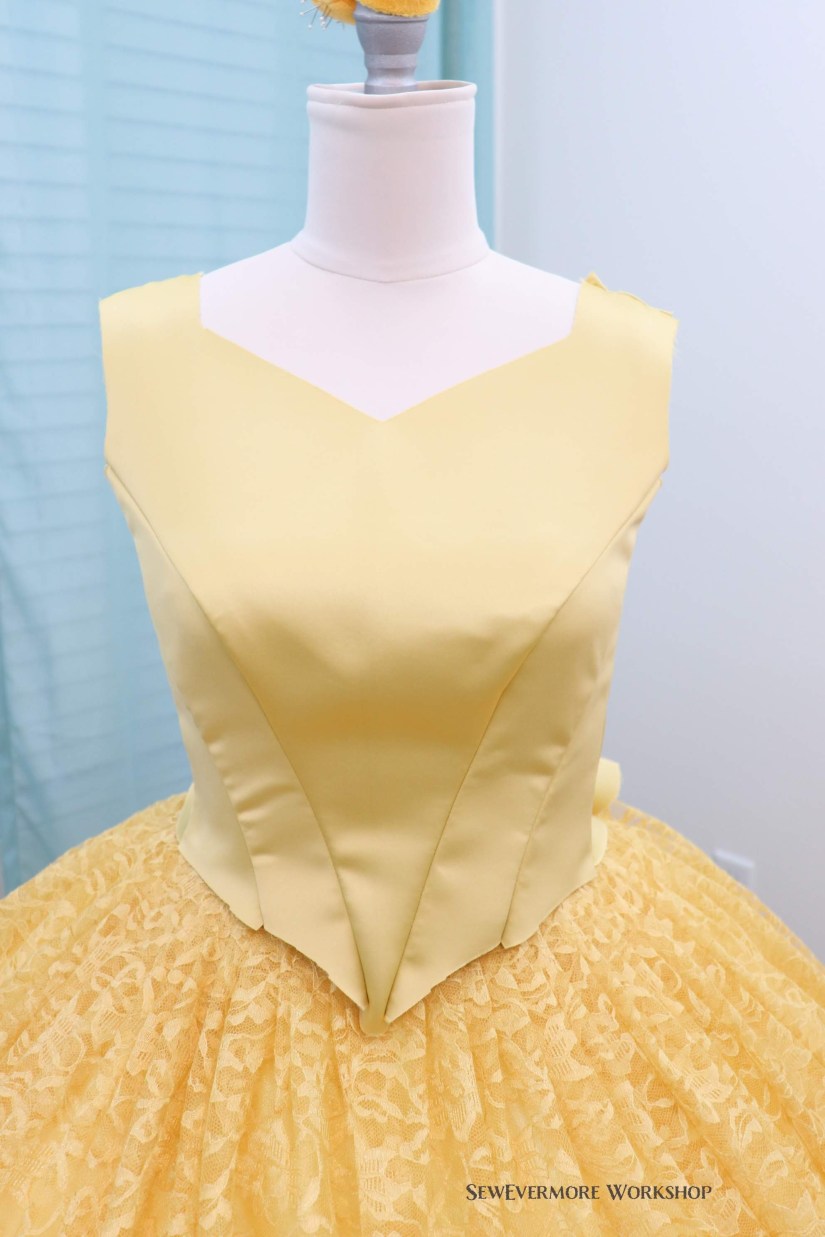
Next, I sewed together the satin, using the adjustments I had made to the canvas.
It’s still a little rumpled, but it’s a bodice!
Time for pressing! Pressing makes all the difference in the appearance of your final garment. You’ll probably want to have a pressing ham and press cloth handy. I prefer silk organza press cloths.

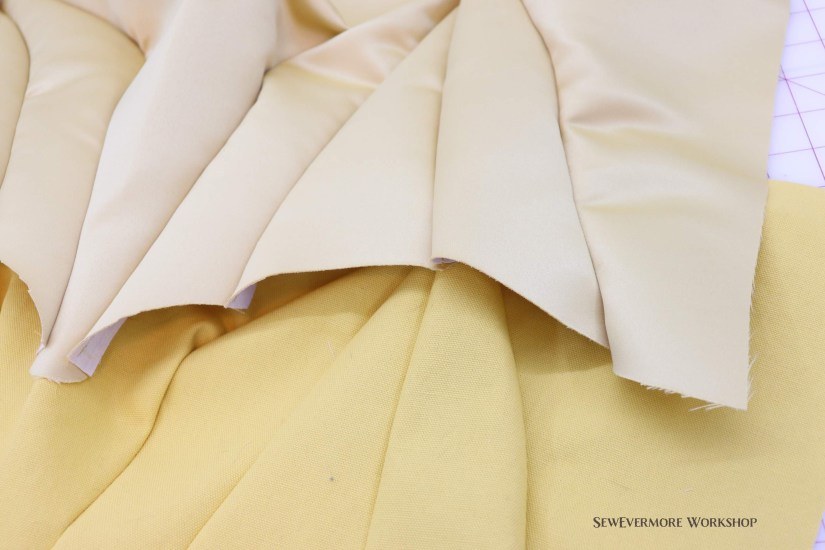
I pressed open the seams.

I had to clip the curves of the seam allowance around very rounded places such as the bust. I pressed both the satin and the canvas.
Keep an eye out for my next post, where we will talk about adding boning channels and boning to the bodice.
