

The first thing you need in order to add boning to a bodice, are casings. You need to have a channel for the bones to slide into. The most common places to add bones are along the seams and at the center back. You can always add more than that depending on how structured you want your bodice.
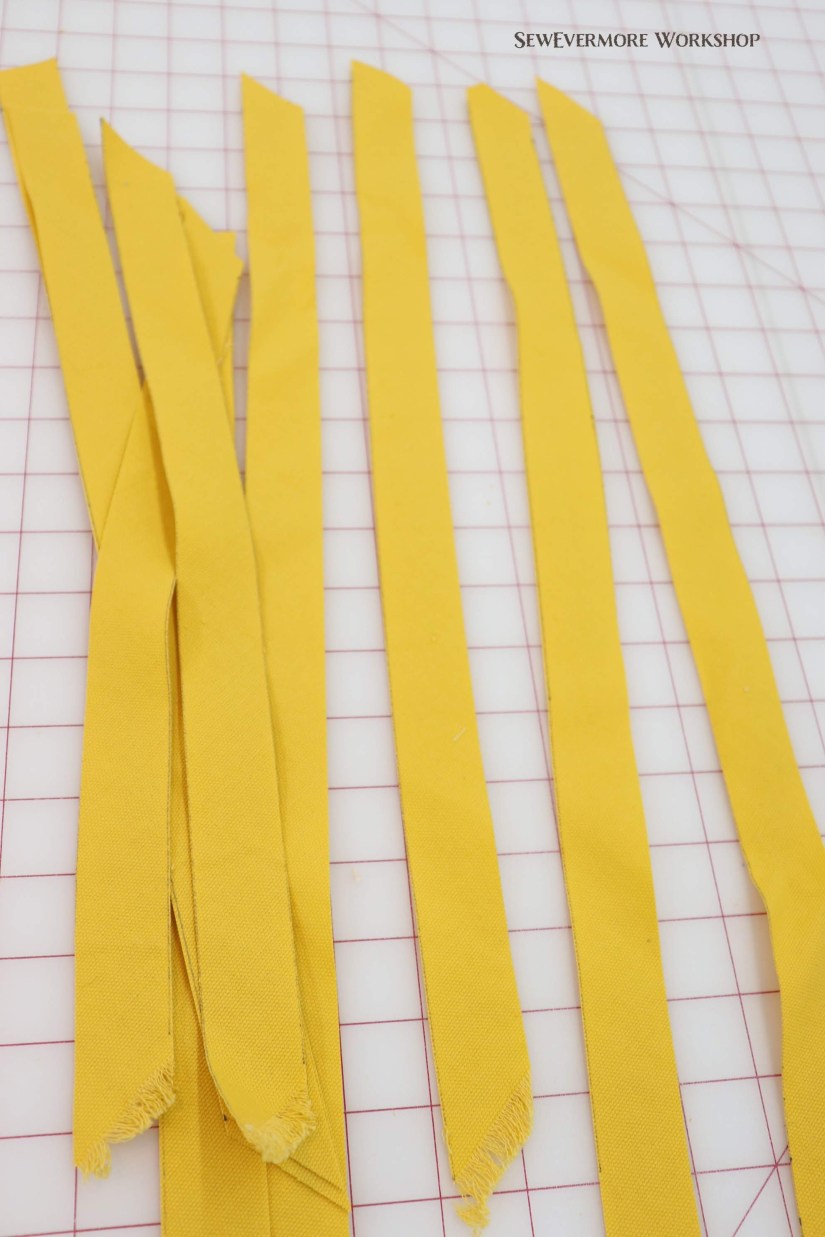
If you are purchasing your boning you will notice that some types of boning comes in the casing already. You can also buy boning casing separately. I will be making my own using the same duck canvas I used for my lining. Since many of the seams are curved you want to make sure the casings can stretch. So, I cut mine on the bias. This is at a 45 degree angle to the grainline.

I drew my casings 1 1/8 inches (or 9/8 inch) wide. This way they would be slightly wider than my seam allowances.

After cutting them into strips I have plenty of casings.
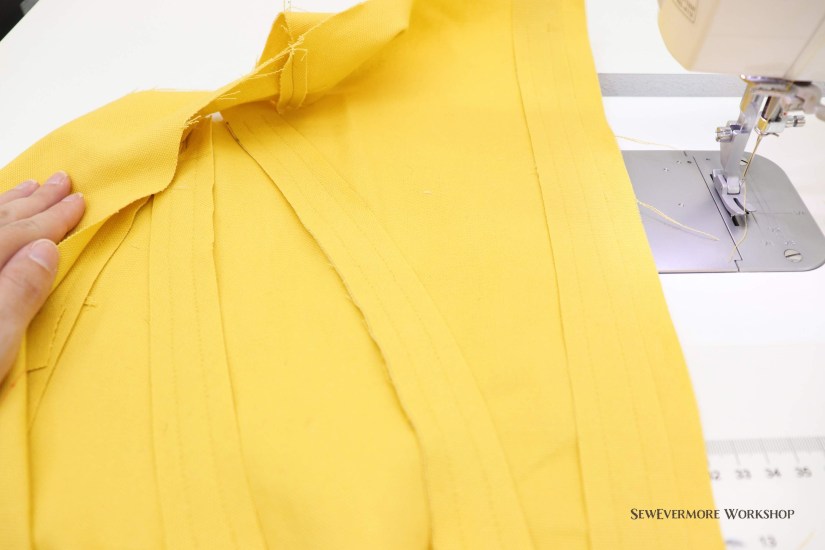
Next, I pinned the casings over each seam. This is done on the wrong side of the lining fabric, the canvas. That way all of the boning seams are on hidden on the lining and are not visible on the outside of the bodice.

It takes some time to make sure the casings lay flat over very curved sections.

I decided to pin all of my casings at once. This was mostly because my dog was sitting on my lap and didn’t want to move. I have to admit that doing this all at once can make for a prickly experience when sewing. I did get poked a few times. Therefore, if you prefer you can always pin one at a time, and then sew, so you don’t have to worry about all of the pins. You can also simply hold the casing in place adjusting as you sew if you don’t want to pin.

The boning that I will be adding to my corset is 1/4 inch wide. So, I will create a 3/8 inch wide channel to slide it into. This will allow the bone to slide in easily and takes into account the thickness of the metal. Since my casings are 9/8 inches, I will take a 3/8 inch seam allowance on each side leaving the 3/8 inch channel in the middle. It is important to keep an accurate seam allowance. If your seam allowance is too big, your channel will be too small and the bone won’t fit. If your seam allowance is too small, your channel will be too big, and the bone will slide around.
Normally, I sew my casings all of the way to the edge of the fabric. I decided to try something different this time. I started and stopped stitching 1/2 inch from each end. I want to see if trimming the bulk of the casing out of the seam allowance will help with how it lays. I will keep you posted as to which method I prefer after the construction is complete.

Now all of my casings are attached!
I trimmed off the extra edges of the casing that extended beyond the edge of the bodice.

I’m ready to add the boning.

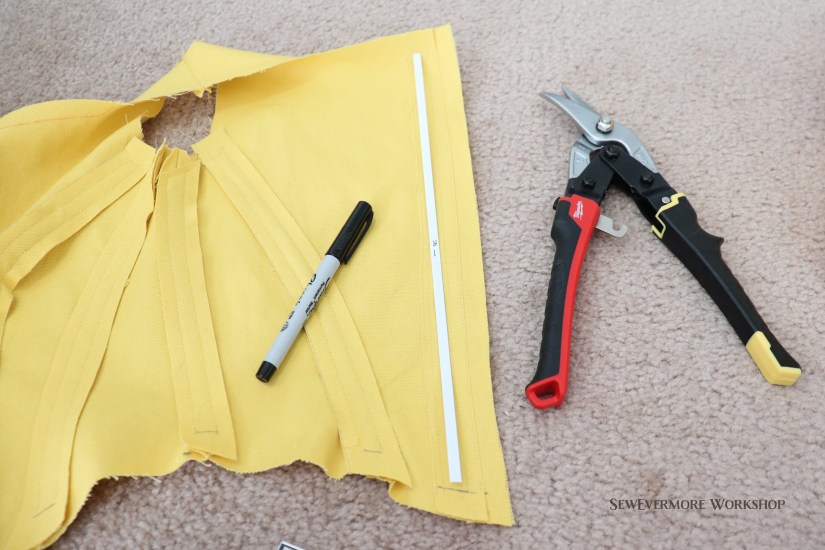
The first thing I did was stitch the top of each channel closed 5/8 inch from the top edge. The seam allowance will be at 1/2 inch so this will provide a bit of a buffer so the boning doesn’t get caught in my seams. The will help when inserting the bones as well, so they don’t slide out.
Then I marked 5/8 inch from the bottom on each channel. This will give me a reference to where the closing seam will be.

Before inserting your boning, you need to determine what type of boning is best for you. Plastic boning is lightweight, flexible, affordable, easy to find, easy to cut, and often comes in the casing. That said, it offers the least amount of structure.
In my bodice I will be using a combination of flat steel boning, the white you see below, and spiral steel boning. I chose the steel boning because of the great structure it provides. The spiral boning is flexible and lays beautifully, but is very supportive. The flat steel, with its inability to bend sideways, provides great straight lines. Both of these types of boning can be purchased on a roll, or in pre-cut lengths. If you plan to cut the boning yourself it helps tremendously if you have proper tools. See my previous post on my Corset making tools if you would like information on what I use. If you choose to purchase pre-cut lengths take the time to measure carefully so all of your bones fit.
I will be using the flat boning for the straight channels. Those at the center back, and the center front. I will use spiral boning for everything else. I laid the boning along the back channel, and trimmed it to the proper length (about 1/8 – 1/4 inch shorter than my channel.) You don’t want it to be too long as you don’t want to accidentally stitch on it, or have it poke through.
If you plan to use a lot of flat boning, I like to use a sharpie to label which casing the bone goes into.

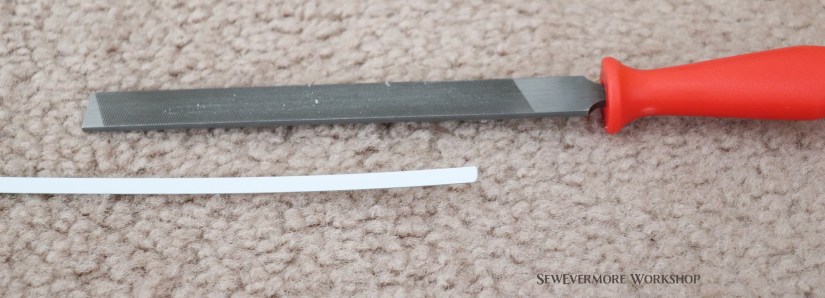
I use a metal file to sand down the sharp corners of the cut boning.
Next, I wrap the very end in PTFE tape to cover the exposed metal end. (I’ve also used a bit of plasti-dip instead of the tape, see my post, but the tape is definitely faster and less messy.)

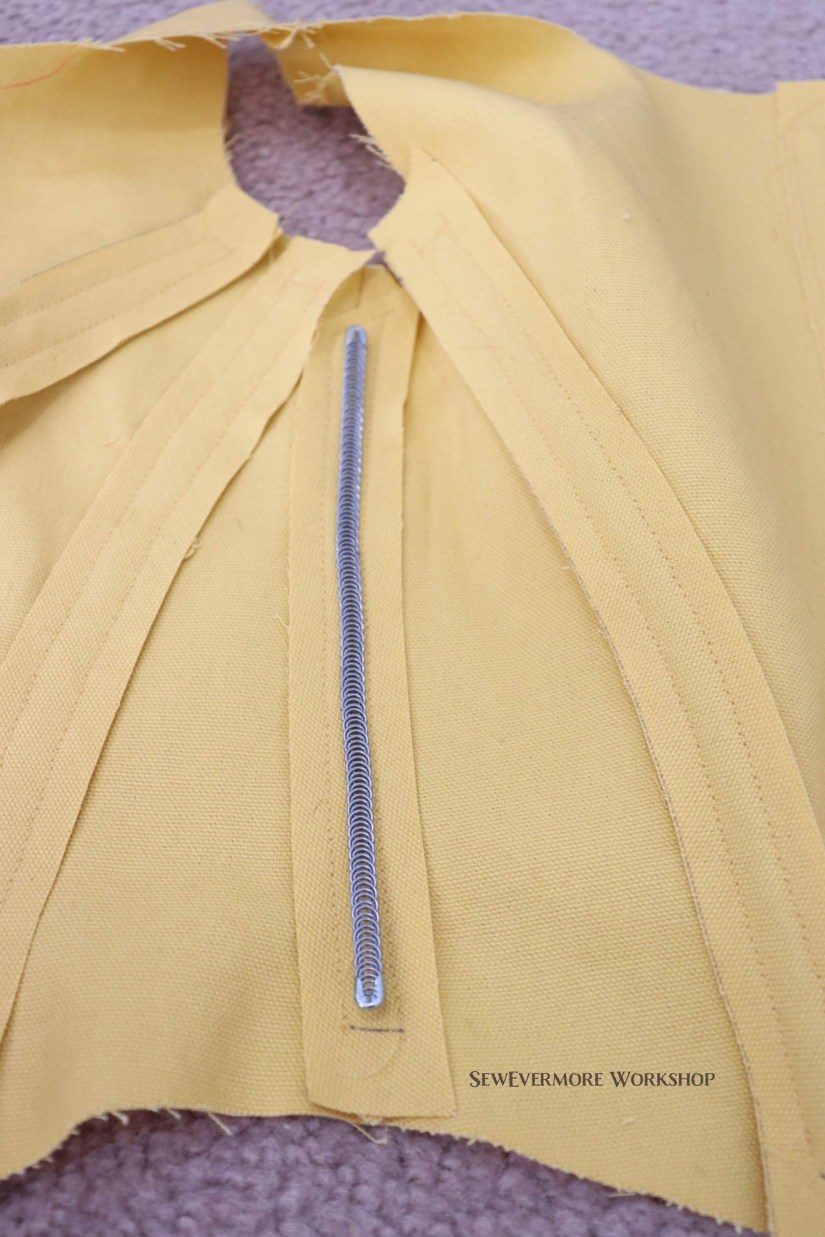
Then I slide the boning into the appropriate channel.

Up next is the spiral boning. You use metal tips to cover the ends of the spiral boning. I tipped one end of the boning, and then as with the flat boning, I lay it over the channel and trim it to the appropriate length.
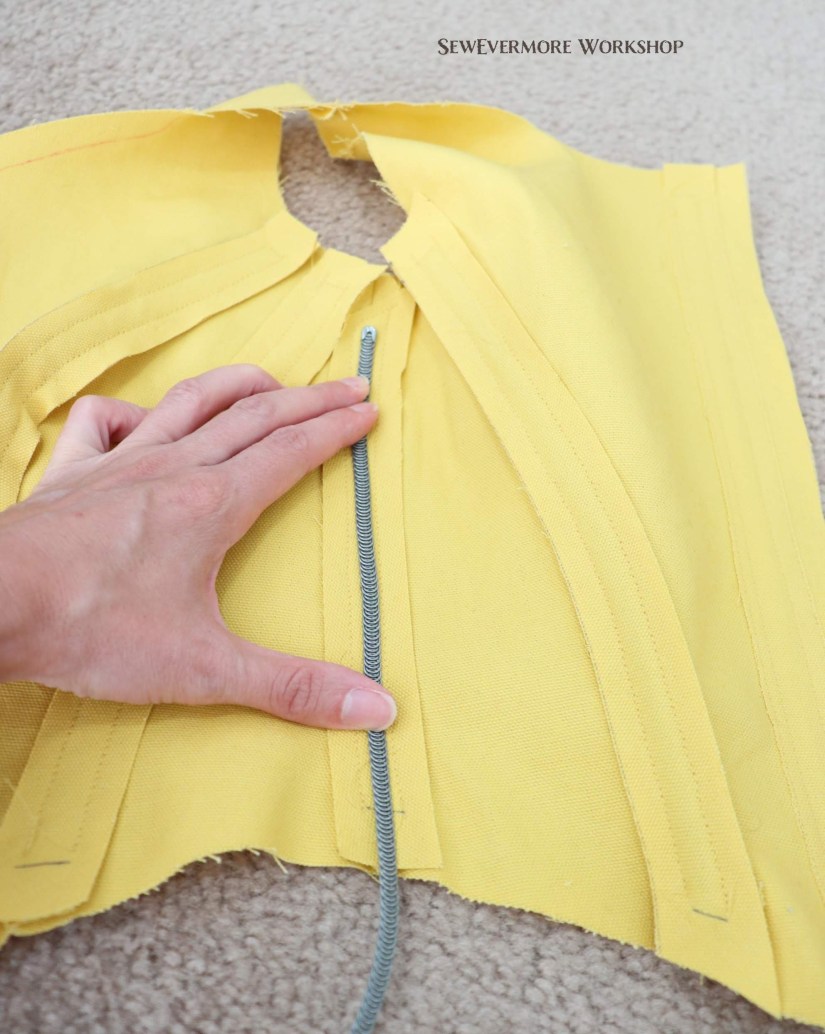
Then cap the other end and slide it into the channel.
While the idea of using steel boning can be overwhelming at first, if you have the right tools and patience it is not terribly difficult. With pre-cut boning available the difficulty is not any more difficult than plastic boning. You just have to be careful not to sew over it with your machine. My middle school students have been able to successfully cut and tip their own metal boning. So, it can be done!


 I used a skewer to make sure the boning was all of the way inserted. (I trimmed off the pointed tip and sanded the ends first.)
