
After spending so long working on the skirt of my Belle Dress I noticed that my hoop was starting to sag. As a result, I decided to give the poor abused hoop, that has been holding so much weight for months, a break. I decided to focus on the bodice.
However, when I thought about draping a bodice for the dress I realized I had a problem. My dress form wasn’t the right size.
In the past I have always used an adjustable dress form. It has worked really well for me and I have made dozens of costumes using it. The beauty of an adjustable form is that whenever I am making something for another person, it can be modified. However, I always ran into problems when making something for me because it just wasn’t my size. I am a pear shape and to get the hips to fit the shoulders and bust always ended up being way too large and wide. Sigh. While I could usually adapt my pattern to plan for this, it was a complication I would prefer not to have to deal with consistently. So, when my adjustable form started to die I invested in professional dress form from The Shop Company.
When I bought my standard size dress form I knew I would need to pad the form to make it my size and shape. I tried purchasing a kit that contained foam pieces and a cover, but it didn’t work for my shape, and didn’t look great.
So, now that I am determined to begin working on the bodice of the Belle dress, I really want a dress form that fits! So, I will pad it on my own.
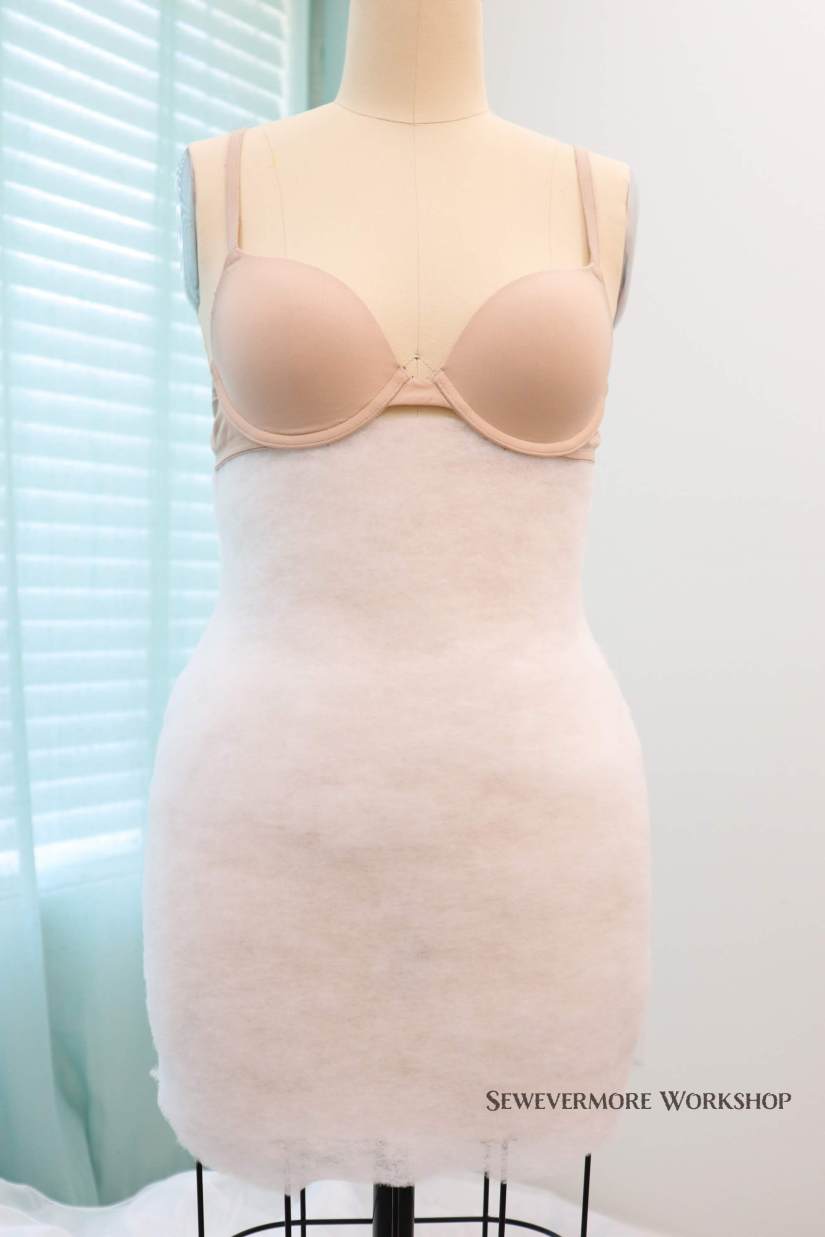
As I had seen someone else do in the past, a great way to pad the bust is to use an old bra. This one had been out of commission for a while, but it was my shape. It added just enough circumference to match my measurements.
Next, I wrapped the dress form in batting. As I mentioned before, I am pear shaped, so the top of the dress form was perfect, but my hips and waist are quite a bit larger. So, no batting on the top for me.
One layer of batting wasn’t enough. I added two layers all of the way around, plus a few strips and ovals in between the two layers to widen the hips, pad the belly, and shorten the waist.
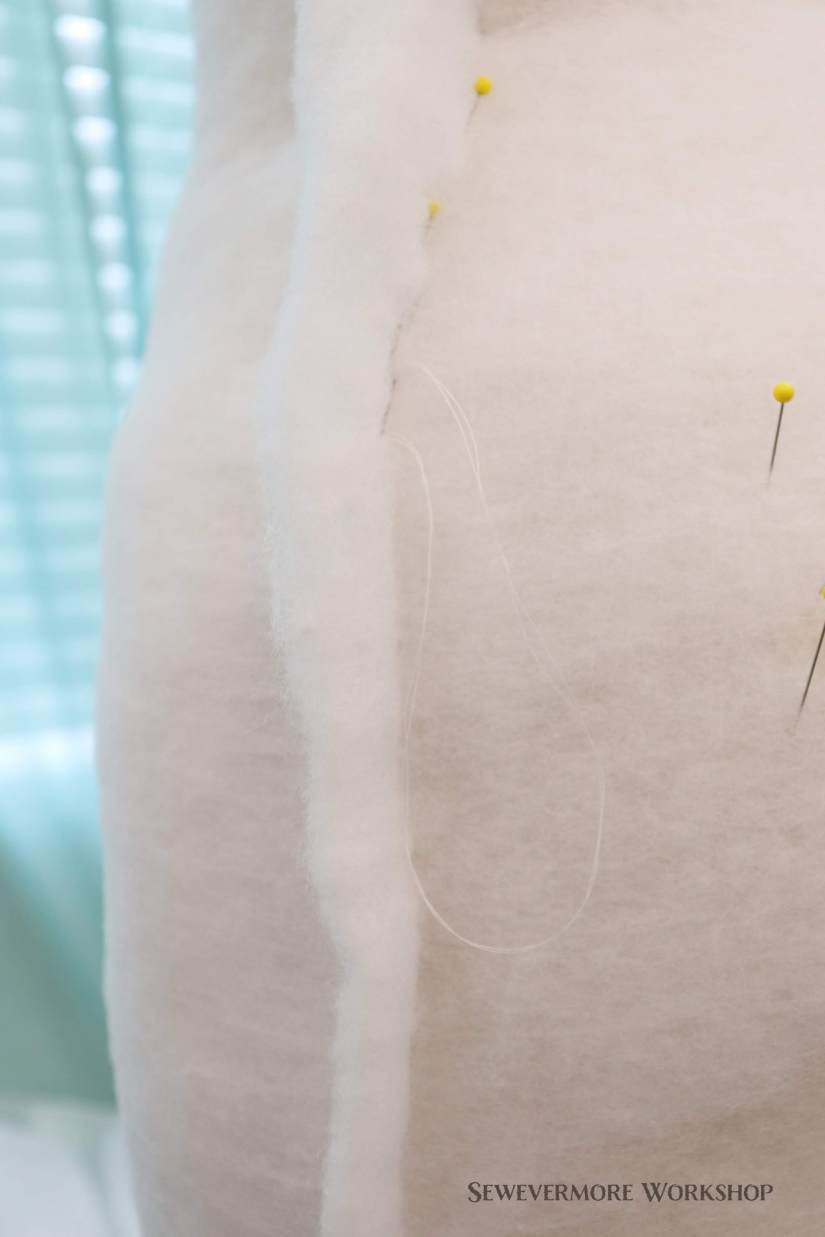
I tried to align the side and back seams of the batting with the seams on the dress form. I stitched the seams to fit by hand. Then I trimmed the seam allowances.
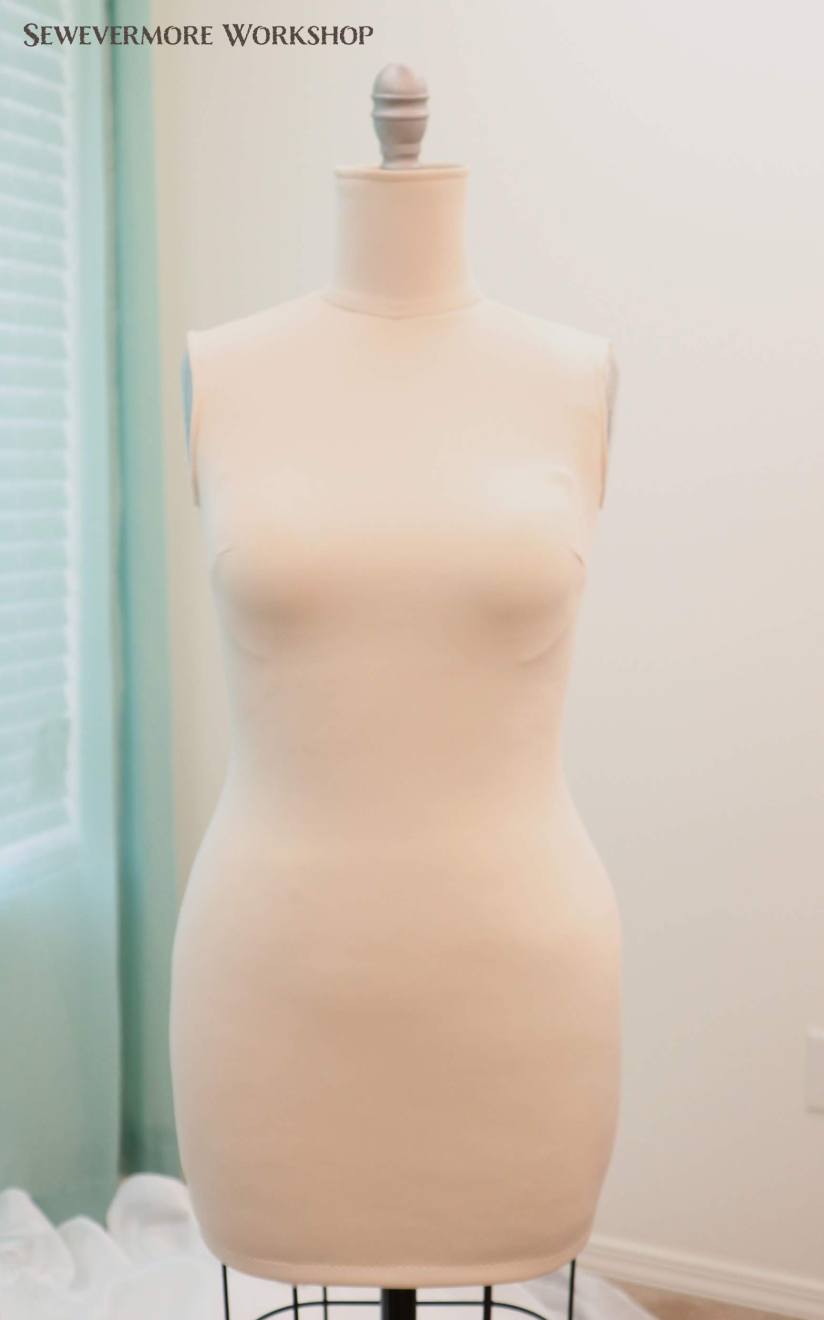
I didn’t want the batting to be visible and exposed when using the dress form. I doesn’t look too great, and it would probably get snagged and messed up easily. So, I decided to make a cover. After the batting was in place. I draped the dress form with a nude colored scuba knit.

I pulled and tucked until I had a shape I liked. I used a heat erase pen to mark the center, arm holes, and pin placement.
After I took out all of the pins I placed the fabric flat on my table. You can see the basic shape of the dress form, but the lines are jagged and crooked. Design rulers to the rescue!
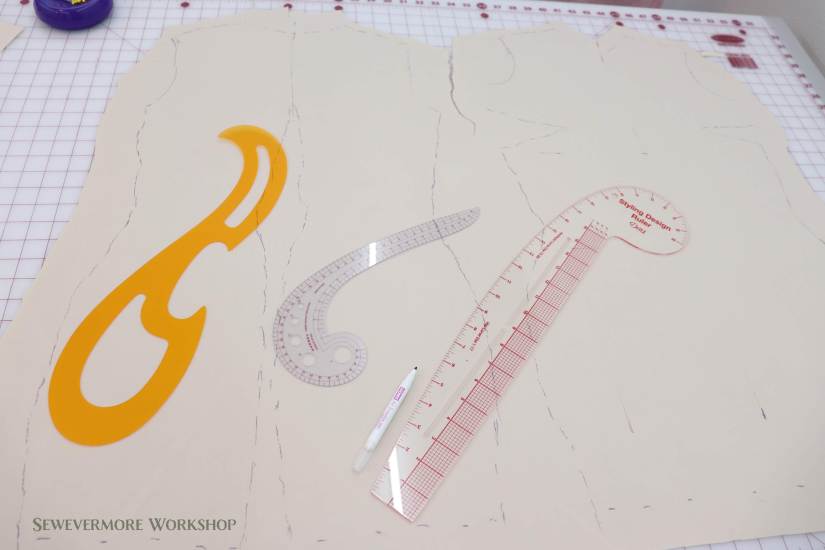
I used the design rulers and an air erase maker to straighten the lines. When I draped the knit I pinned on both sides on the dress form to ensure I had the right shape, but to make a pattern you only need half. One front side, and one back side. I chose the side that had the best shape, and used them to make my pattern.

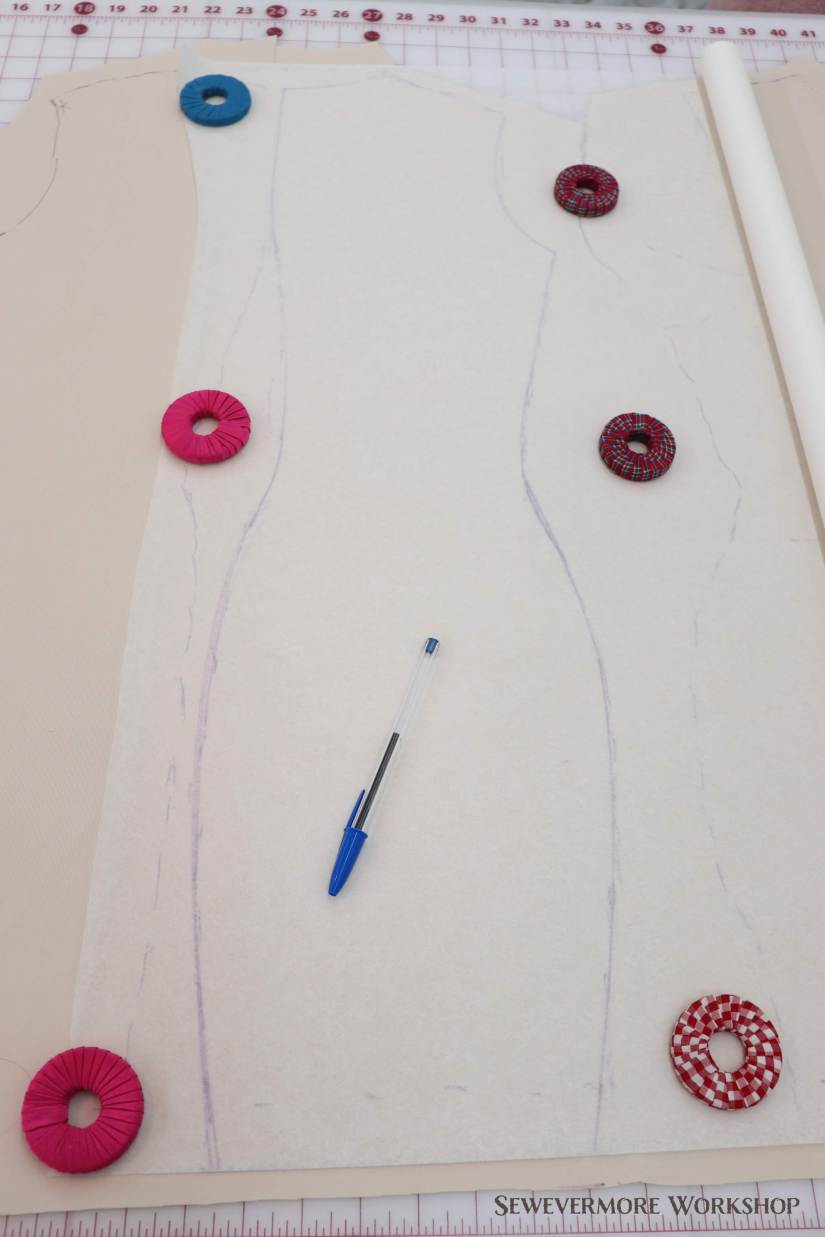
I smoothed out the curves and eliminated all of the jagged lines. Once The lines were nice I traced the shape onto Swedish Tracing Paper so that I can use it again in the future if I need to. It might be nice to have dress form covers in different colors, depending on what project I am working on.
I cut out the pieces with a 3/8 inch seam allowance and sewed it together using a triple stitch for all seams except the hem, on which I used a zigzag as it needed the most stretch.

I was so pleased with how it turned out. My dress form still looks so nice and new, but it is ME shaped! I can’t wait to use it.


 I used a skewer to make sure the boning was all of the way inserted. (I trimmed off the pointed tip and sanded the ends first.)
