

Once the boning was inserted into the casings there were just a few more steps to complete. The first thing I did was to stitch across the bottom of each casing with a 5/8 inch seam allowance. This was to make sure that the boning doesn’t fall out and to ensure that it is out of the path of the 1/2 inch seam allowance.

I then noticed that the edges of the casings were sticking out a bit. I decided to try something new and used about a 1/16 inch seam allowance to stitch the sides of the casings to the lining.

I do think this helped the casings (and the seam allowances hidden beneath) to lay flatter. I had to clip the edges of the casing at the bust curve. You can see the before and after pictures below.


I noticed the casings were just a bit visible on the front of the bodice, but I am hoping a good press later will help conceal them.
With the boning and casings in place, it was time to connect the lining to the main fabric. Carefully, aligning seams and edges I pinned all of the way around the bodice connecting the two layers with wrong sides together. (This would be a good time to correct any errors.)
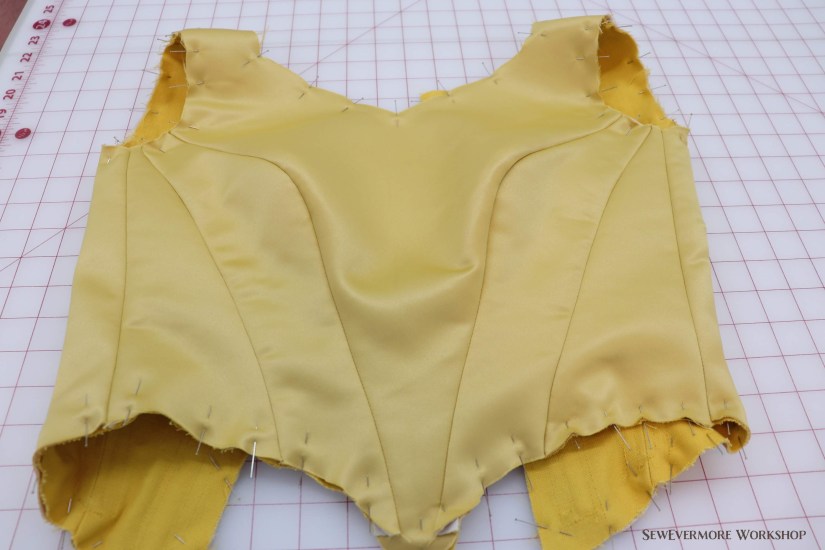
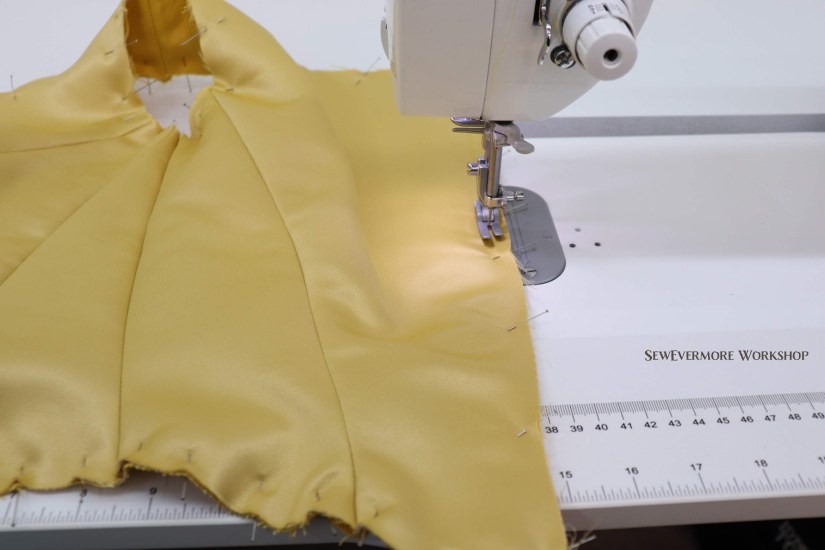
Next, I basted around the edges with a 3/8 inch seam allowance. This is quite a sturdy bodice, and I am pleased with how it turned out.
Next up, adding sleeves. This is a step that a lot of people may skip. Sleeves definitely aren’t necessary, but since this will probably be worn at a school I will be adding sleeves for modesty. They should end up being mostly, if not entirely, covered by the decoration that will be added across the neck line.
I am not great at draping sleeves, so I started by drafting a simple sleeve pattern. If you are not comfortable drawing your own you can always use a sleeve pattern from another garment pattern. I actually do that all of the time, I’ll go through my store bought patterns and select bits and pieces from different patterns and put them together to create my own unique garment. Before I started draping my own patterns, mix and matching from store bought patterns was my go to method for cosplay.

I pinned it to the bodice to see how it would look.
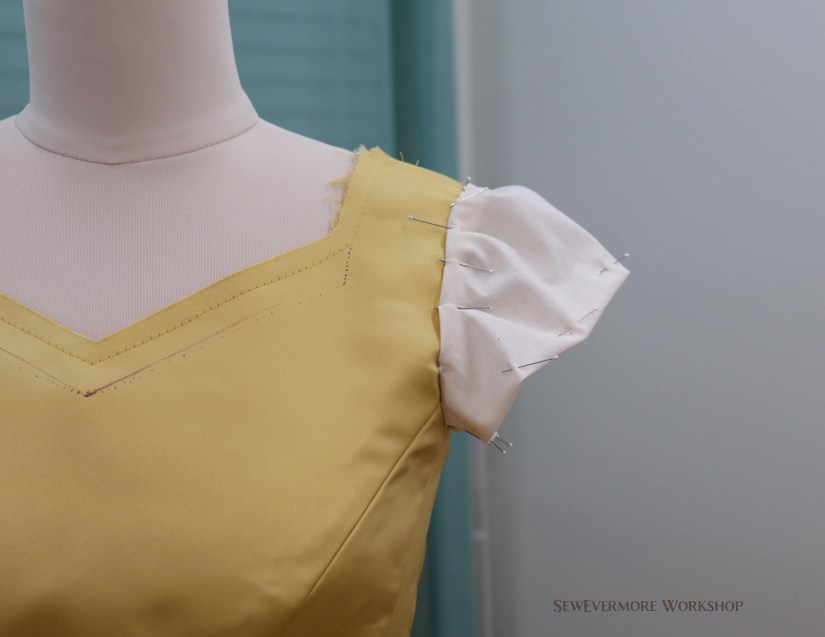
The sleeve was a little fuller and longer than I wanted so I marked out the middle section. Then I stitched it closed, creating a smaller sleeve.


Then I draped it again.
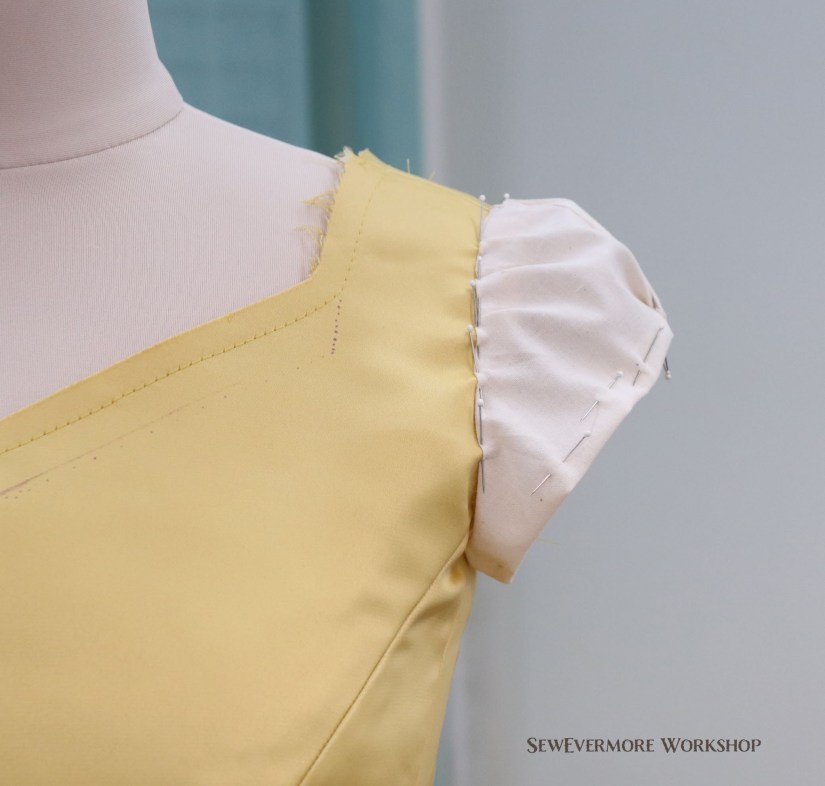

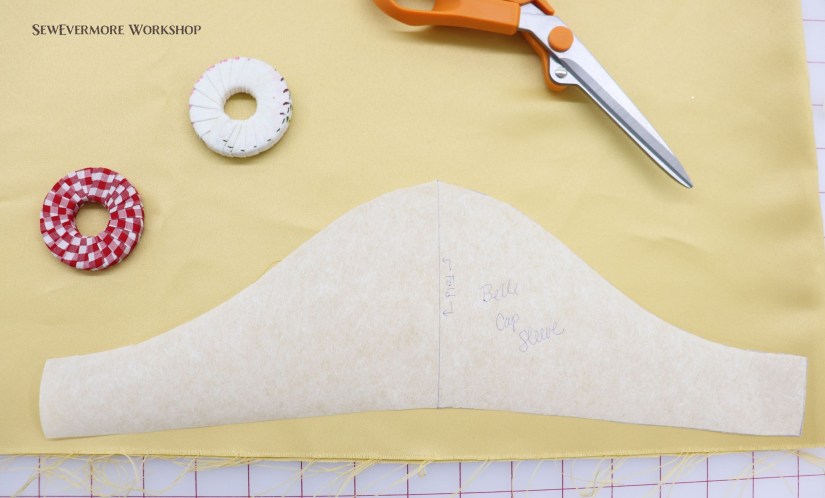
I was much happier with this version. The only thing I didn’t want was the little pleats at the edge. So, keeping those pleats in place I traced a new pattern.
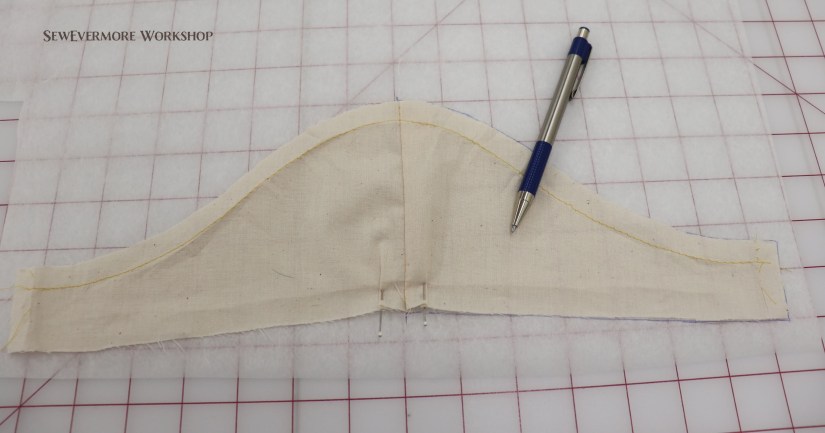
I cut out 4 sleeve pieces from the satin, 2 for the exterior sleeve, and 2 for lining.
With right sides together, I stitched two of the sleeve pieces together at the bottom.
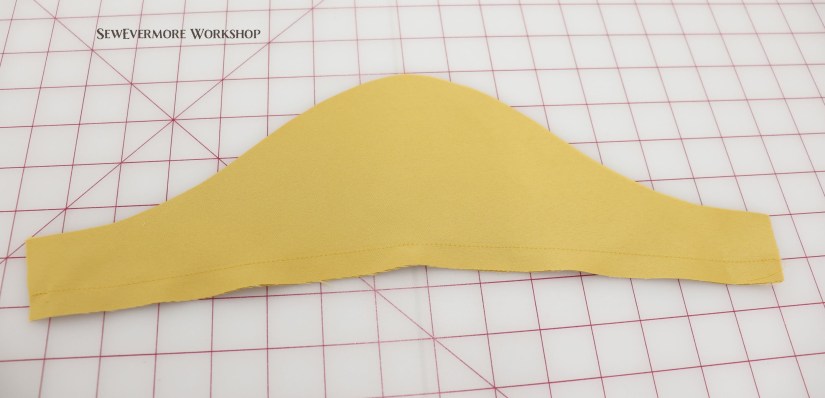
Next, I pressed the seam allowance toward the lining side and under-stitched it in place.

I folded the sleeve in half and connected them at the under arm.
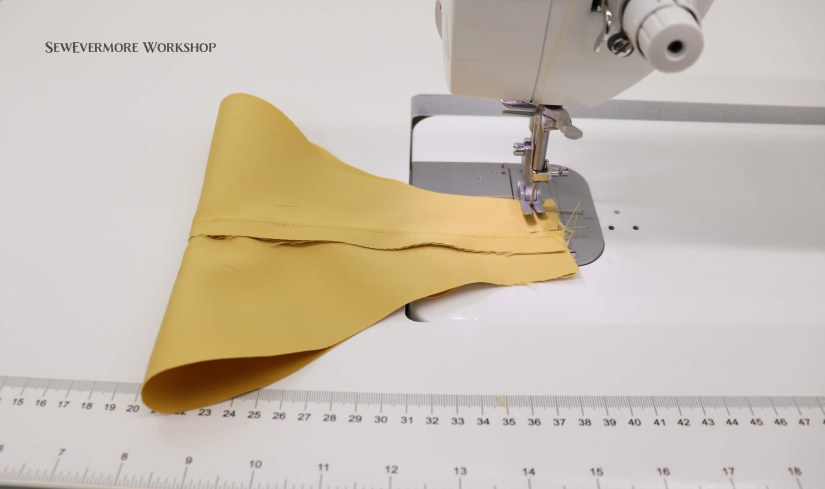
Then I pressed the seam open and turned the sleeve so the lining was on the inside and the main fabric on the outside, and pressed again. The top edges didn’t line up perfectly due to the thickness of the seam allowance when turning, but they still worked great. So, I basted the top edges in place. Once they were secure I did two rows of gathering stitches along the top curve.


Then, with the sleeves complete, I pinned them to the bodice. I took a lot of time spreading out the ease in the fabric to minimize pleats on the sleeves. I probably could have taken out a bit more of the fullness in the sleeve, but I do like how roomy it is when being worn. I think they will be comfortable.

Then I stitched the sleeves to the bodice. The sleeves are complete!

