
The Layer 3 godets were added in the same manner as the Layer 2, except, due to the bustle, the back godets are lower on the petticoat than those on the front.
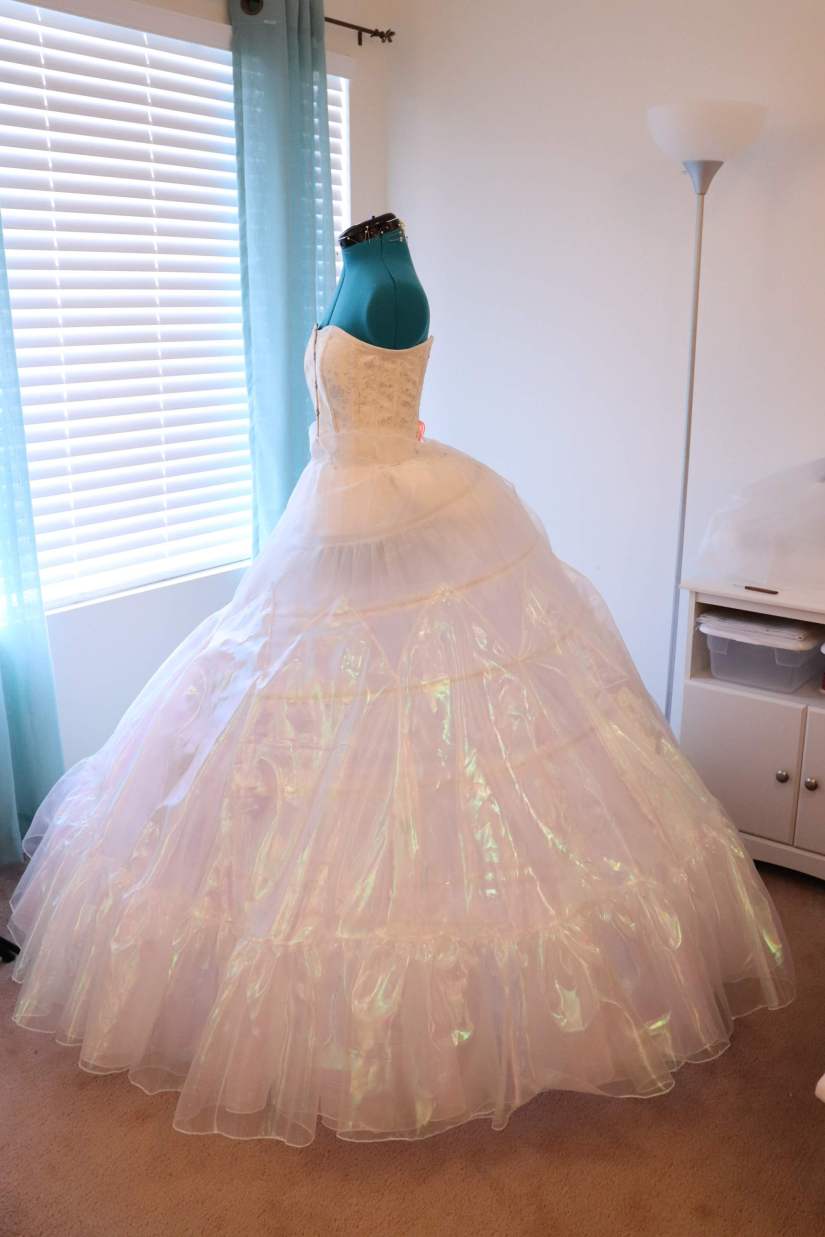
It’s so shiny!
One thing that I noticed occurred on this layer, was that the front end of the petticoat began to poke out. You can kind of see the dramatic angle of the front of the petticoat, while it slopes more gradually in the back.
I decided to compensate for this by adjusting the number of godets on the next layer. I had originally planned for 8 godets in Layer 4. This would be very sufficient if you did not have the bustle altering the shape of the gown. However, given my hoop and the shape created by my bustle, alteration to the next layer was necessary for my petticoat.
I pinned my godets in place to see where they would look best.

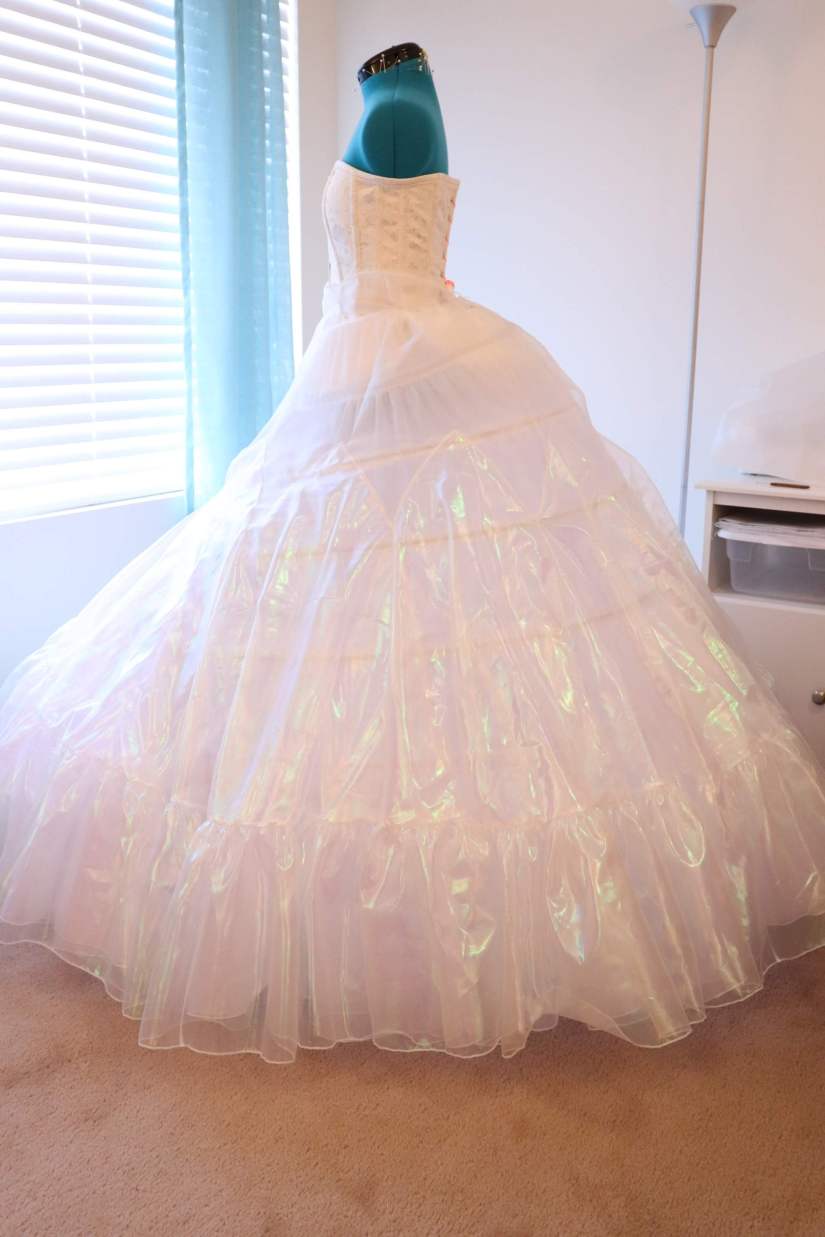
IT”S SO FLUFFY!!!! I LOVE IT! The positioning I preferred placed 3 godets on the front of the petticoat and 9 on the back. This required making 4 more godets than planned.
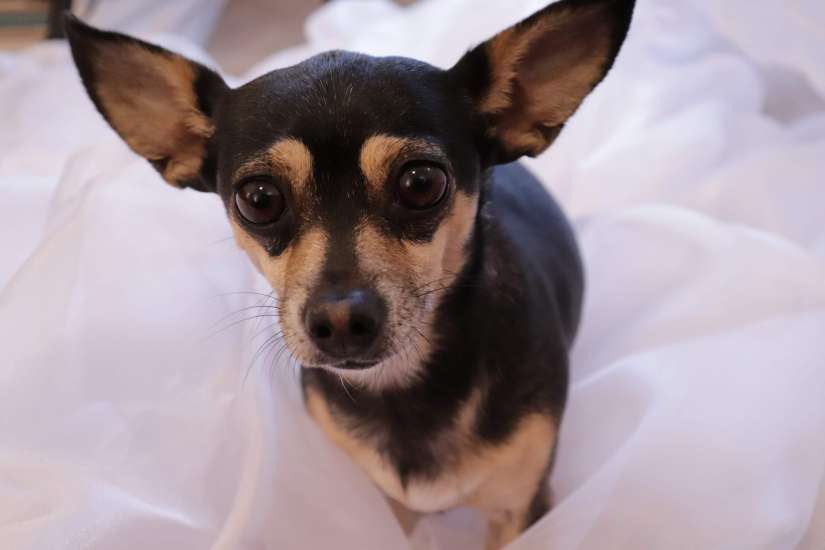
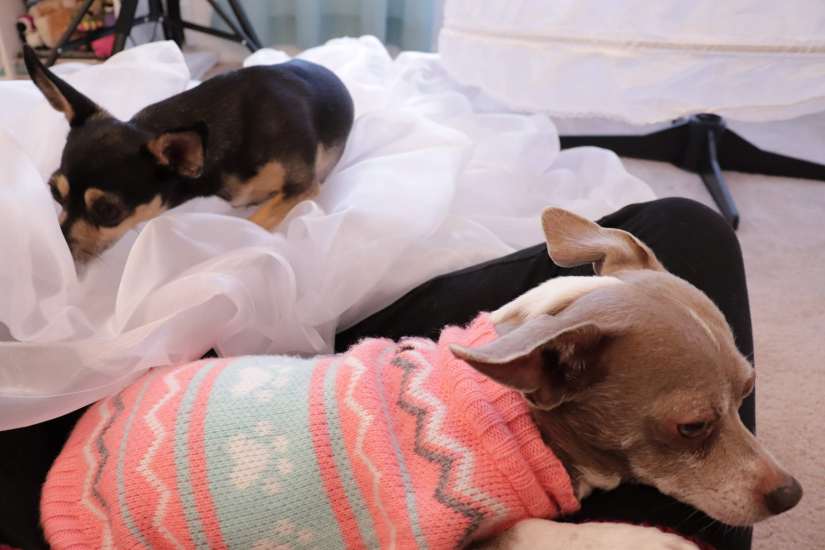
My dogs did make adding the panels a bit of a challenge. Evie here realized the Layer 4 godets were great fun, and decided to take a swim in them.
Not to be left out, Gracie then wanted to take a nap right in the middle of the action. Which meant, my lap. Needless to say, creating the new godets was slow going, but I liked the result.
The godets in the front were sewn together 12 inches from the tips (two seams). All other godets were sewn together 3.5 inches from the tips.
