The petticoat layers are finished! Hooray! Now to finish off the petticoat, it needs a waistband.
I pinned the top of the ruffled circle skirt to the top of the godet layer at the waist and stitched the two layers together. (Other than the ruffled circle skirt, only the first petticoat layer reaches the waist.) I trimmed off the excess in the back and serged the waist and the edges of the back slit.
I then cut a 4 inch by width of fabric rectangle from the organza.
Next I folded it in half creating a 4 x 30 inch rectangle and serged the edges. Since I needed a 29 inch waistband, this worked perfectly for me.

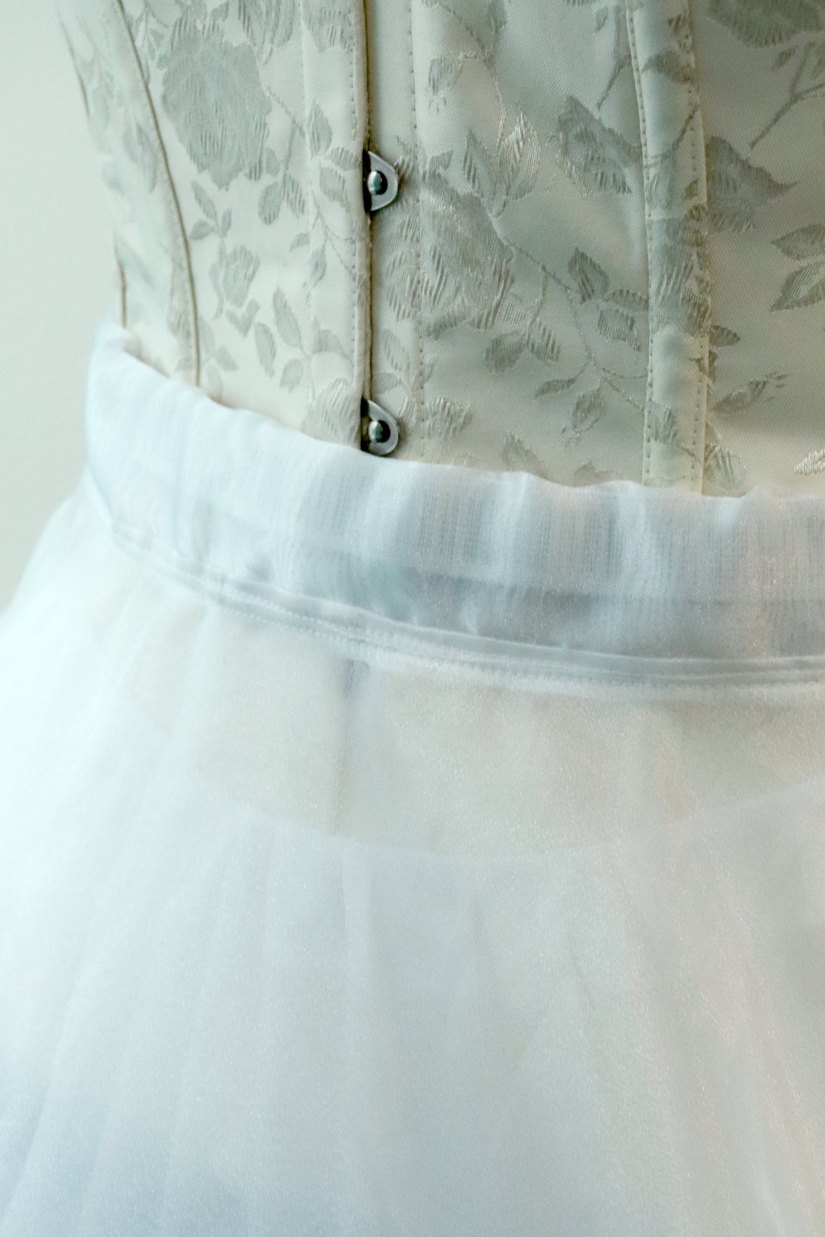
Next, I folded the rectangle in half lengthwise (skinny like a hot dog) so that the serged edges were touching. I then aligned those serged edges with the serged edges of the petticoat waist and pinned them together.


I stitched the waistband to the petticoat using a 1/2 inch seam allowance. Then folding the waistband up, I top-stitched the seam allowance in place. I used two rows of stitching for added strength. This may not have been necessary, but it made me feel better 🙂

Using the same method I used for the bustle, I created an elastic waistband and slid it through the channel. I probably could have made the waistband channel a bit narrower, but overall I was happy with it. The elastic slid in easily, and it lays well.
Having the waistband attached finally finishes the petticoat! Huzzah!

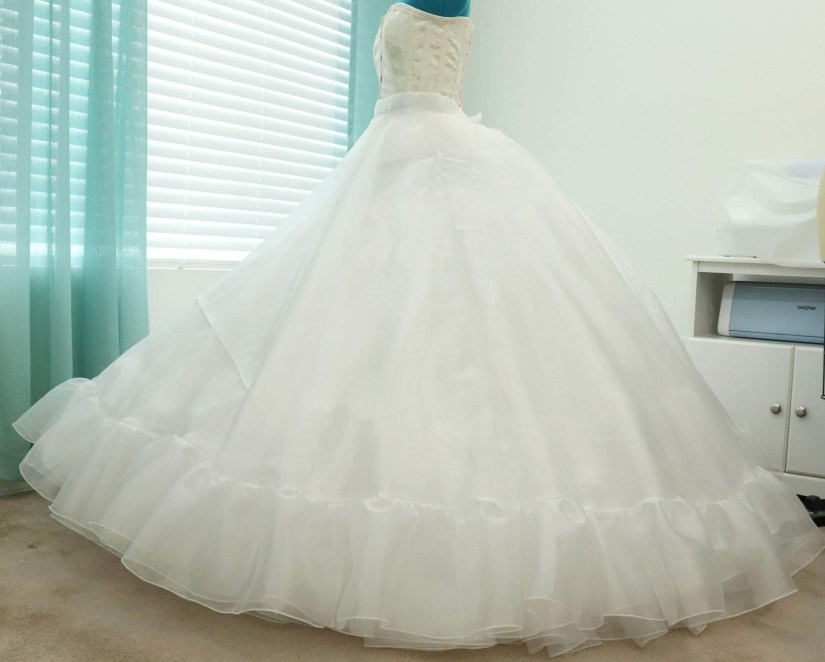
I definitely like the shape after adding Layer 4.5 with the back godets.

The petticoat is done! I love it!!!