Belle Dress

Continuing the Petticoat

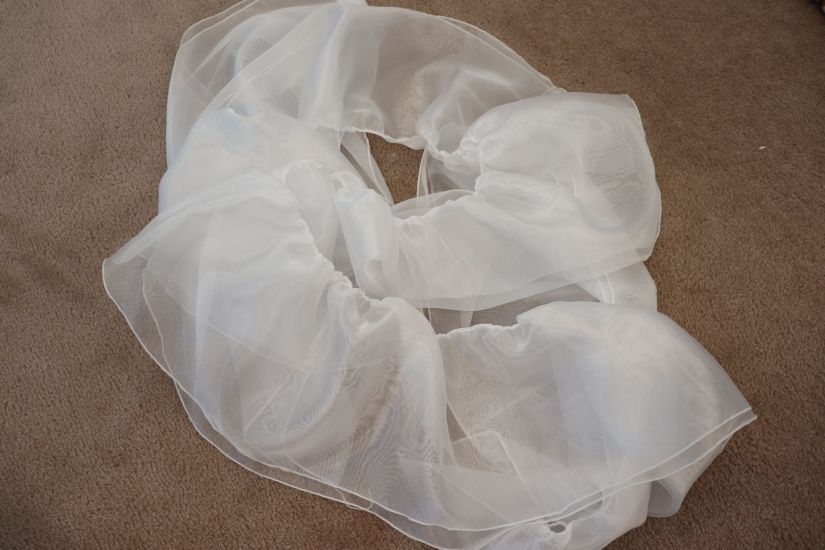
I cut three panels to create the overlay. If I had to do so again, I would give myself a few more inches of leeway in the seam allowances. To save fabric, two of the panels were cut on the fold, but the third wasn’t. I used the split panel for the center back. I sewed the panels together and draped it over my dress form. The result is the image from the previous post.

The waist was a little big, but I plan to gather the top edge when inserting the waistband later.

Adding the Ruffle

To complete the first layer of the petticoat I wanted to add two ruffles to the bottom of the overlay.

Cut five 26″ by Width of Fabric (≈ 60″) rectangles. Next I sewed them together along the short edges with my serger creating a very long chain ≈ 300″ long. Then I finish the both long edges on the serger using a rolled him.

Folding the rectangle in half (creating a double layer 13″ x 300″ rectangle, I gathered the folded edge. I wanted my ruffles to be 12 inches wide on the finished petticoat. This worked out well.

img_0354

A note on serging. I serged using woolly nylon thread in the looper. This seemed to work well and gave the hem a nice finished look.

After gathering I attached it to the bottom of the overlay and joined the ends.

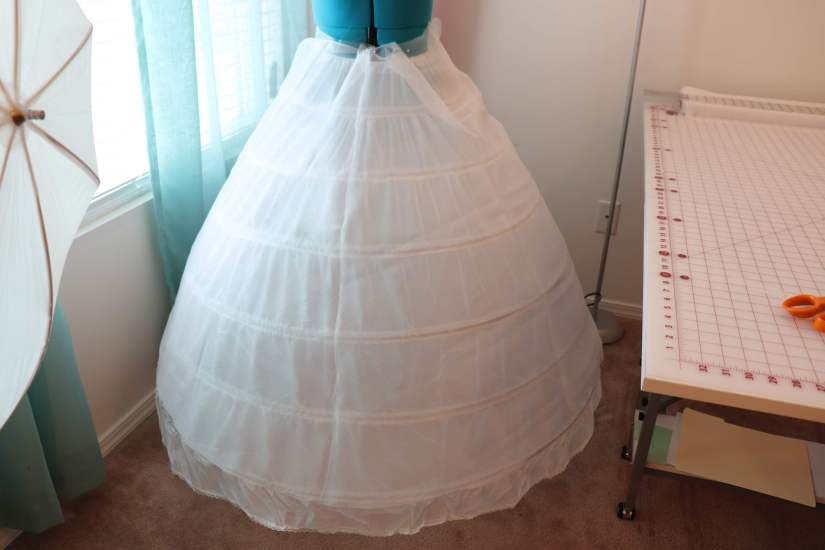
Here was the result.

img_03551

And the first layer of the petticoat is finished!

Belle Dress

Making a Princess Dress

I teach a sewing class, and this year one of my students wanted to make a princess dress. Not just any dress, the Cinderella dress from the live action film! Yes, quite the project.

To ensure that I would be able to help her with the project, I knew I would need to make one as well. However, I had already made a Cinderella dress some years ago, and as I prefer the original Cinderella design, I didn’t really need another. So, my solution…making a Belle dress! While I made a Belle dress for a friend in the past, I don’t have one of my own, so this was the perfect opportunity. Since the designs of the two dresses are so similar, the difference between the two construction wise will be slight.

So, for the next few months I will be working along with my student to make a massive ball gown!

We are following the Youtube tutorial for the Cinderella Petticoat put together by Traybuff who did an excellent job of explaining how her Cinderella dress was constructed and showing the process.

The Fabric

A word on fabric. This project requires massive amounts of fabric! More than 100 yard for the Cinderella version of the dress! I anticipate to use 40+ yards just for the petticoat.

img_0344

As a result, cost is a huge consideration. If you are able check out Joann+, the bulk purchasing site through JoAnn Fabric. I was able to purchase the fabric for the petticoat for less than $2 a yard. I chose to use their Casa Organza fabric. You have to be on their Joann+ site to view the value pricing, and they do not have all of the colors available for bulk ordering. Also, they DO NOT ACCEPT RETURNS! Be confident in your purchase before ordering. I found this out the hard way. The “Sunshine” yellow displayed online looked much different than what I received. I got “sunshine” when I was expecting a very pale yellow based on the photos. But…after purchasing 40 yards…we will make it work.

The Petticoat

Using a ready made hoop purchased on Amazon, such as this one, I went to work. As I wanted the hoop separate from the petticoat so I could wear it with other costumes, I did not attach the fabric to it. Instead I used organza to create an overlay.

img_0352

First I measured the hoop, circumference, length, and length between hoops. I divided the circumference into 3 sections that could be pieced together.

img_0349