A Day at the Park, Cinderella Top

A Day at the Park

I am excited to show you the first in a new series I am working on! The next step in the Belle dress is coming soon, but to tide you over until then here is a quick look at my next idea.

I LOVE going to Disney Parks and I LOVE cosplay, but sadly the two don’t always go together. When I am at the parks I need to be comfortable in order to enjoy myself. Yet, the cosplayer in me wants go in full Disney style. So, here is my solution. Every day clothing that is inspired by Disney characters, parks, movies, etc.

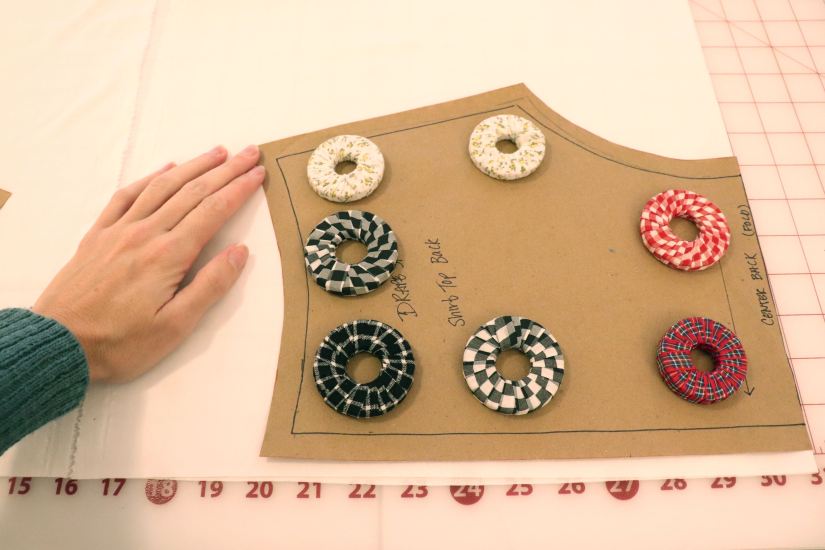
For my first piece in this series I was inspired by Cinderella. I took my favorite work shirt and traced the pattern using pins and craft paper, a trick I learned from a Craftsy class.

2IMG_3033

The shirt is light and roomy with a lot of drape and super comfortable to wear. I find myself reaching for it most often from my closet. It was my go to selection when I was considering comfortable, yet dressy tops. Since I wanted Cinderella inspired attire, I didn’t want anything too casual.

2IMG_3040

For the top part of the shirt I layered a sparkly silver metallic knit fabric from JoAnn with their affordable jetset knit in white. I basted the pieces together to prevent sliding.

2IMG_3066

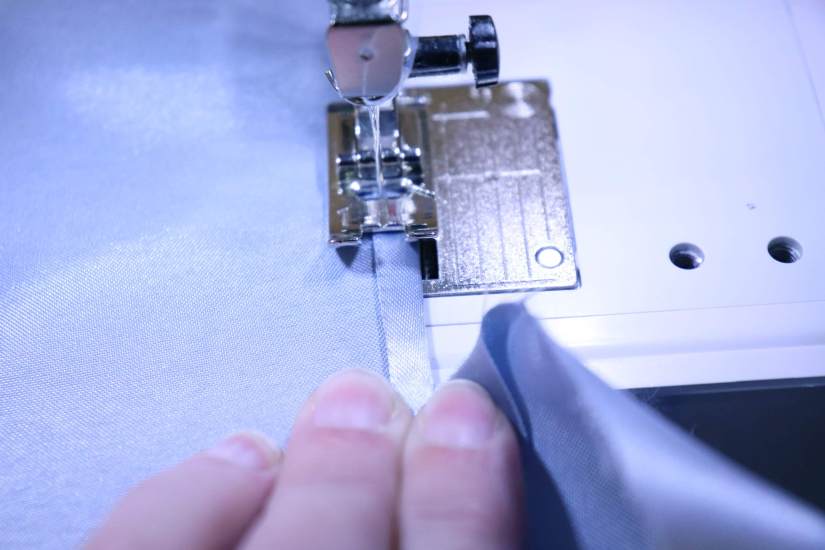
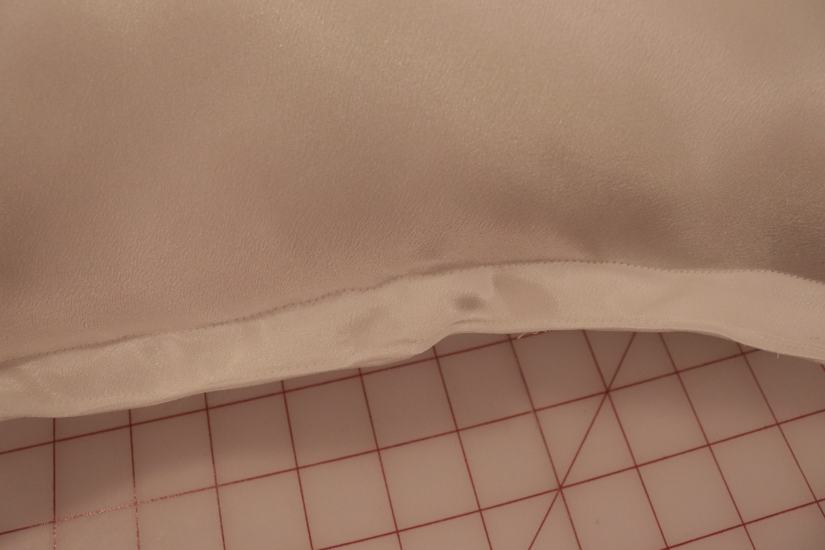
The bottom of the shirt is a basic satin draped with a lace overlay. I finished both with a simple narrow hem.

2IMG_3081

I added cuffs to the sleeves in a single layer of the metallic fabric folded in half and dressed it up with a string of pearls.

Here was my result.

2IMG_3760

Matched with the shirt is a backpack that I made using coordinating princess fabric. You can read more about the backpack at my crafting website learncreatesew.com. I think both items worked very well together.

3IMG_3584

2IMG_3763

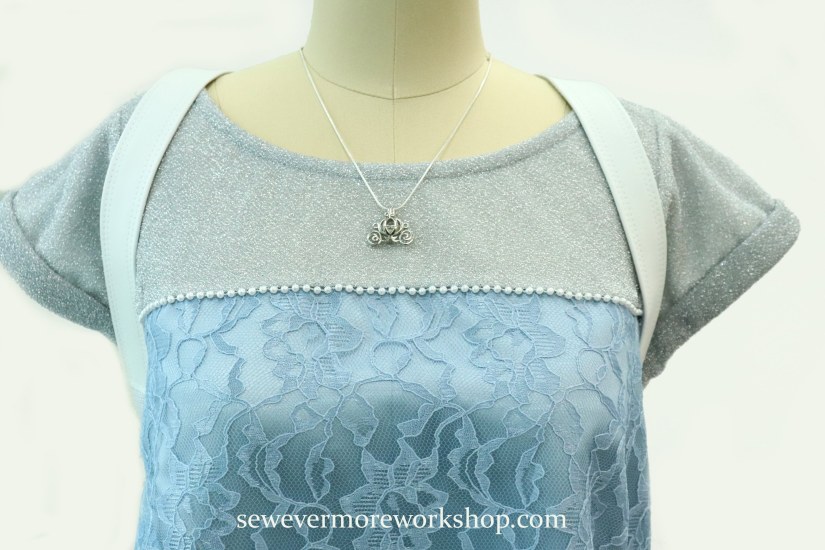
The ensemble was topped with a Cinderella coach necklace I found on ebay.

2IMG_3772

Although I faced quite a few struggles with fitting and drape, I was pleased overall with the final product. Of course, I am working on a pair of ears to go with it πŸ™‚

I look forward to expanding my collection of casual wear inspired by Disney!


Belle Dress

Assembling Petticoat Layers 3 & 4

The Layer 3 godets were added in the same manner as the Layer 2, except, due to the bustle, the back godets are lower on the petticoat than those on the front.

IMG_2953-1

It’s so shiny!

One thing that I noticed occurred on this layer, was that the front end of the petticoat began to poke out. You can kind of see the dramatic angle of the front of the petticoat, while it slopes more gradually in the back.

IMG_2963

I decided to compensate for this by adjusting the number of godets on the next layer. I had originally planned for 8 godets in Layer 4. This would be very sufficient if you did not have the bustle altering the shape of the gown. However, given my hoop and the shape created by my bustle, alteration to the next layer was necessary for my petticoat.

I pinned my godets in place to seeΒ where they would look best.

IMG_2966

IT”S SO FLUFFY!!!! I LOVE IT! The positioning I preferred placed 3 godets on the front of theΒ petticoat and 9 on the back. This required making 4 more godets than planned.

My dogs did make adding the panels a bit of a challenge. Evie hereΒ realized the Layer 4 godets were great fun, and decided to take a swim in them.

IMG_2916

Not to be left out, Gracie then wanted to take a nap right in the middle of the action. Which meant, my lap. Needless to say, creating the new godets was slow going, but I liked the result.

IMG_2918

The godets in the front were sewn together 12 inches from the tips (two seams). All other godets were sewn together 3.5 inches from the tips.

Belle Dress

Adding a Bustle

When I began this project I wasn’t planning to add a bustle. I thought I would be satisfied without one, but after consideration I determined that I wanted one after all. So, before applying the 3rd and 4th layers of the petticoat, I decided to make a bustle. Or…as my students and I call it…a butt pillow πŸ™‚

(This did cause me to have to make adjustments to my previous petticoat, so if you plan on using a bustle I would definitely make it before the petticoat.)

To make the bustle I used some scrap crepeback satin that I had, and non-roll waistband elastic. Then, I drafted the pattern. The largest width was my hip measurement Γ· 2. The top width was my waist measurement Γ· 2. The height, was the same measurement. I sewed around the edges with a 1/2 inch seam allowance leaving an opening.

IMG_2898

Flipped it right side out and stuffed.

IMG_2899-1

Next, I edge stitched the opening closed. I also pinched this top edge together and stitched again about 3/4 inch away from the edge. This is was to create an area for the waistband.

IMG_2900

The waistband was made from 1 inch waistband elastic. There is a lingerie hook at one end. At the other I added a few inches so I could fold it over and sew vertical divisions along the folded area. This creates slots for the hook, so the waistband becomes adjustable.

IMG_2902

Next, I pinned the elastic in place underneath the waistband section on the pillow. The center of the elastic (mid sized) was placed at the center of the bustle pillow. I stitched this in place with two rows of stitching.

IMG_2906

Here it is over the corset, as it will be worn with the dress.

IMG_2930

Next, comes the hoop!

IMG_2933

As you can see, this changed the positioning of my hoop SIGNIFICANTLY! You could always use a smaller bustle if this is not the look you prefer, but I kind of liked the drama of the shape.

Next, I added the first two layers of my petticoat. It’s so big!

IMG_2938

Since I added the bustle, this brought up the back edge of the hoop. To compensate, I had to unpick and drop down the godets along the back side of the skirt a few inches. This made it a bit of a tight fit, but since it will be covered by other layers it wasn’t that big of a deal.

So now, because of the bustle, when I add additional godets, they will not be able to be aligned with the hoop, instead they will have to be placed based onΒ the desired hem length.


Belle Dress

Finishing the Corset

I was able to finish the corset last weekend!

IMG_2927

This was the first time I had ever used a busk in a corset, and it was a lot of fun to use. It was a challenge, but I was quite pleased with it in the end. I think I will have to practice my technique in order to help remove wrinkles, but overall I enjoyed the pattern and the process. Alison Smith’s Zara Pattern really was a nice place to start. The curves were gentle and easy to align.

IMG_2939

I particularly enjoyed adding the trim. I thought it really added a lot of character to the corset.

The primary reason that I made the corset was to offer support for the Belle/Cinderella dress. The skirt will be quite heavy. I wanted to have a corset to wear under the dress so that the waistband would not dig into your stomach when the dress was worn.

IMG_2947

The corset will be worn under the petticoat.

Belle Dress, Uncategorized

Corset: Boning

I wanted to make a standard corset that could be worn under the Belle Dress to help support the weight of the petticoat when it is worn.

I decided to go with the Zara Corset Pattern. It is available on Etsy and is the pattern that Alison Smith uses in her Craftsy Class on Sewing Corsets. I highly recommend the class if you would like to learn how to make corsets. It was very informative and easy to follow. The pattern is a bit pricey, but it is a great simple shape and is easy to start with.

I used coutil with an overlay of Ivory Rose Jacquard for the corset. The jacquard was reinforced with Pellon SF101 fusible interfacing.Β  I hope the end result will be simple yet elegant.

2018-12-02-11-59-36.jpg

I pieced the bodice together, inserted a busk, added grommets, and bound the top. Next, it was time to add the boning.

I like to cut my own boning, you can refer to my Corset Tools Page for more info regarding the tools I use to do this. I decided to try something new and tip the ends in Plasti Dip.

2018-12-02-12-05-28

I like the look of the Plasti Dip. And it seems more secure than the PTFE tape. That said, it was a bit more work, took more time, and required more tools. In order to use the Platidip, because the fumes are so strong, it required a respirator.

I think it is something I will continue to do. Even if the tape is sufficient, the Plasti Dip makes me feel like the bones are more securely tipped.

I have heard from other corset makers that the Plasti Dip tipped bones are fine to dry clean, but I have never done so, and I would definitely check with the dry cleaner to make sure it is okay.

After dipping each bone, I even did the spiral bones to help secure the tips, I inserted them into the channels. The Plasti Dip made the bones a bit hard to slide so I covered the end with just a small bit of PTFE tape.

Something else I did this time…I can’t remember where I saw it but it is such a great idea! Why didn’t I think of it years ago? I used a sharpie to label the boning placement. You can see the markings that indicate if the boning goes on the left (L) or right (R) and the channel it should be placed in. Thank goodness there are wise people in the world who share their ideas online!

2018-12-02-12-11-491

My boning was now ready to place in the channels. The boning went in very smoothly.

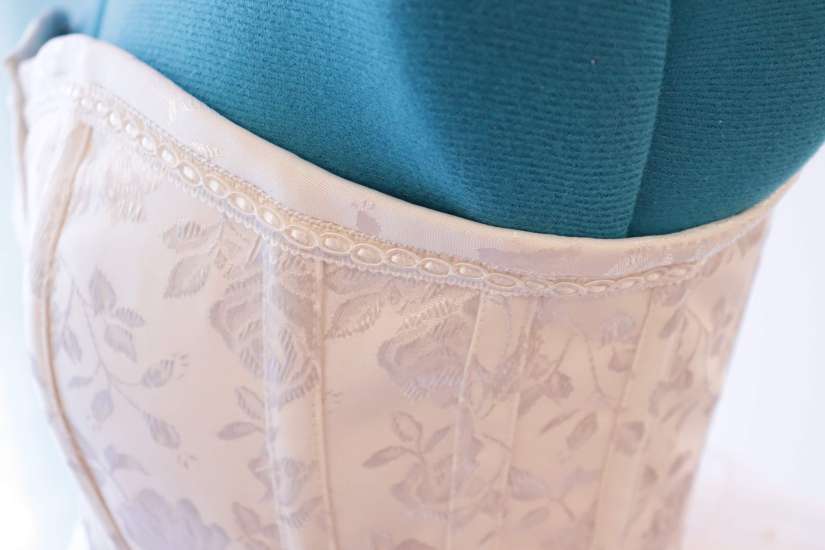
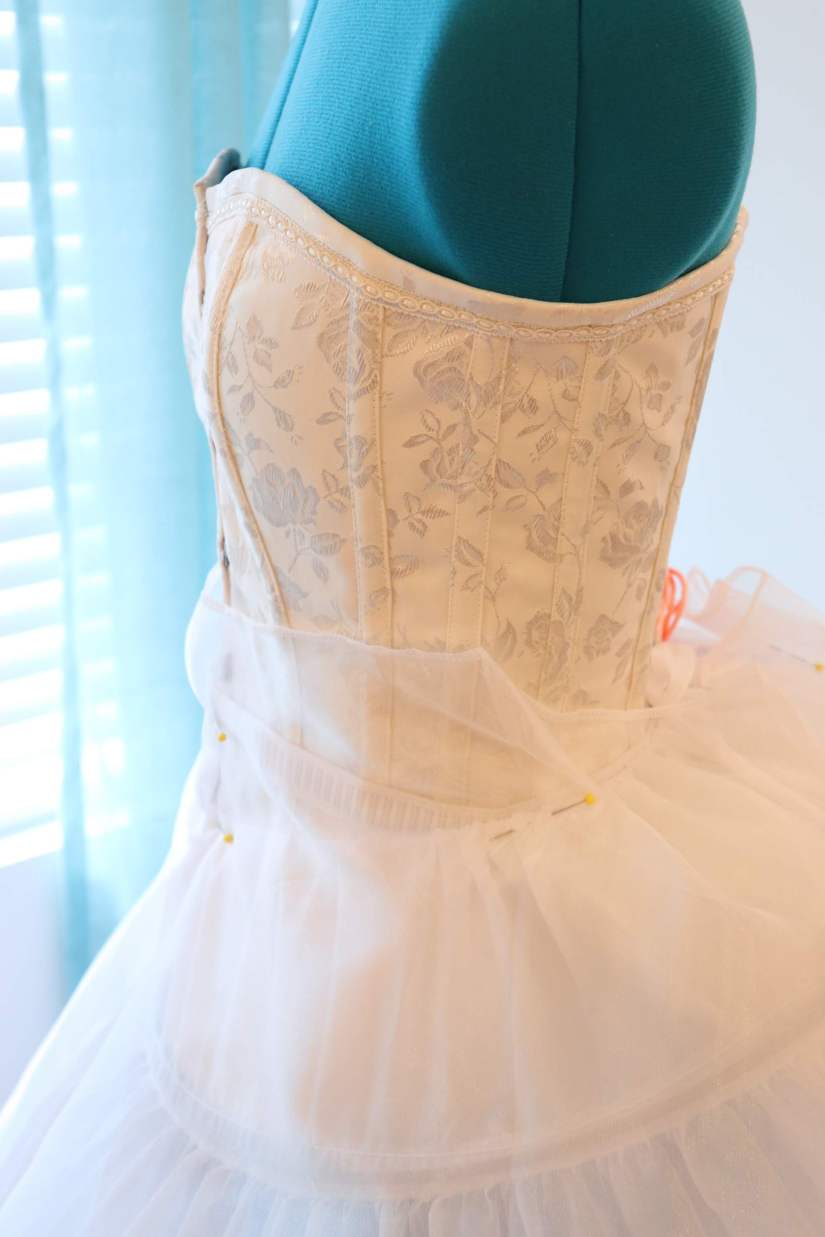
I used a skewer to make sure the boning was all of the way inserted. (I trimmed off the pointed tip and sanded the ends first.)

What to do next? Next, I need to bind the lower edge, add trims and my corset will be done. I will add it to my Belle Dress once it is finished.


Belle Dress

Petticoat: Cutting Layers 3 & 4

Now that the 2nd layer is complete and attached it is time to move on to Layers 3 and 4. Layers 3 and 4 are constructed in the same manner as Layer 2, using godets. These layers will be placed higher up on the petticoat. The godets are larger in size but fewer in number for Layers 3 and 4. (Alterations were later made due to adding a bustle.)

Here are the details. I will also provide the information for Layer 2 so it can be easily viewed for comparison.

Layer 2

Fabric used: Casa Organza White. 58 inch width.

Purchased: $1.27 per yard. Joann+ (Had to purchase 40+ yards for this price)

Amount of fabric used: 7.5 yards

Number of Godets: 12

Godet Radius: 18 inches

Length of Bottom Curve: β‰ˆ 30 inches

Ruffle: Cut 12 Rectangles, 13inΒ  x Width of Fabric. One rectangle used per ruffle.

Layer 3

Fabric used: Glitterbug White Pearlized Sheer. 44 inch width. (I might choose the crinkle sheer if I had to choose again.)

Purchased: $3 per yard. Joann+ (Had to purchase 20 + yards for this price)

Amount of fabric used: 13 yards

Number of Godets: 10

Godet Radius: 24.5 inches

Length of Bottom Curve: β‰ˆ 40 inches

Ruffle: Cut 20 Rectangles, 13inΒ  x Width of Fabric. Two rectangles used per ruffle.


Layer 4 (Without Bustle)

Fabric used: Casa Organza White. 58 inch width.

Purchased: $1.27 per yard. Joann+ (Had to purchase 40+ yards for this price)

Amount of fabric used: 8 yards

Number of Godets: 8

Godet Radius: 29 inches

Length of Bottom Curve: β‰ˆ 47 inches

Ruffle: Cut 12 Rectangles, 13inΒ  x Width of Fabric. One and a half rectangles used per ruffle

Layer 4 (WITH Bustle)

Fabric used: Casa Organza White. 58 inch width.

Purchased: $1.27 per yard. Joann+ (Had to purchase 40+ yards for this price)

Amount of fabric used:Β 12 yards

Number of Godets: 12

Godet Radius: 29 inches

Length of Bottom Curve: β‰ˆ 47 inches

Ruffle: Cut 18 Rectangles, 13inΒ  x Width of Fabric. One and a half rectangles used per ruffle.

Progress

So far all of the godets and ruffles have been cut out. The ruffles have been pieced together and the godets have been stay stitched.

2018-12-02-05-32-39

The image shows the Layer 4 organza on the left and the Layer 3 pearlized sheer on the right.

The pearlized sheer is so clear it almost looks like plastic wrap! We will have to wait to see what it looks like on the petticoat. The crinkle pearlized sheer by Glitterbug at JoAnn is not quiet so sheer and also adds a nice look. It was used on the Cinderella version of this dress. It is harder to work with, but I think it adds a nice effect if you want something a little more noticeable.

Belle Dress

Petticoat Layer 2: Attaching the Godets

It’s time to attache the godets to the first layer of the petticoat.

First, I positioned the ring of godets around the petticoat and pinned them in place. It took a bit of repositioning to get them to lay the way I wanted them to.

img_2786

I made sure to pin all the way around the top layer of the godets. I also took care to ensure that when I pinned the godet was attached only to the first layer of the petticoat and not the hoop skirt.

img_2793

Once the godets were securely pinned in place, I lifted the entire petticoat off the dressform.Β  Using a straight stitch I then sewed the top of the godets to the first layer of the petticoat. I sewed along the zigzag shaped path formed by the tops of the godets, near the serged edge. By sewing just along the top edge, the bottom of the petticoat will be able to flow freely.

img_2794

Success! The second layer of the petticoat is complete. It is already looking so poofy!

2018-11-23-18-10-41

Belle Dress

Petticoat Layer 2: Assembling the Godets

Once the godets were completed it was time to sew them together. This took a bit of planning. To determine where to sew the godets I needed to arrange them on my hoop.

First, I had to decide how high I wanted them to reach. Conveniently for me, they were just tall enough for the tops to be aligned with one of the hoops on the petticoat. I decided to pin the godets on one third of the petticoat to figure out the best placement.

I used Yellow pins to divide the third of the hoop into 4 sections. There will be 4 godets in each third of the hoop for a total of 12. I spit each of these sections in half using a different colored pin. (So, each pin separates an 8th of the hoop section I am working on.)

2018-11-17-18-30-53

On my petticoat the third of the hoop measured 32 inches. So each quarter is 8 inches, and each center point (or eighth) 4 inches from there.

2018-11-17-18-32-47

The peaks of the godets will align with the multi colored pins (not the yellow). I pinned the godets in place.

2018-11-17-18-33-54

The next step was to determine where the godets would need to be attached to each other. Having the godets side by side allowed me to find where they would naturally meet when lying flat against the first layer of the petticoat. On my godets, this point measured 6.5 inches down from the peak of the godet.

2018-11-17-18-39-13

Next, I removed the godets from the hoop so they could be assembled together. With right sides together I aligned two godets along one side, beginning at the peaks. Then I measured 6.5 inches down from that peak and sewed from there to the bottom of the ruffle. I used about a 1/4 inch seam allowance, just to the inside of the serged edges.

img_2776

Here is what a few godets looked like when sewn together.

img_2778

And here is all twelve! Can you believe this is only a single layer of the petticoat!

img_2780


Belle Dress

Petticoat Layer 2: Sewing Godets

Now that the godets and ruffles have been cut out, it is time to sew them together. The first thing to do was to stay stitch the godets. As Traybuff mentioned in one of her youtube videos, there can be quite a bit of stretch along the bias, and I didn’t want to have to worry about the petticoat falling out of shape. As a result, I decided to stay stitch four lines on the godets.

I stay stitched using a 2.5 stitch length on each straight edge. I also stitched two more lines at approximately 22.5 degrees and 67.5 degrees in relation to the 90 degree corner. My brain works in math terms, but if you don’t speak math, imagine three lines extending from the corner that would separate the panel into quarters. Stitch on the first and third lines, not the halfway point. I didn’t measure this, I just estimate while sewing.

2018-11-17-13-13-54

The stay stitching seemed to work well, and when I serged later, it definitely helped the godets hold their shape and prevent excessive ruffling.

Up next was gathering the ruffle. I did the gathering on the serger. I am not terribly experienced with sergers, so it took quite a bit of playing to find settings that worked for my fabric. I have found it very helpful to keep a Serger Setting Log. This catalogs all of the settings I use for different fabrics and functions. Tracking the information is so beneficial. Now, once I have tested and retested fabric to find the perfect feed, tension, and stitch length, I don’t have to do so again. I will be ready to go the next time I face a similar sewing challenge. Here is what my ruffles looked like after gathering.

2018-11-17-13-13-41

Next I attached the godets to the ruffles on the serger. (I tried using a gathering foot to simultaneously gather the ruffles and attach them to the godets, but despite numerous attempts I just couldn’t get my serger to gather enough without gathering the godet as well. In the end, doing this process separately worked best for me.)

Finally, after attaching the ruffles I serged along the two straight sides to finish the raw edges.

2018-11-23-07-58-32

The godets are now ready to be attached together!


Belle Dress

Petticoat Layer 2 – Godets

Now that the first layer of the petticoat is complete it is time to work on the second layer!

The second layer is constructed much differently from the first. Rather than adding a full length skirt for this layer, it is formed using a series of godets, triangular sections of fabric, each with a ruffle attached to the bottom.

Here is a quick peak to give you an idea.

2018-11-17-18-41-26

The image only shows a few of the triangles pinned in place. Eventually, all of these sections will be sewn together and then attached to the bottom overlay section from the first layer of the petticoat.

A quick note on design. I am using this petticoat to create a Belle dress inspired by the animated Beauty and the Beast film. As a result, my petticoat is constructed mainly from white organza. If you are making a replica of the Cinderella dress from the live action film, you may want to consider changing your fabric within the petticoat. To achieve that beautiful look with a wide range of blues you will want to use more than just a single color of fabric for the petticoat. Maybe change with each layer, or even within the layer. You could use different shades of blues, purples, and shimmer fabrics to create an amazing assortment of layers within your petticoat.

Godets

The size of the godets can vary based on the size of your petticoat. I decided to make my triangular sections 18 inches tall with 12 inch ruffles. I plan to use 12 godets sections in layer 2. Here was my plan.

2018-11-22-07-12-01

Next, I went to work making the pattern for the godets. Using Swedish Tracing Paper and my handy 6 x 24 acrylic ruler on top of my cutting mat, I created a right angle along the edge and marked 18 inches from that point both horizontally and vertically.

2018-11-04-17-45-20

Next I angled the ruler from that corner (the right angle), measuring 18 inches, creating a series of dots from one end point to the other.

2018-11-04-17-46-18

You can see my dots a little more clearly here.

2018-11-04-17-47-32

I connect the dots to create the curved hem and cut out the pattern.

2018-11-04-17-48-29

I used my pattern piece and cut out 12 triangular godets from my fabric.

2018-11-04-18-00-13

I also cut out 12 rectangles, 13 inches by the width of fabric (β‰ˆ 60 in).

2018-11-04-18-35-43

Altogether, the second layer of the petticoat took about 7.5 yards of fabric.

Detail Summary:

Layer 2

Fabric used: Casa Organza White. 58 inch width.

Purchased: $1.27 per yard. Joann+ (Had to purchase 40+ yards for this price)

Amount of fabric used: 7.5 yards

Number of Godets: 12

Godet Radius: 18 inches

Length of Bottom Curve: β‰ˆ 30 inches

Ruffle: Cut 12 Rectangles, 13inΒ  x Width of Fabric. One rectangle used per ruffle.

Next time, I will explain how I sewed the godets!